


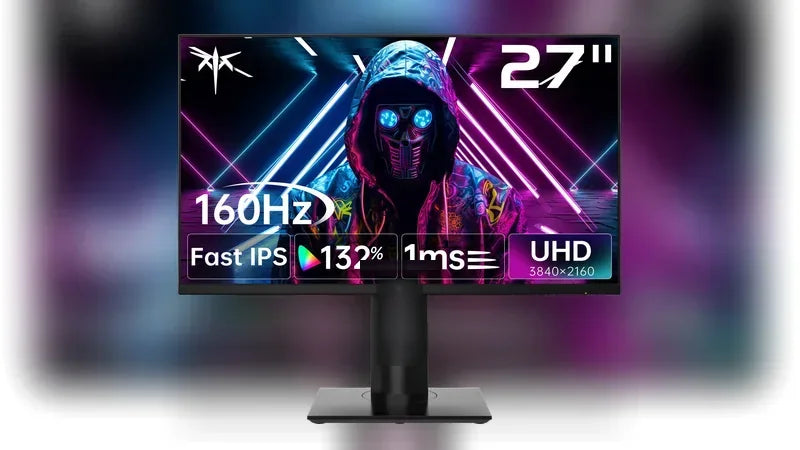
You just got your new gaming monitor. It is a big upgrade for your setup. You probably plugged it in and started a game right away. Most people do that. But are you seeing the game the way the creators wanted you to see it? The settings on your monitor from the factory are just a start. Calibrating your monitor is the next important step. It is often forgotten. But it will unlock your screen's true power for great colors, important details, and a real edge in games.
Why Your Factory Settings Are Holding You Back
It is important to know why you should calibrate your monitor. Companies set up their screens to look good in bright stores. They are not set up for accuracy in your gaming room. These factory settings are made for everyone. But every screen is a little different. Calibrating your monitor makes its settings perfect for your screen and your room.
The good things you get are real. For gamers who play to win, good calibration can give a real advantage. You can fix the black levels. Then you can see details in dark shadows where bad guys might be hiding. You could not see these details before. They were just a dark mess. This one change can be the difference between seeing someone and being surprised by them.
It is not just for winning. Calibration also makes games look amazing. Artists work for a long time to make the colors and lighting in games perfect. A calibrated monitor shows these colors the right way. This makes the game world look more alive and real. The whole experience is better. Also, looking at a screen that is too bright or has a strange color can make your eyes tired. A balanced, calibrated screen is often more comfortable for long gaming times.

What to Do Before You Begin Calibration
Before you start changing any settings, you need to do a few things first. This will make sure you get the best and most stable results. If you rush this part, you will get a bad calibration. Then you will have to do it again later.
First, let your monitor warm up. A monitor is a complex machine. Its color and brightness can change a little bit as it gets to its normal working temperature. So, turn on your monitor and let it show a picture for at least 30 minutes before you start. This lets the screen become stable.
Next, go into your monitor’s menu. This is the menu you control with the buttons on the monitor. Find the option to reset to factory settings. This gives you a clean, normal place to start from. It removes any strange settings that might be on. Last, make sure you calibrate in the same light you usually game in. The light in your room changes how you see the colors on the screen. So, calibrating in a dark room and playing in a bright one will not give you good results.
Step 1: Find the Right Picture Mode and Color Temperature
You will make your first changes in the monitor’s menu. The goal here is to turn off any "smart" features. These features will get in the way of manual calibration. You also want to set a good base for your other settings.
Go through your menu and turn off any settings like "Eco Mode" or "Dynamic Contrast." These features sound helpful. But they change the picture on their own. This makes it impossible to get a good calibration.
Next, pick a picture setting that lets you make your own changes. Do not use modes like "FPS" or "Cinema." These often have settings you cannot change. Instead, pick a normal mode. It is usually called "Standard" or "User." Last, set the color temperature. For the best and most standard starting point, pick the "6500K" setting. If your monitor has an "sRGB" mode, that is also a great choice. It is made to match the standard color for most games and websites.
Step 2: Adjust Brightness and Contrast for Perfect Detail
Now your basic settings are in place. It is time to change the brightness and contrast. These two settings control the darkest and brightest parts of the picture. Getting them right is very important for seeing every detail in a game. For this, you will need to use a test pattern online. Just search for "brightness and contrast test pattern" to find free ones.
First, change the brightness. This setting really controls the black level. On a black level test pattern, you will see different shades of dark gray on a black background. Turn down your monitor's brightness until all the dark shades are gone. Then, slowly turn it up just until you can see the darkest shade. This makes sure your blacks are dark. But it also makes sure you can still see details in shadows.
Next, change the contrast. This controls the white level. Using a white level test pattern, you will see shades of light gray on a white background. Turn up your monitor's contrast until the brightest shades start to look white. Then, slowly turn it down just until you can see the different shades again. This makes sure you do not lose detail in bright parts of the game, like clouds or explosions.

Step 3: Dial In the Perfect Gamma for Gaming
Gamma is one of the most important settings. But it is also not well understood. In simple terms, it controls the brightness of the middle tones. This is everything between pure black and pure white. A good gamma setting makes a game's picture look deep and real. If the gamma is too low, the picture will look flat and washed out. If it is too high, the picture will look too dark.
The standard for computer screens and most games is a gamma of 2.2. Your monitor's menu probably has a gamma setting with choices like "1.8," "2.2," and "2.4." To set this right, use a gamma test pattern that you can find online. These patterns usually have a shape or lines that you need to make disappear into the background. You do this by changing your monitor's gamma setting to the 2.2 choice.
Step 4: Achieving True-to-Life Color Balance
This step is the main part of color calibration. The goal is to make sure that white and gray colors are perfectly normal, with no color tint. An easy way to do this is with the calibration tools in your computer’s operating system. In Windows, you can search for "Calibrate display color." On a Mac, you can find the "Display Calibrator Assistant" in System Settings.
These tools will help you through a few changes. The most important part is the color balance screen. It will show you gray bars. It will also give you sliders for the Red, Green, and Blue (RGB) colors. Your job is to move these sliders until the color is gone from the gray bars. If the grays look a little red, lower the red slider. If they look blue, lower the blue, and so on. You do this until the bars look like a perfect, normal gray.

Step 5: Sharpening the Image and Saving Your Profile
The last menu change is sharpness. This setting adds an artificial edge to the picture. It sounds good. But setting it too high is a common mistake. It can create bright outlines around things. This can make the picture look grainy.
Usually, the default sharpness setting is a good place to start. Look at some high-quality pictures or text. Then change the setting up or down. You want edges to look clear, but not fake. A setting a little lower than the default often looks the most natural.
After you have made all these settings perfect, you must save them. Go to your monitor's menu and find an option like "Save Settings." Save your new setup to a custom profile. It is often called "User 1" or "Custom." This lets you easily get your perfectly calibrated settings back in the future.
Your New Competitive and Visual Advantage
Good job. You have followed these steps on how to calibrate your monitor for gaming. You have done more than just change a few settings. You have unlocked a pro-level, personal visual experience. It is set up just for your gaming monitor and your room. You now have a screen that shows you games with accurate, great colors. You also have a possible edge in games with perfect shadow and highlight detail. Enjoy seeing your favorite games in a whole new way.


