


Enable Adaptive-Sync in your monitor menu, use a DisplayPort connection, set the monitor to its highest refresh rate in Windows, then activate the matching variable-refresh option in your GPU control panel.
Does your game feel smooth one second, then tear across the screen or hitch during a fast camera turn? A properly configured DisplayPort Adaptive-Sync setup can keep a 144Hz, 165Hz, or 240Hz monitor inside its smooth variable-refresh range instead of forcing rigid refresh timing. Here is the practical setup path, plus the checks that separate a clean gaming display from a frustrating one.
What DisplayPort Adaptive-Sync Actually Does
DisplayPort Adaptive-Sync is the variable-refresh technology that lets a monitor adjust its refresh timing to the GPU’s frame output instead of refreshing at one fixed rhythm. The standards body formally added the variable-refresh feature to DisplayPort 1.2a on May 12, 2014, bringing the concept from embedded DisplayPort into external monitors.
The problem is simple: your GPU does not always render frames at a perfectly even pace. A 144Hz monitor refreshes up to 144 times per second, but a demanding game may move between 92 FPS, 118 FPS, and 141 FPS depending on the scene. Without variable refresh, that mismatch can show as tearing, repeated frames, or a heavy V-Sync feel.
The two common GPU-driver paths both use this same variable-refresh behavior on compatible displays. They do not increase FPS; they make the frames you already have look more consistent.
What You Need Before Enabling It
Your monitor, GPU, cable, driver, and input mode all have to agree. A variable-refresh badge on the box is not enough if the monitor is using the wrong DisplayPort mode or Windows is still set to 60Hz.
For one major GPU platform, variable refresh requires compatible graphics hardware, a capable display, current drivers, and a monitor setting that enables variable refresh or Adaptive-Sync. The same guidance notes that some monitors need DisplayPort set to version 1.2 or higher in the on-screen menu.

For another major GPU platform, the setup requires a compatible GPU and a monitor that supports validated or unvalidated Adaptive-Sync operation. DisplayPort is the safer choice for most PC monitor setups because HDMI support depends more heavily on the exact GPU, monitor, and HDMI version.
Setup Item |
Best Practical Choice |
Cable |
DisplayPort for the primary gaming monitor |
Monitor menu |
Adaptive-Sync or VRR enabled |
Windows refresh rate |
Highest native refresh rate selected |
GPU control panel |
Enable the matching variable-refresh option |
Frame cap |
Slightly below max refresh for gaming stability |
Enable Adaptive-Sync on the Monitor First
Start with the monitor’s own on-screen display. Look under gaming, image, input, or system settings for labels such as Adaptive-Sync, VRR, or a vendor-specific variable-refresh mode. On many displays, the relevant path is the variable-refresh setting, where the option may appear as Basic or Extended mode.

This step matters because GPU software often cannot fully activate VRR if the display itself is not advertising the feature over the cable. Some monitors also ship with conservative defaults for compatibility, including DisplayPort 1.1 mode. If your menu offers DisplayPort 1.2, 1.4, or a newer option, choose the highest stable mode supported by your monitor and GPU.
A real-world example: if a 165Hz Adaptive-Sync monitor is plugged in over DisplayPort but the on-screen display has variable refresh off, GPU software may show the feature as unavailable or disabled. Turning it on at the monitor often makes the driver option appear after a restart or cable reconnect.
Set Windows to the Correct Refresh Rate
After the monitor-side setting is active, open Windows display settings and confirm the panel is running at its intended refresh rate. A 240Hz monitor left at 60Hz will still show a desktop, but you are leaving most of the motion system unused.
Use the advanced display settings panel to select the native resolution and the highest refresh rate you actually plan to use. For a 144Hz QHD display, that usually means 2560 x 1440 at 144Hz. For a 240Hz esports monitor, it means choosing 240Hz rather than assuming Windows did it automatically.
This is also where cable quality shows up. If the highest refresh option is missing, the usual causes are the wrong cable, an underpowered dock, a bandwidth-limited adapter, a monitor input set to an older DisplayPort mode, or a GPU driver issue.
Enable Variable Refresh in the GPU Driver
Once the monitor is ready, open your GPU software and check the display section. Support instructions for one major GPU platform state that variable refresh should be enabled after the driver is installed when the display and hardware are compatible, but it is still worth verifying manually.
If the option is unavailable, return to the monitor menu and confirm Adaptive-Sync or VRR is enabled. Disable monitor-side anti-blur or backlight strobing modes if the manual says they conflict with variable refresh. Many displays cannot run blur reduction and VRR at the same time because one depends on fixed strobe timing while the other changes refresh timing dynamically.
For office-first users with a portable smart screen or productivity display, variable refresh is less critical during spreadsheets and browser work. If VRR causes desktop flicker, it is reasonable to disable it for static workflows and re-enable it for games or high-motion creative previews.
Check Certification and Monitor Behavior
Open your GPU control panel, go to the variable-refresh setup page, and enable the feature for the selected display. The most reliable first pass is fullscreen mode only; windowed and fullscreen mode is useful if you play borderless-window games, but it can expose more app and compositor quirks.
Certification tiers matter when buying or troubleshooting. Some certified variable-refresh monitors use standard Adaptive-Sync behavior, while higher-tier displays may include dedicated hardware for tighter validation, variable overdrive, and broader refresh behavior depending on the model.
Uncertified Adaptive-Sync monitors can still work, but results vary. Many tested monitors work even without official certification, while some generic Adaptive-Sync displays may flicker, blank, or behave inconsistently. For a performance-focused build, buying a clearly listed compatible monitor is the lower-risk value move.
Use the Right V-Sync and FPS Cap Strategy
Adaptive-Sync works best when your FPS stays inside the monitor’s VRR range. If a 144Hz monitor supports VRR from 48Hz to 144Hz, then gameplay between 70 FPS and 141 FPS is usually where the experience feels most controlled. Below the floor, low-framerate compensation may repeat frames; above the ceiling, tearing can return unless another sync method catches it.

The practical gaming setup is to enable Adaptive-Sync, enable driver-level V-Sync, disable in-game V-Sync, and cap FPS slightly below the monitor’s maximum refresh rate. For a 144Hz monitor, that commonly means about 141 FPS. For a 165Hz panel, 160 to 162 FPS is sensible. For a 240Hz panel, about 237 FPS keeps the game from slamming into the top of the VRR window.

This does not mean V-Sync is always better. Traditional V-Sync can add latency because frames may wait for the next refresh. The value of driver-level V-Sync in a VRR setup is more specific: it acts as a guardrail near the top of the refresh range while the FPS cap keeps you from living on that guardrail.
Troubleshooting Flicker, Black Screens, and Stutter
Flicker during dark scenes, loading screens, or menus is usually not backlight damage. It is more often a VRR range behavior, a frame pacing issue, a cable problem, or a monitor overdrive interaction. KTC’s support discussion notes that Adaptive Sync is refresh-timing control, not a brightness-power feature that normally wears out an LCD backlight.
The clean diagnostic is to test the same scene with Adaptive-Sync disabled in both the monitor and GPU software. If the flicker disappears at fixed refresh, the display is probably reacting to VRR behavior rather than failing. Then test the middle of the VRR range first, such as 70 to 100 FPS on a 48Hz to 144Hz display, before testing near the lower limit.
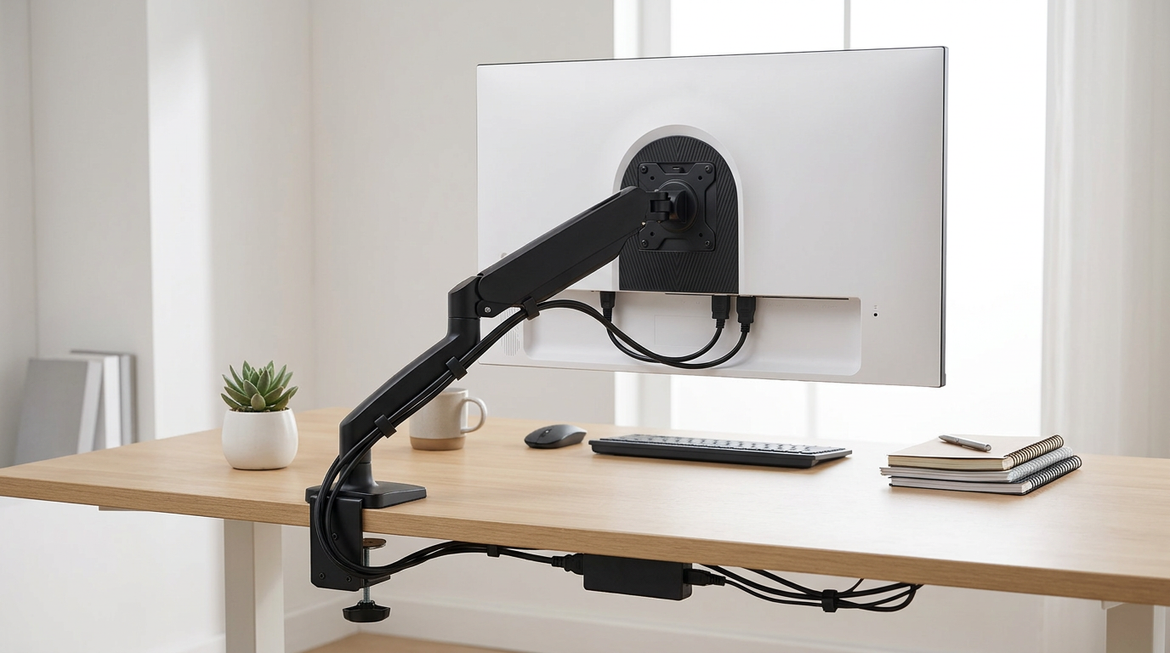
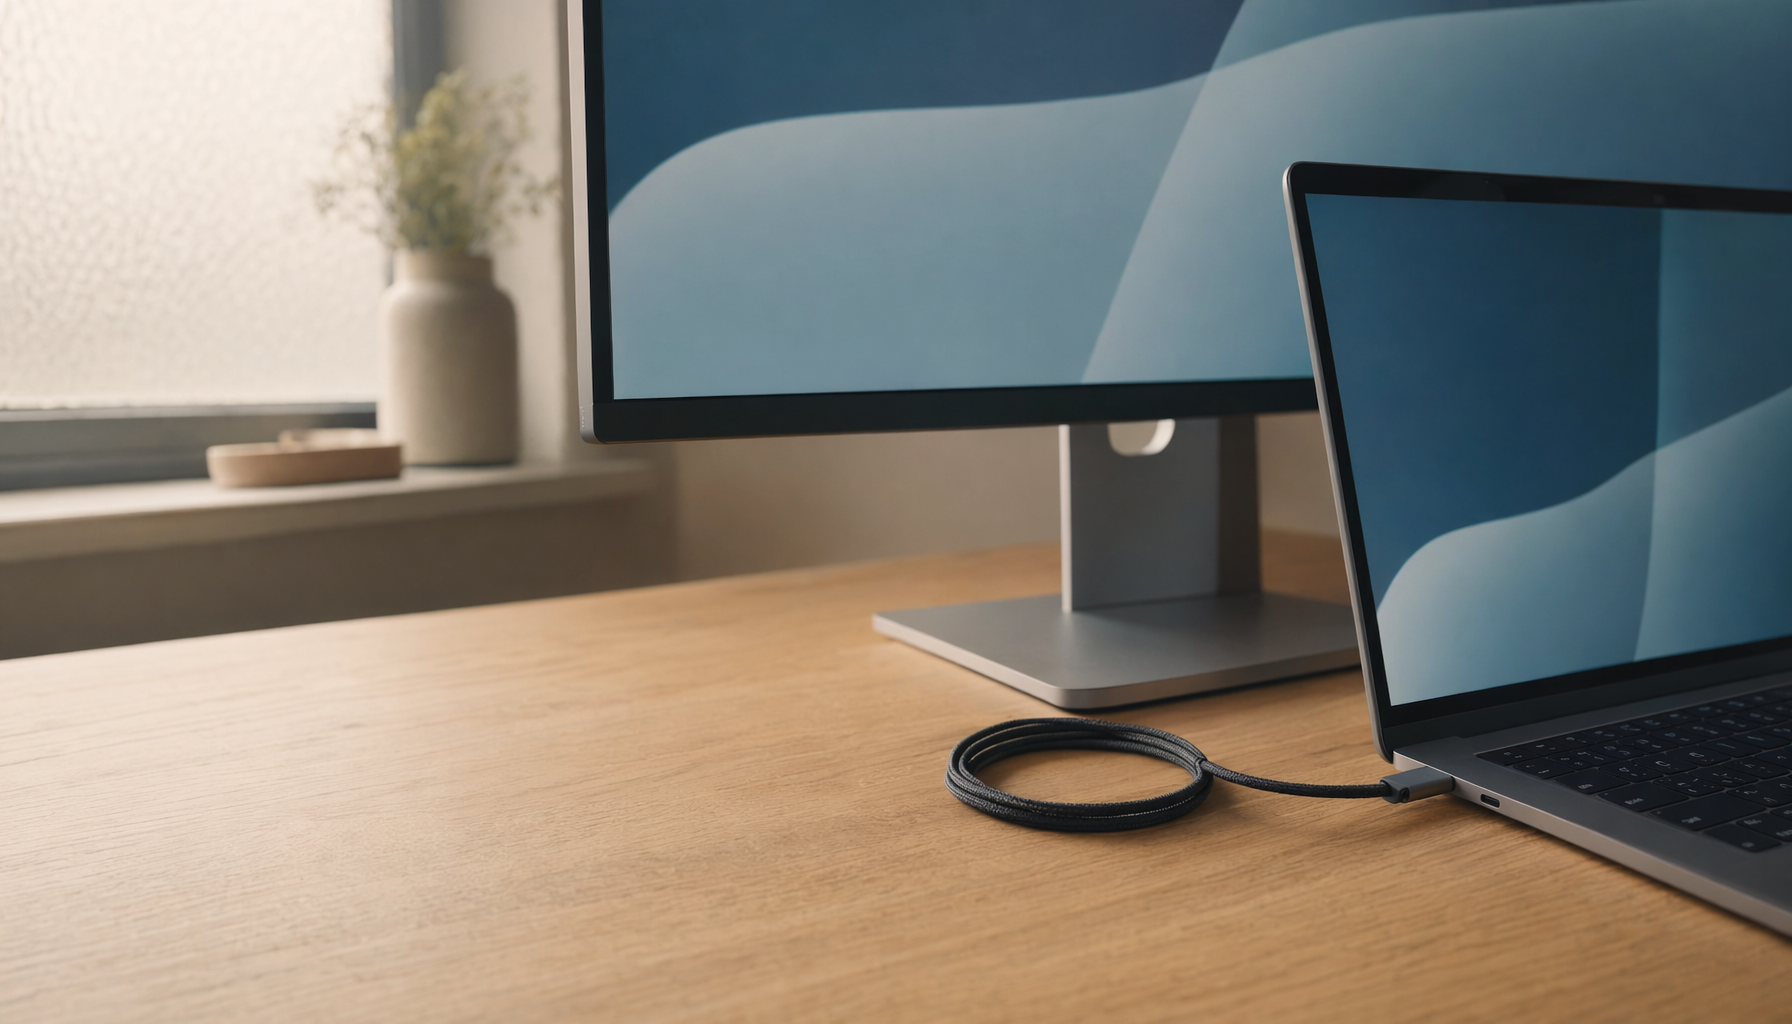
For black screens, use a direct DisplayPort cable from the GPU to the main monitor. Avoid cheap adapters, long questionable cables, and bandwidth-sharing docks for high-refresh gaming. In multi-monitor setups, keep the gaming panel on its own direct output when possible and use Windows Extend mode rather than Duplicate mode so each display can run its own timing.

Pros and Cons of DisplayPort Adaptive-Sync
Pros |
Cons |
Reduces tearing when FPS fluctuates |
Quality varies by monitor implementation |
Feels smoother than fixed refresh during frame dips |
Flicker can appear near the VRR floor |
Usually has lower latency than traditional V-Sync alone |
Some blur-reduction modes conflict with VRR |
Strong value on mainstream Adaptive-Sync monitors |
HDMI support is less predictable than DisplayPort |
Useful across gaming, video, and high-motion work |
Multi-monitor setups can need extra tuning |
Quick FAQ
Should I Use DisplayPort or HDMI for Adaptive-Sync?
Use DisplayPort for the primary PC gaming monitor unless your specific monitor and GPU clearly support VRR over HDMI. Most PC variable-refresh monitor certification is tied to DisplayPort, while HDMI behavior depends more on the exact hardware generation and port capability.
Does Adaptive-Sync Work Across GPU Brands?
Many Adaptive-Sync monitors can work across modern GPU platforms, especially over DisplayPort. The safest buying path is a monitor listed as compatible with your GPU control panel, but unlisted Adaptive-Sync displays may still work with manual enablement and testing.
Should Adaptive-Sync Stay On for Office Work?
For a desktop productivity display, it can stay on if it is stable. If you see flicker in static apps, video calls, or multi-monitor workflows, disabling VRR outside games is a practical choice because office work rarely benefits from variable refresh.
The Performance-Smart Setup
A strong Adaptive-Sync setup is not just one toggle. Enable VRR in the monitor, use DisplayPort, set the correct Windows refresh rate, activate the matching variable-refresh mode in the GPU driver, and cap FPS just below the panel’s maximum refresh. That combination gives a gaming monitor the smoothness you paid for while keeping the system predictable enough for everyday work.


