


The cleanest setup is usually a dual-monitor KVM switch, with a laptop dock added only if your work laptop lacks enough video and USB ports. If your monitor already has multiple inputs, you can build a lower-cost version by leaving video cables connected and switching only the USB control path.
Tired of crawling under the desk after work just to move one HDMI cable, then realizing the keyboard is still plugged into the wrong machine? A properly matched switch setup can keep both computers connected, preserve your monitor layout, and cut the changeover to one button or hotkey. Here is how to choose the right hardware path and avoid the black-screen, lag, and refresh-rate traps that ruin shared desks.
The Core Problem: Video Is Only Half the Switch
A work laptop and personal desktop do not just need to share a screen. They usually need to share a keyboard, mouse, webcam, headset, external storage, Ethernet, and sometimes two displays. That is why simply buying an adapter often disappoints people. A basic laptop-to-monitor workflow can be as simple as choosing HDMI, USB-C, or DisplayPort and then using display settings, but a two-computer desk needs switching logic, not just connection logic.
The display side is manageable once the hardware is stable. You can use Windows Key + P to choose Extend or Duplicate, and the display arrangement should match the physical left-right position of your monitors so the mouse moves naturally. In practice, the best shared desk is the one where both computers stay wired permanently, and the only daily action is selecting which computer controls the desk.
Best Overall: Use a KVM Switch
What a KVM Actually Does
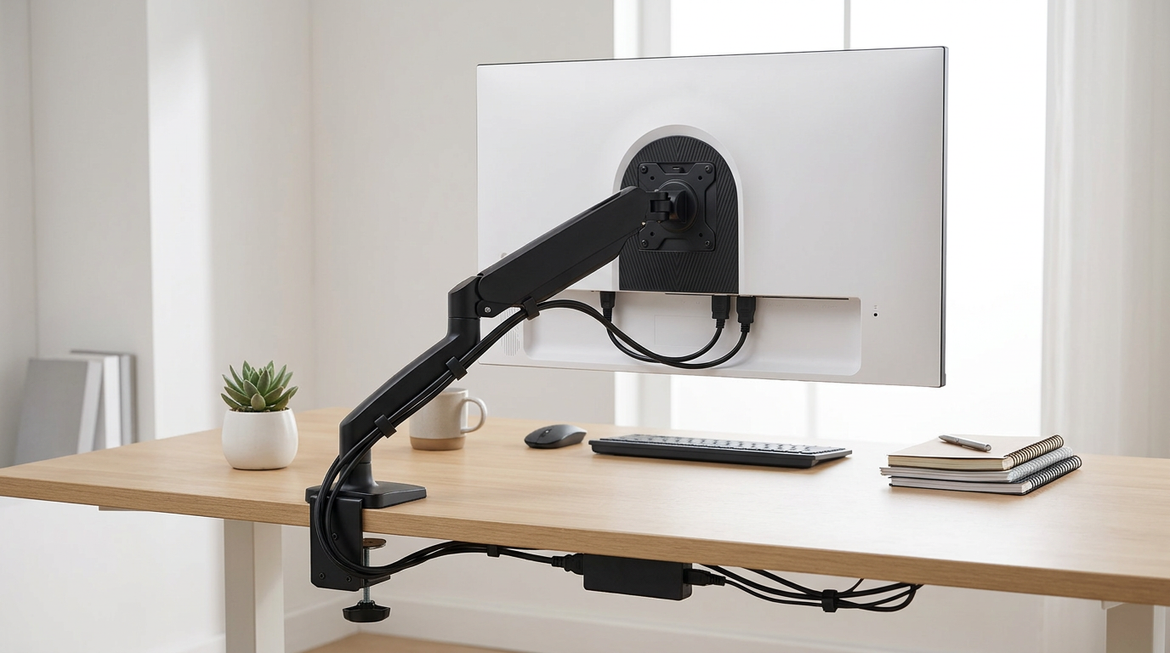
KVM stands for keyboard, video, and mouse. A KVM switch is a hardware box, or sometimes a feature built into a monitor, that lets two computers share the same display and input devices. For a work laptop plus personal desktop, that means the laptop and desktop both plug into the KVM, while the monitors, keyboard, mouse, and selected USB peripherals stay plugged into the shared side.

This is the most direct answer for users who want no cable swapping. Forum discussions around the exact work-laptop-and-desktop scenario consistently point toward a KVM switch when the goal is seamless switching across the same monitor setup. The important detail is that your KVM must match your actual desk, not just the phrase “two computers.”
Single-Monitor KVM vs. Dual-Monitor KVM
If you use one display, a single-monitor KVM may be enough. If you use two displays, buy a dual-monitor KVM that explicitly supports two video outputs per computer. A single-monitor KVM will not magically route two screens, and mixing one switched monitor with one manually switched monitor usually creates the same friction you were trying to eliminate.
For a real example, imagine a work laptop on the left side of the desk, a gaming desktop under the desk, and two 27-inch 1440p monitors. The laptop may connect to a dock, the dock sends two DisplayPort or HDMI outputs into the KVM, and the desktop GPU sends two matching outputs into the KVM. Your monitors connect to the KVM’s output side. Your keyboard and mouse connect to the KVM’s USB ports. Switching then moves both screens and USB control together.

What Specs Matter Before You Buy
The KVM has to support your resolution, refresh rate, connector type, and USB needs. For productivity, 1440p at 60Hz is often easy. For gaming, the bar rises quickly. KVM buying guidance for fast-switching setups emphasizes HDMI 2.0 or DisplayPort 1.4, USB 3.0, hotkey switching, high refresh rate support, and EDID handling to keep displays recognized when switching systems.
Setup Goal |
Best Hardware Path |
Main Advantage |
Main Tradeoff |
One monitor, basic office work |
Single-monitor KVM |
Simple shared control |
Limited expansion |
Two monitors, work plus desktop |
Dual-monitor KVM |
One-button desk switching |
Higher cost and stricter compatibility |
Laptop has too few ports |
Dock plus KVM |
Clean laptop connection |
More devices to validate |
Lowest cost |
Monitor input switching plus USB hub |
Minimal hardware spend |
Manual input changes remain |
Occasional access only |
Remote desktop |
No new display hardware |
Network lag and policy limits |
For performance desks, do not assume “4K” is enough. A KVM that supports 4K at 30Hz can feel sluggish for desktop work and is poor for gaming. HDMI 1.4 can support up to 4K at 30Hz, while HDMI 2.0 and newer can support 4K at 60Hz, so the HDMI version matters as much as the port shape.
When You Still Need a Docking Station
A Dock Expands the Laptop; It Does Not Replace the KVM
A docking station is excellent for a work laptop because it can turn one laptop connection into monitor outputs, USB ports, Ethernet, and charging. But a dock usually serves one host computer at a time. It does not, by itself, switch the same keyboard, mouse, and monitors between your laptop and desktop.
This is where many desks go wrong. A dock solves the laptop’s port shortage, while the KVM solves the two-computer switching problem. If the laptop has only one USB-C port, the dock can provide two HDMI or DisplayPort outputs and USB data into the KVM. The desktop usually connects directly from its graphics card and USB port into the KVM.
Check USB-C Video Before Trusting a One-Cable Plan
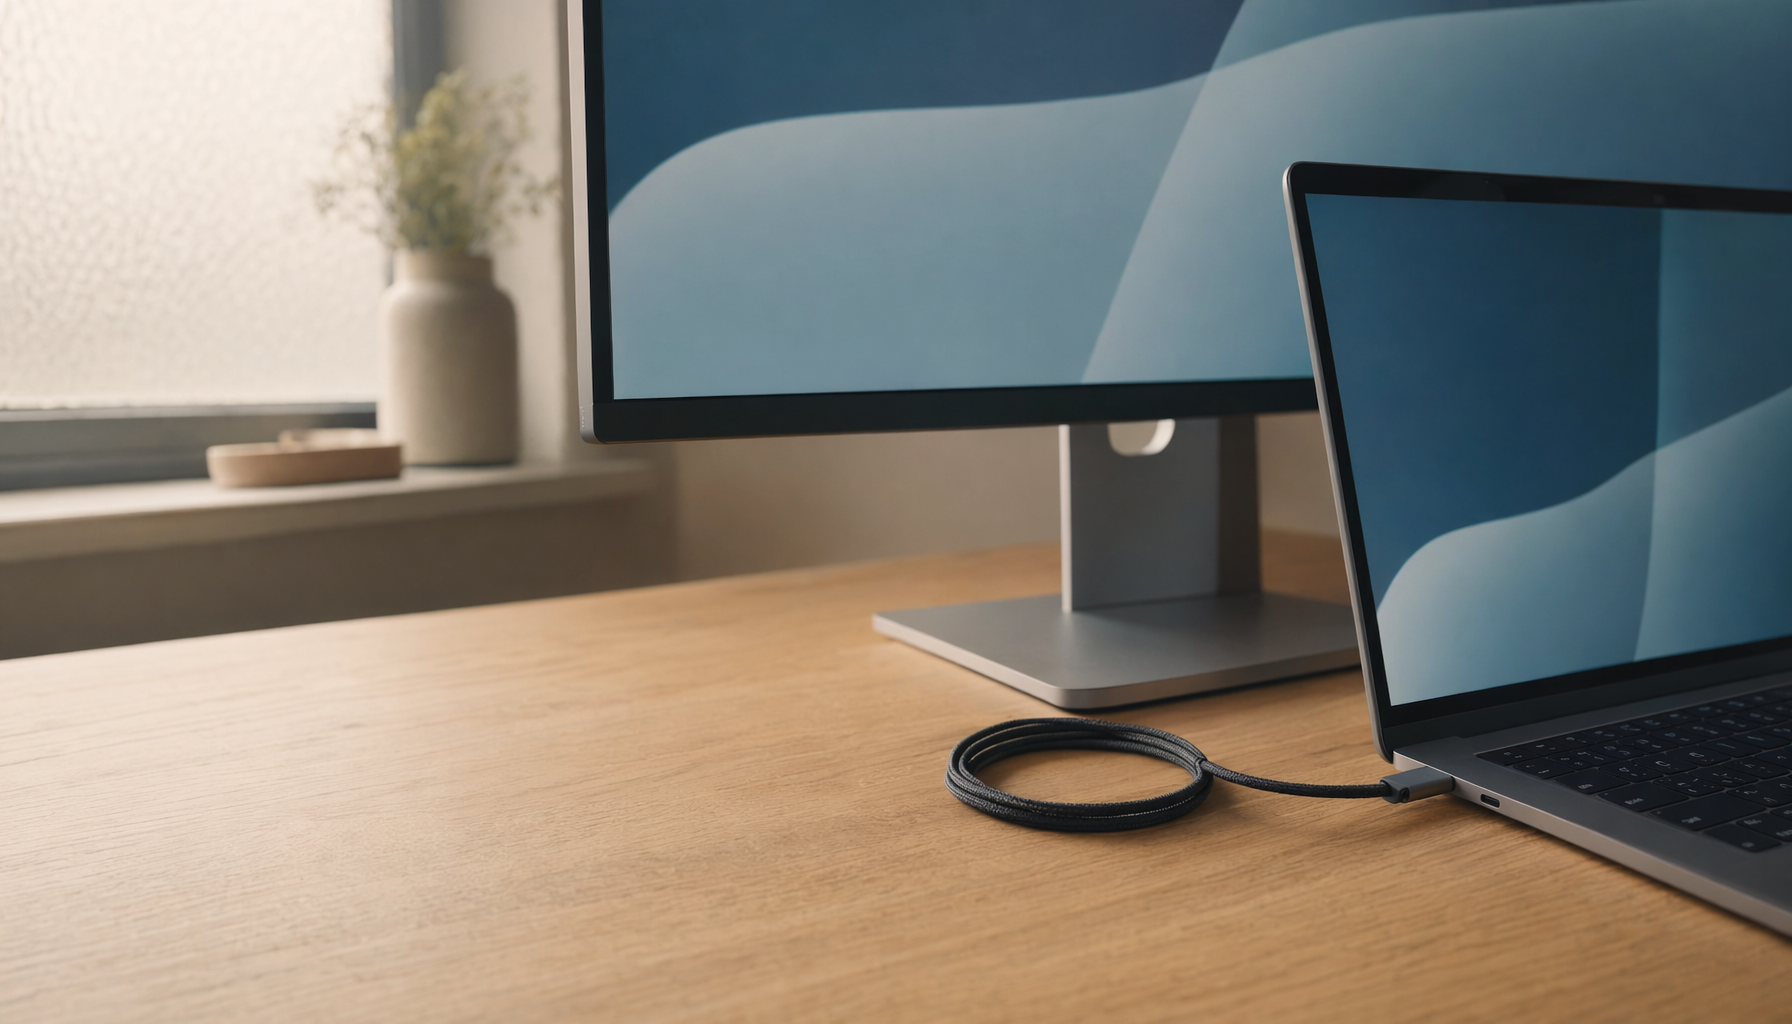
USB-C is not automatically video-capable. For a laptop to send video through USB-C, both the computer and the connected device need support for DisplayPort Alt Mode. The same cable may also need to carry USB data and power, so cable quality becomes part of system reliability.
A practical test is simple. Connect the laptop directly to one monitor with the planned USB-C cable before adding the dock or KVM. If video does not work directly, the KVM will not fix it. If video works but USB devices drop after sleep, suspect the cable, hub, or power management path before blaming the display.
Budget-Friendly Option: Use Monitor Inputs and a USB Switch
If your monitors have multiple inputs, you can leave the desktop on DisplayPort, the laptop dock on HDMI, and use each monitor’s input button to change systems. Then add a small USB switch for the keyboard and mouse. This avoids video switching hardware and can work well when you switch once in the morning and once at night.
The tradeoff is friction. You may have to change input on two monitors, press the USB switch, and occasionally wake the correct machine. Users discussing a similar laptop-and-desktop setup describe this as a lower-cost path, while a dedicated auto-switch KVM is the cleaner hardware answer when you want to avoid software tools and repeated manual changes.
This option is strongest for office productivity displays at 60Hz, where monitor input switching is reliable and refresh-rate demands are modest. It is weaker for a gaming desktop driving high refresh rates, because each extra adapter, hub, or mismatched input can become the reason your 144Hz panel behaves like a basic office screen.
Do Not Use Wireless as Your Main Desk Switch
Wireless projection can be useful for presenting slides or mirroring a screen across a room, but it is not the right primary method for a shared work-and-gaming desk. Latency, compression artifacts, inconsistent detection, and wake behavior make it less predictable than a wired switch.
The same caution applies to using a second laptop as a monitor. A laptop usually has HDMI output, not HDMI input, so a wired “laptop as display” setup often needs capture hardware. Guidance on using a second laptop highlights the need for a video capture device when the receiving laptop cannot accept native HDMI input. That is useful for niche workflows, but it is not the cleanest way to share a premium monitor desk.
Troubleshooting Black Screens, Lost Touch, and Weird Wake Behavior
Start with the basics before replacing hardware. Confirm that both monitors are powered on, the correct input is selected, and every cable is seated fully. Then open display settings and use Identify or Detect. If the system sees the monitors in the wrong order, drag the numbered displays into the same layout as your desk.
For portable smart screens and touch displays, remember that video and touch can behave like separate devices. A portable touchscreen may wake as a display while the touch controller fails to reappear as a USB input device. The fix is often in Device Manager, where the HID-compliant touch screen or USB Root Hub may need power-saving behavior adjusted; KTC’s support notes explain that a touchscreen monitor can show video while touch fails because the touch controller depends on USB detection.

Cable discipline matters more than most desk guides admit. A passive adapter, an under-rated USB-C cable, or a cable that carries charging but not stable data can create flicker, missed USB devices, or black screens after sleep. For a shared desk, label the laptop USB-C cable, each monitor output, and the KVM host cables. When something fails, you can test one path instead of dismantling the entire setup.

The Setup I Would Build for Most Hybrid Desks
For a serious work laptop and personal desktop setup, use two matching monitors if possible, a dual-monitor KVM with the exact HDMI or DisplayPort standard your screens require, and a reputable USB-C dock only on the laptop side if the laptop lacks native outputs. Keep the desktop connected directly from the GPU to the KVM. Keep the keyboard, mouse, webcam, and headset on the KVM’s USB side unless a device is bandwidth-sensitive enough to deserve a direct connection.
For display settings, choose Extend, set the primary monitor, match scaling where practical, and arrange the monitors so cursor movement follows the desk. External-monitor setup guidance emphasizes identifying ports, choosing the right cable, selecting the correct monitor input, and configuring Extend mode so the monitor becomes real workspace rather than a mirror.
The result is a desk that behaves like a performance workstation instead of a cable puzzle. Your work laptop gets the ergonomic advantage of full-size displays, your desktop keeps its gaming or creative horsepower, and the switch between them becomes a deliberate control action instead of a daily rebuild.


