


Mini-LED local dimming video editing is useful when you want stronger contrast without losing track of shadow detail, but it only helps if the dimming behavior stays predictable in your actual timeline. For editors, the real question is not whether the screen looks dramatic in a showroom; it is whether dark tones stay visible, bright UI edges stay clean, and SDR/HDR switches stay steady.

Why Zone Behavior Matters for Shadow Accuracy
Local dimming changes more than brightness. In dark scenes, it can improve perceived contrast, but it can also shift shadow detail or create halos around scopes, playheads, subtitles, and other bright UI elements. That is why zone behavior matters to editors, not just to display reviewers.
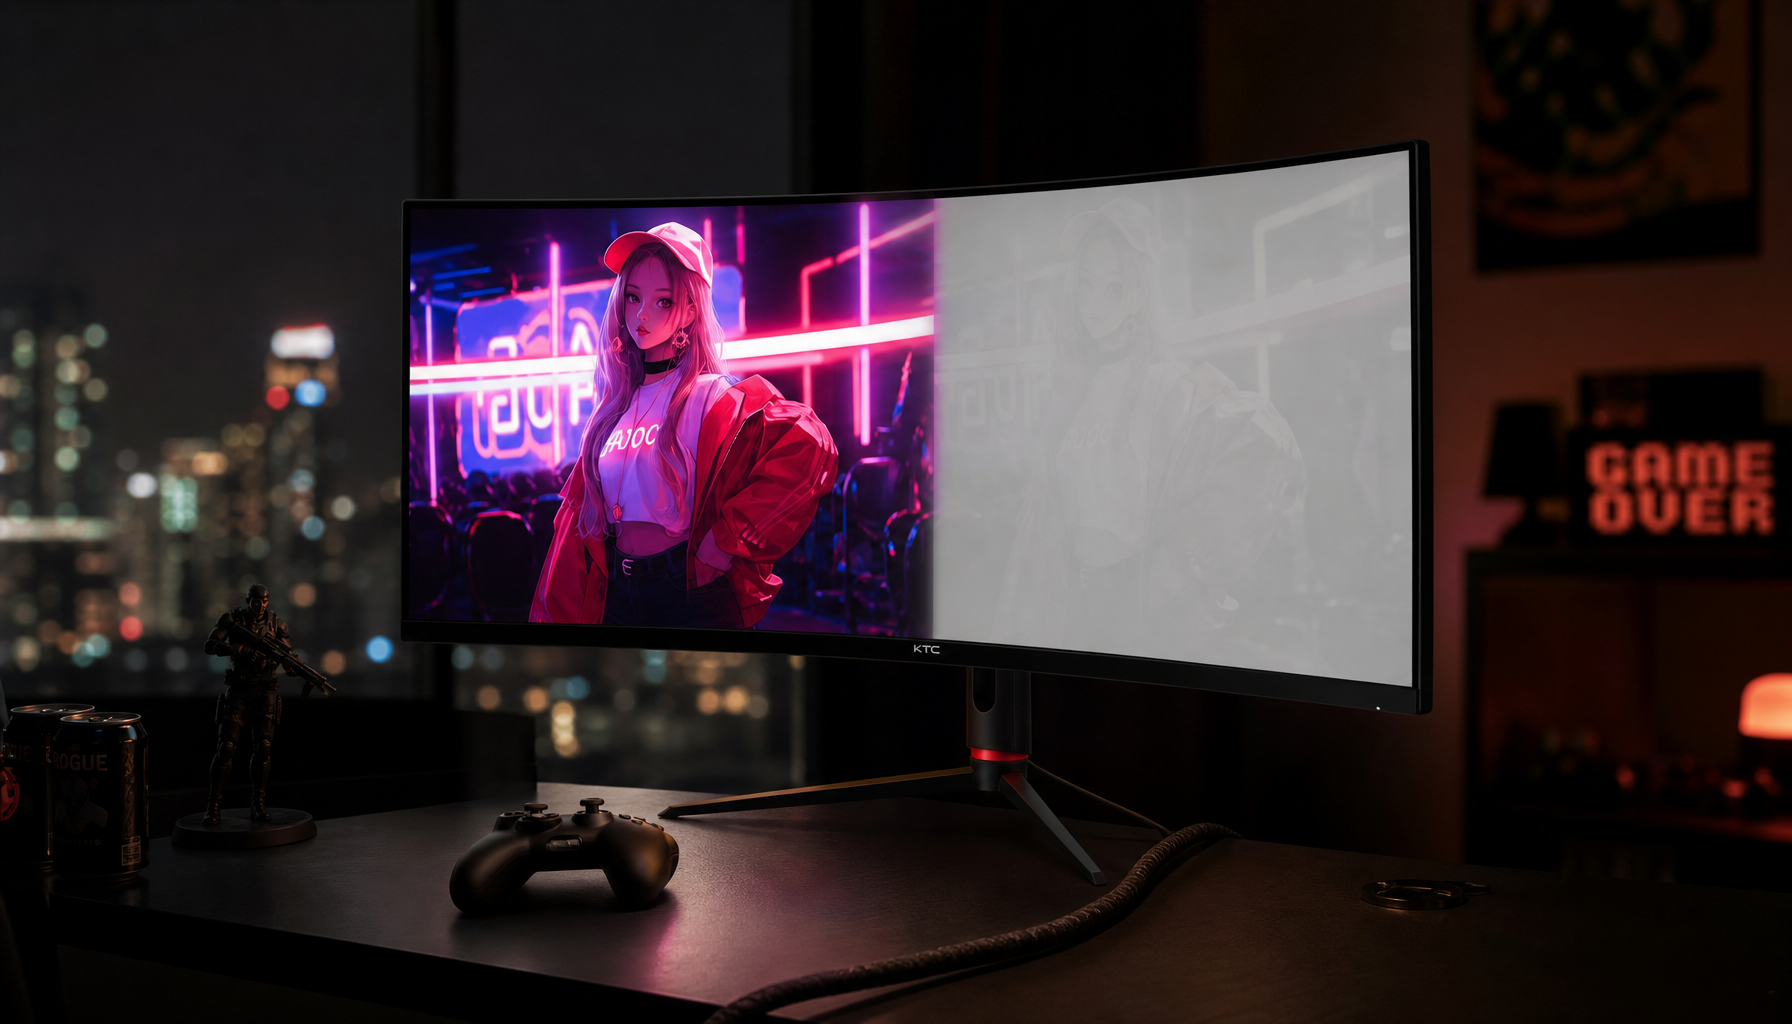
If you want a reference point, the KTC Mini LED 27" 4K 160Hz HDR1400 Gaming Monitor | M27P6 is a 27-inch 4K Mini-LED option with 1,152 local dimming zones, HDR1400 peak brightness, and a full ergonomic stand. That does not make it a grading reference display, but it does make it a useful example of the trade-off editors are trying to manage.
For most editors, the goal is predictable playback and grading, not the deepest-looking demo mode. If a monitor looks impressive only when the room is dim and the UI is hidden, that is a warning sign rather than a win.
Mini-LED Performance That Fits Editor Workflows
The best Mini-LED monitor for editing is the one that matches your delivery mix and your patience for tuning. A 4K panel helps when you want more room for the image and scopes. A 1440p panel can be the simpler fit when you spend more time cutting than pixel-peeping. Full ergonomics also matter more than many buyers expect, because long sessions are easier to live with when the screen can be positioned correctly.
| Workflow Need | Better Fit | Why It Matters | What To Check First |
|---|---|---|---|
| 4K timeline review | M27P6 | Higher resolution makes preview and UI space easier to manage | Confirm your GPU and apps are comfortable at 4K |
| Faster daily editing with lighter scaling demands | M27T6S | 1440p is often easier to drive for long sessions | Check whether the sharper 4K canvas is actually useful to you |
| HDR-heavy review passes | M27P6 | HDR1400 gives more headroom for bright highlights | Look for blooming around small bright objects |
| SDR-first editing with stable behavior | M27T6S | Lower-resolution workflow can feel simpler and easier to keep consistent | Test whether SDR feels steadier than HDR |
| Long desk sessions | Either model | Full ergonomics reduce setup friction | Check height, swivel, and pivot before you buy |
The All-Mini-LED Monitors collection is the best place to browse if you want to compare the category without locking into one model too early. If you want a different balance of speed and resolution, the KTC Mini LED 27" 200Hz 2K HDR1000 Gaming Monitor | M27T6S is the 1440p option in this group, with 1,152 zones, HDR1000, and factory ΔE<2 calibration. The KTC Mini LED 27" 180Hz 2K HDR1400 Gaming Monitor | M27T6 offers another 1440p choice when you need higher peak brightness.
For editors, that usually means this: choose the 4K model when you need the sharper canvas and stronger HDR headroom; choose the 1440p model when you want a simpler daily driver that is easier to keep consistent. Neither one is automatically better for everyone.
Test Zone Mapping Before You Grade
The safest mini-LED monitor local dimming test uses the same clip, the same room lighting, and the same UI layout every time. If you change all three variables at once, you will not know whether a setting actually helped.
Set Up a Repeatable Test Scene
Pick one dark clip with a few bright details, then keep a timeline UI element in the same place on every pass. In real editing sessions, scopes and playheads are often what trigger the first distracting artifacts, so place them where you normally work instead of hiding them.
A repeatable setup matters because blooming can look different depending on where the bright object sits on screen. If you move the test image every time, you are no longer testing the monitor. You are testing the scene layout.
Check Blooming Around UI and Scopes
Look at the edges of scopes, playback controls, subtitles, and white text on dark backgrounds. Those are the places where haloing usually becomes visible first in a mini-LED monitor local dimming test. If the artifact is obvious there, it will probably bother you even more during a long session.
A useful rule of thumb is simple: if the bright UI edge pulls your attention away from the footage, the setting is too aggressive for editing comfort. That does not automatically mean local dimming is unusable. It means the current tuning is too strong for that workflow.
Measure Shadow Detail in Dark Footage
After you check for halos, switch your attention to the dark areas of the clip. You want to see whether the deepest visible steps still separate cleanly when local dimming is on. Microsoft's HDR calibration workflow is useful here because it gives you a repeatable way to judge darkest visible detail.
If the darkest tones collapse into one block, lower the dimming aggressiveness or compare another preset. If the shadows stay readable and the UI stays controlled, you are in a safer range for editing work.

Repeat the Test in SDR and HDR
Do not assume one setting will work the same in both modes. SDR and HDR can behave differently once local dimming is active, and that is where many editors get surprised. A quick A/B pass on the same clip usually tells you more than a spec sheet does.
If HDR brings more pumping, flashing, or shadow instability than SDR, keep SDR for the edit and reserve HDR for review passes. If HDR stays stable and the shadows remain readable, you can keep it enabled with more confidence.
Tune SDR and HDR Without Chasing Flicker
Start with the mode your project actually needs. Then compare it against the alternate mode on the same clip before you make a final call. That is the fastest way to avoid brightness pumping or flicker that only shows up after you have already started working.
- Pick one baseline preset and leave it unchanged for the first pass.
- Test SDR first if your project is mostly web or broadcast SDR.
- Test HDR on the same clip, with the same UI placement and room light.
- Watch the dark background and bright window edges for pumping or flashing.
- Keep the mode that stays most consistent for the current job.
If switching modes creates visible instability, do not force the brighter-looking setting. The more dramatic mode is not necessarily the more useful one for editing. In mixed UI work, stability usually beats spectacle.
The HDR presets tone mapping guide is a useful follow-up if you want to understand why one HDR preset can feel calmer than another. For editors, the practical point is simple: pick the preset that keeps the image readable, not the one that looks most intense.
A second check is worth doing after calibration or any preset change. If a tweak improves highlights but makes shadows harder to trust, you have not really improved the workflow. You have only shifted the problem.
Choose a Setup That Stays Comfortable for Long Sessions
For long editorial sessions, comfort is not a side issue. A monitor that is hard to position or too bright for the room can become tiring even if the image quality is strong on paper.
Use this quick filter before you buy:
- If you need the sharpest canvas for 4K review, start with a 4K Mini-LED model.
- If you mainly cut in 1440p, a 1440p Mini-LED model is often the simpler daily fit.
- If you switch between editing and gaming, check whether the refresh-rate headroom actually matters to your workflow.
- If your desk changes often, prioritize height, swivel, and pivot over minor spec differences.
- If your room is moderately lit, verify that the monitor stays readable without exaggerating halos.
The Gaming Monitor collection is a reasonable browse path if you want to see other desk-display options after you finish the editing checks. But if your real use case is creative work, do not let gaming-first marketing language pull you away from the settings that matter most for shadow stability.
For mixed creator setups, the M27P6 is the more obvious 4K reference point, while the M27T6S is the more practical 1440p alternative when you want strong color coverage and a simpler daily workflow. That is a workflow decision, not a quality ranking.
Final Mini-LED Editing Checklist
Before you trust mini-LED local dimming video editing settings on client work, verify four things in your own room:
- Darkest tones stay visible in the clip you actually edit.
- Bright UI elements do not create distracting halos around scopes or the playhead.
- SDR and HDR do not cause unstable brightness changes when you switch between them.
- The monitor stays comfortable after a full work block, not just during the first few minutes.
If one of those checks fails, change the preset, compare another mode, or reconsider whether local dimming should stay on for that workflow. The right setting is the one you can keep using without thinking about it.
FAQs
Q1. How Do I Check Whether Local Dimming Is Hiding Shadow Detail?
Use one dark clip, one bright UI overlay, and one repeat pass with the same room light. The useful signal is whether the same dark steps stay visible after you change presets or brightness, not whether the image simply looks more contrasty.
Q2. What Zone Mapping Problem Shows Up First in Timeline Work?
Blooming around the playhead, scopes, and subtitle boxes is usually the first thing editors notice. It tends to show up faster when the background is dark and the UI is bright, so test with your real timeline layout instead of a full-screen demo.
Q3. Can I Use the Same Mini-LED Setting for SDR and HDR?
Sometimes, but not always. SDR and HDR can trigger different dimming behavior, so the better approach is to compare both on the same clip and keep the mode that stays most stable for the current job.
Q4. Why Does Brightness Flashing Happen When I Switch Windows?
Local dimming may react strongly to large background changes, especially when a bright white window replaces a darker one. To separate the effect from room light, test the same image at two brightness levels and see whether the change still appears.
Q5. What Should I Prioritize If I Want One Monitor for Editing and Gaming?
Start with the workflow you use most often. If editing is the main job, prioritize stable shadow detail, usable ergonomics, and predictable SDR/HDR behavior first; if gaming is equally important, then move refresh rate and dual-mode support higher on the list.


