


When Linux does not list your monitor’s best resolution, first confirm the correct display output, then add the missing mode with xrandr on X11, or adjust scaling and display behavior through your desktop settings on Wayland.
Is your 1440p, ultrawide, or portable display stuck at a blurry 1024x768? In most real-world Linux setups, you can test a missing resolution in minutes with xrandr, then decide whether the fix belongs in display settings, a startup script, a driver install, or a desktop environment change. Here is the practical path to getting the pixels, refresh rate, and layout your screen actually supports.
Why Linux Sometimes Hides Valid Monitor Resolutions
Linux usually builds its display list from what the monitor, graphics driver, cable, dock, and display server report during detection. When that chain fails, the operating system may offer only safe fallback modes such as 1024x768, even if the panel can run 1920x1080, 2560x1440, 3840x2160, or a portable screen’s unusual native size.
The most common cause is incomplete or incorrect monitor detection. Some Linux recorder documentation describes a similar failure mode where a system may not determine the monitor specifications automatically, leaving the user to force or recheck resolution behavior through hot keys such as 1024x768, 1920x1080, redetection, or preferred resolution selection via monitor resolution. That same principle applies on workstations: if the display stack cannot trust the monitor data, it falls back.
The second cause is the graphics path. USB display adapters, docking stations, KVM switches, and USB-based display hardware can require extra drivers. A university senior design knowledge base notes that Linux multi-display setup is manageable but less straightforward than on other desktop operating systems, and that some USB display setups may require a vendor driver plus dkms before the desktop display settings behave normally through multiple displays.
The third cause is session type. xrandr is built for X11. On Wayland sessions, resolution and scaling are normally handled by the desktop compositor. Community discussions often recommend desktops with stronger mixed-resolution scaling controls, especially when combining native Wayland scaling with X11/XWayland apps that scale themselves for sharper font rendering.
Start With the Simple Display Settings Check
Before touching the terminal, open your desktop’s Display settings and select the exact monitor you want to configure. In multi-monitor setups, changing the laptop panel while the external monitor is selected, or vice versa, is a common source of confusion. The same principle applies on other operating systems: select the specific external display first before changing resolution, scale, or orientation through screen resolution.

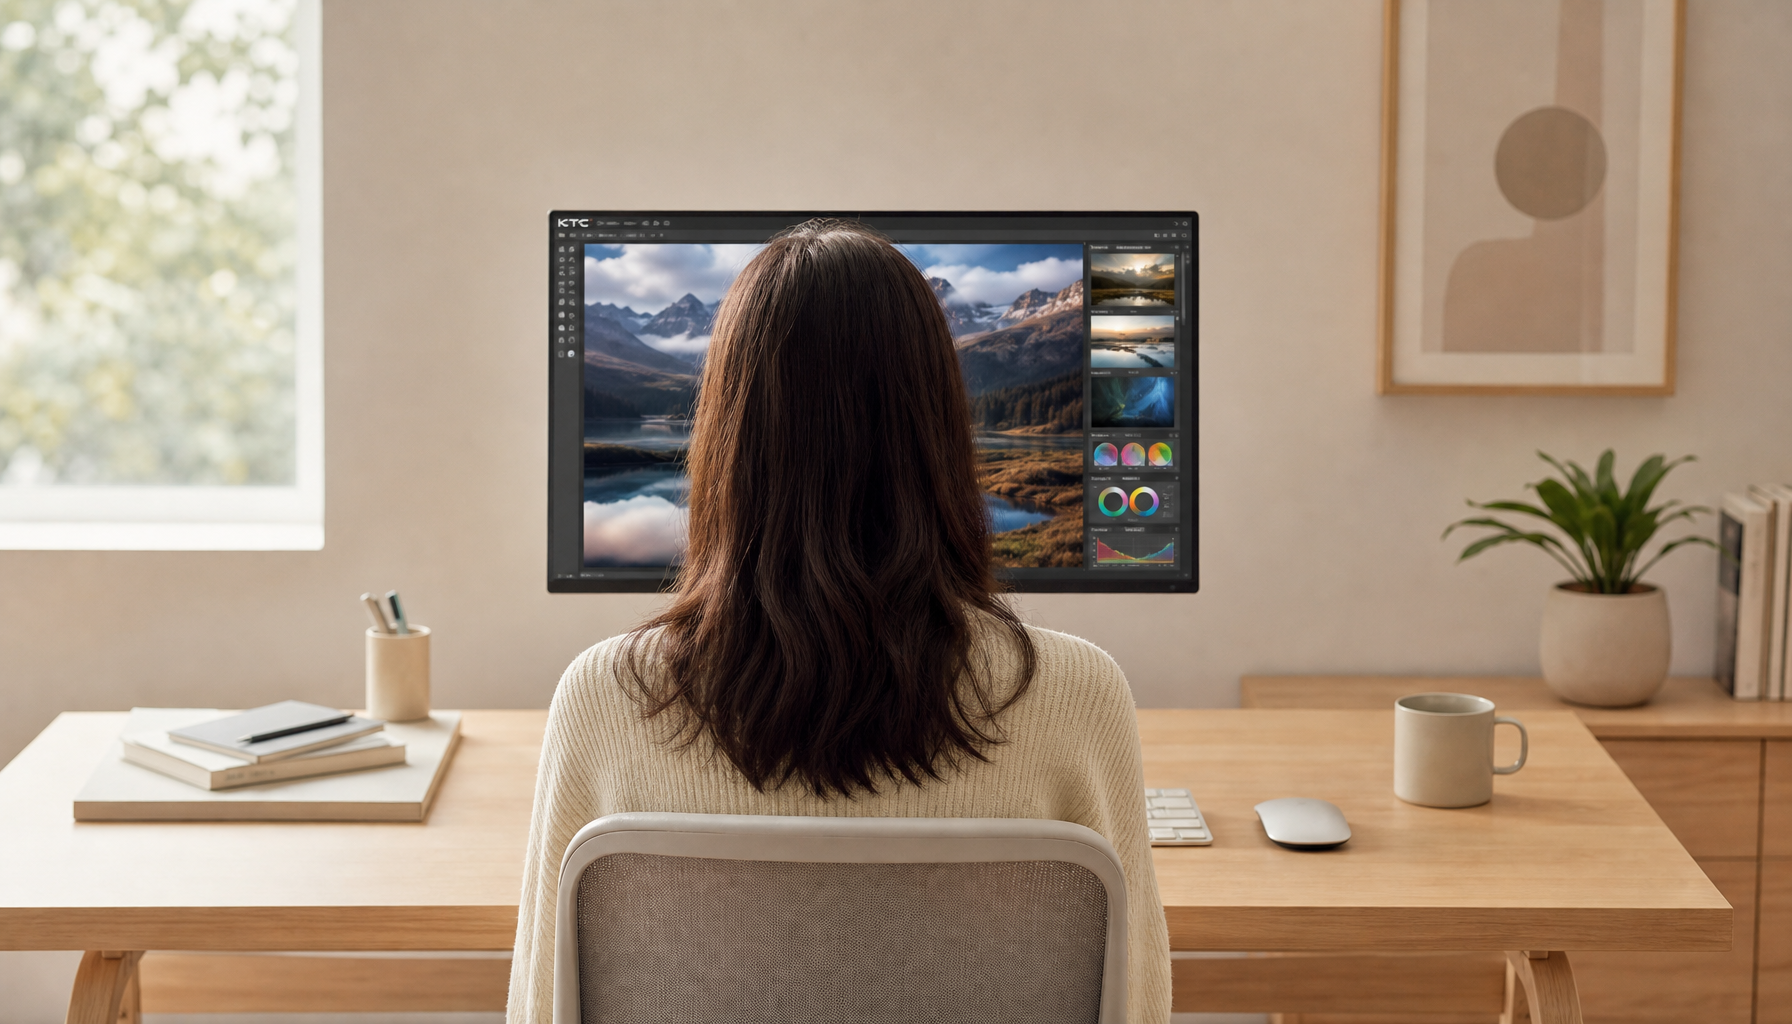
Choose the resolution marked as recommended or native when it appears. Native resolution means the physical pixel grid of the panel. A 1920x1080 monitor has 1,920 pixels across and 1,080 pixels vertically; using 1366x768 on that panel forces scaling and often makes text look soft. For productivity displays, native resolution is not a luxury setting. It is the baseline for crisp spreadsheets, readable code, accurate UI spacing, and stable window placement.
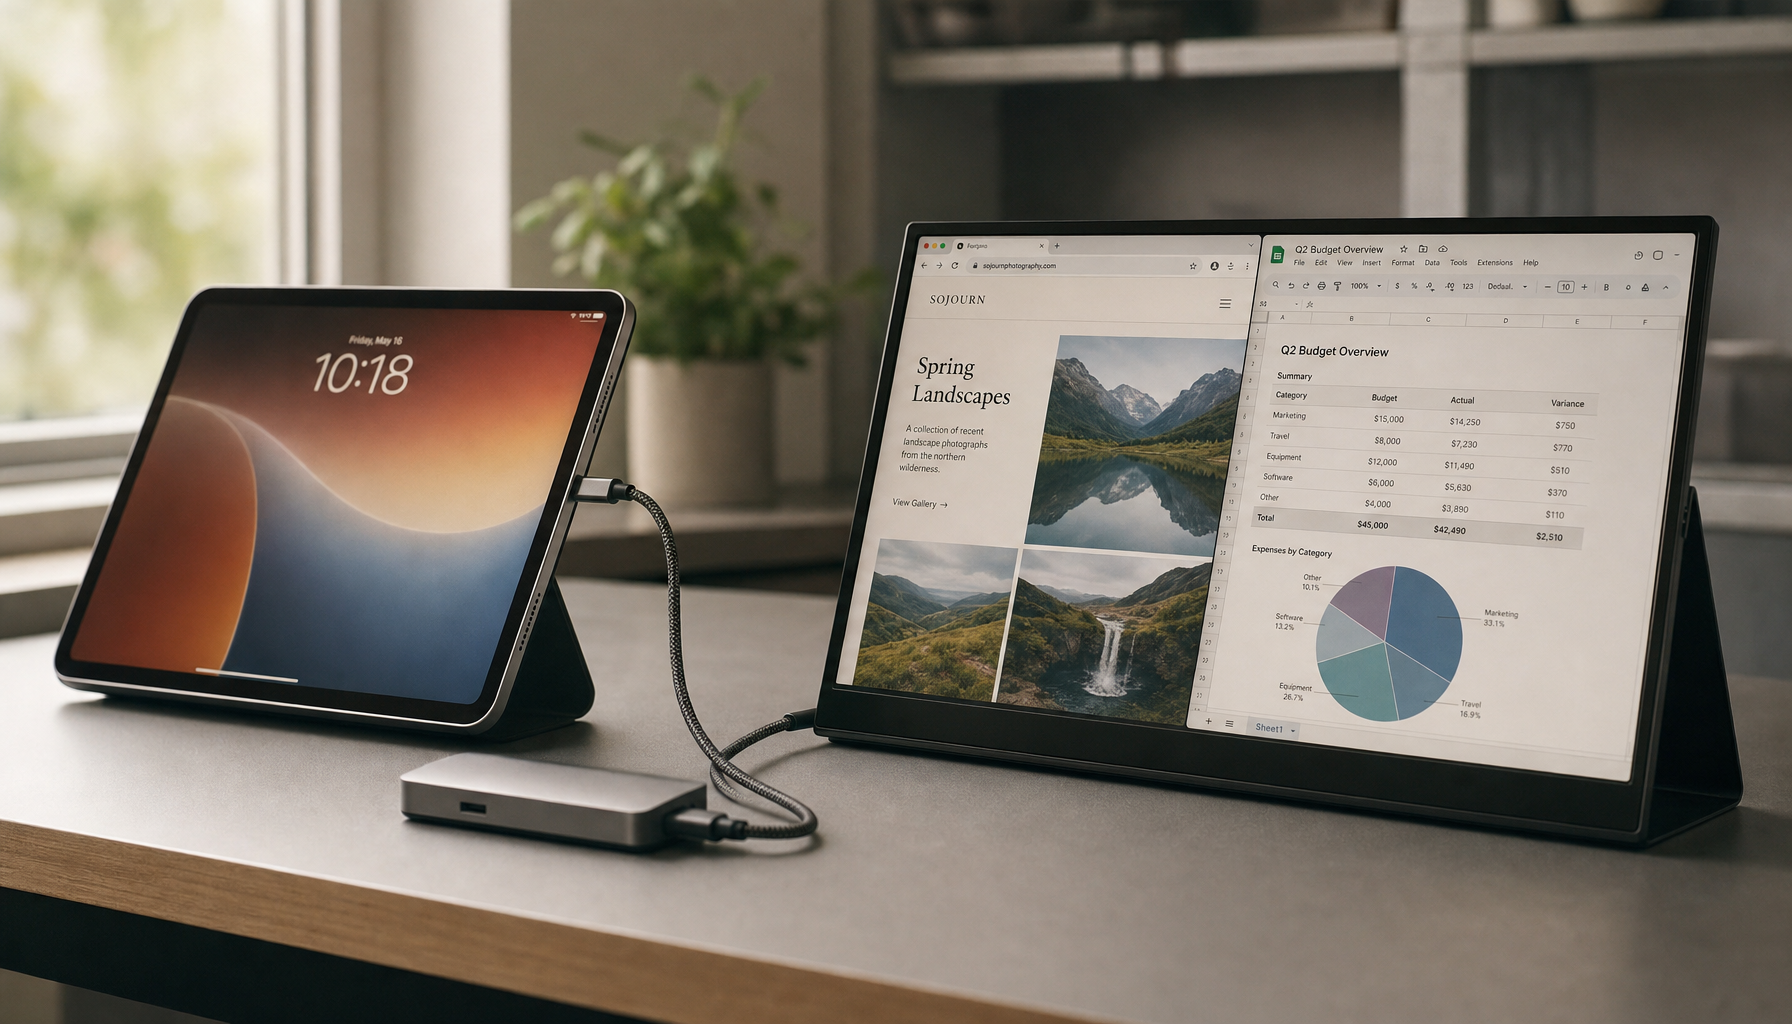
If you use two displays, decide whether you want an extended workspace or a mirrored one. Extended mode lets you move windows between screens, which is usually best for office productivity and dashboard-style layouts. Mirror mode shows the same image on both displays, useful for presentations but sometimes limited by the lower-resolution screen. If a 4K monitor mirrors a 1080p projector, do not be surprised when 4K disappears as an option.
Use xrandr to See What Linux Actually Detects
Open a terminal and run xrandr. This shows connected outputs, available resolutions, refresh rates, and the active mode. Output names vary by system. You might see HDMI-1, DP-1, eDP-1, VGA-0, Virtual1, or another label. The exact name matters because every later command must target the connected output.

A common command-line workflow uses xrandr to query displays, create new modes, attach them to outputs, and activate them, with the warning that example names such as Virtual1 must be replaced by your own detected output through command-line workflow. That replacement step is where many failed fixes come from.
If your desired resolution is already listed, apply it directly. For example, if HDMI-1 lists 1920x1080, run xrandr --output HDMI-1 --mode 1920x1080. If the resolution appears but the refresh rate is wrong, specify the rate if listed, such as xrandr --output DP-1 --mode 3840x2160 --rate 120.
Add a Missing Resolution on X11
When the correct mode is not listed, generate a modeline. A modeline is a set of timing values that tells the display server how to drive the screen at a specific resolution and refresh rate. For a 1600x900 monitor at about 75 Hz, the common command is cvt 1600 900 75. For a standard 1920x1080 screen at 60 Hz, use cvt 1920 1080 60.
The generated output includes a quoted mode name and timing values. Copy everything after the word Modeline into an xrandr --newmode command. Then attach that mode to the connected output and activate it. The common sequence is xrandr --newmode, then xrandr --addmode, then xrandr --output --mode. Unix Stack Exchange documents this same pattern for a 1024x600 display that was incorrectly detected as 1280x720, emphasizing that users should verify names such as HDMI1, HDMI2, or DP1 before applying the mode through custom resolution.

For example, after generating a mode named 1920x1080_60.00, run xrandr --newmode "1920x1080_60.00" <timing values from cvt>, then xrandr --addmode HDMI-1 "1920x1080_60.00", then xrandr --output HDMI-1 --mode "1920x1080_60.00".
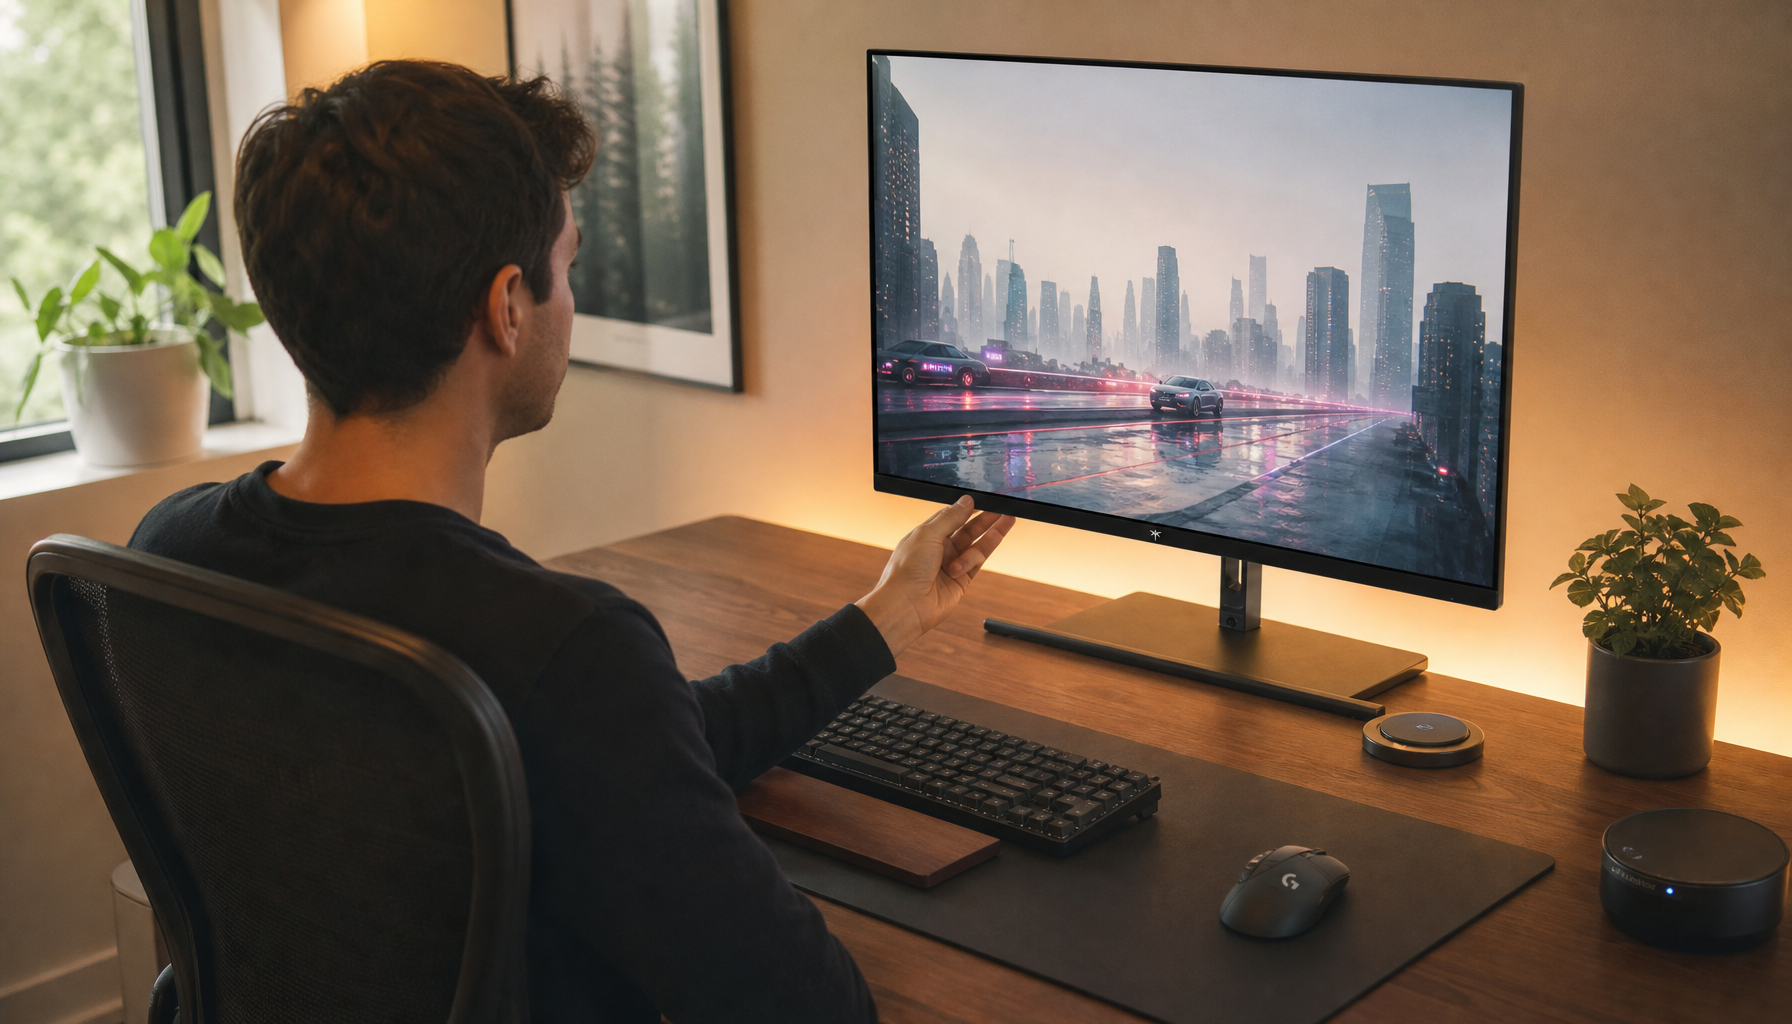
If the display goes black, wait a moment or switch to a known-good mode from another terminal. For high-refresh gaming monitors, do not jump straight to the most aggressive setting. Test native resolution at 60 Hz first, then move toward 120 Hz, 144 Hz, or higher if the cable, GPU, and monitor all support it.
Make the Fix Persistent Without Making Boot Risky
Once the command works manually, make it reusable. Linux desktop forum guidance recommends testing cvt and xrandr commands first, then placing the working commands into an executable script or startup application so the mode is applied after login through startup application. This matters because a bad command in the wrong startup location can make every login annoying.
For most desktop users, a login script is safer than a deep Xorg configuration file. On X11 sessions, commands can often be placed in ~/.xprofile so they run automatically after login. Some desktop environments also let Startup Applications run a script that adds and applies the mode.
The practical test is simple: log out, log back in, and confirm the display lands on the intended resolution without manual intervention. If you use a portable monitor only sometimes, avoid forcing that mode unconditionally. A script that targets a disconnected output can fail harmlessly, but it can also slow troubleshooting when you later dock into a different setup.
Handle Multi-Monitor Setups, Docks, and USB Display Adapters Carefully
If the missing resolution happens only through a dock, adapter, or USB display interface, solve the hardware path before blaming Linux display settings. Try a direct cable from GPU to monitor. If native resolution appears directly but not through the dock, the dock, adapter, cable, or driver is the bottleneck.
USB display adapters are a special case because they can create virtual display interfaces over USB. Multi-display Linux notes recommend installing the appropriate vendor driver and dkms, then arranging monitors through desktop Display Settings afterward via desktop Display Settings. For office productivity displays, this is often enough. For gaming monitors, USB display paths are less ideal because refresh rate, latency, and variable refresh features may not behave like a direct DisplayPort or HDMI connection.
If you switch between multiple fixed monitor layouts, scripting can be cleaner than repeated GUI changes. One desktop forum discussion describes a user alternating between a single 4K 120 Hz display and a dual-display layout with separate primary-display assignments, where xrandr is the practical tool for resolution, refresh rate, position, enablement, and primary status through display settings. That approach is useful for a workstation that doubles as a focused gaming setup after hours.
Wayland, Scaling, and Sharp Text
On modern Linux desktops, the missing-resolution problem may really be a scaling problem. A 13-inch high-density laptop panel paired with a 27-inch 4K monitor can make one screen too tiny and the other too large unless per-display scaling is handled well.
A desktop environment with mature mixed-display controls can help when different resolutions and scaling levels need to coexist. Community experience suggests looking for native scaling for Wayland apps and app-managed scaling for X11/XWayland apps to preserve sharper fonts in mixed-resolution setups. Treat that as a practical clue rather than a universal rule: if one desktop makes your monitor look technically correct yet visually poor, another may handle scaling more cleanly.
For portable smart screens, scaling can be the difference between “works” and “usable.” A 14-inch 1920x1080 portable display may look best at 100% scaling beside a laptop panel at 150%. If your desktop environment cannot tune those independently, the hardware is not the only limitation; the compositor and app stack are part of the display experience.
When Resolution Changes Feel Slow or Unstable
A display fix can expose a performance issue. Driving a 4K monitor, a second display, or a high-refresh panel increases GPU workload and memory bandwidth. If the desktop becomes sluggish after applying the desired mode, check system load before assuming the resolution is wrong.
Linux monitoring guidance recommends starting with top, htop, and df -h, then expanding to tools such as iostat, vmstat, and mpstat when deeper diagnostics are needed through system resources. For a display-specific test, watch CPU and memory while dragging windows, playing video, or running your normal work apps. If CPU stays pegged or swap grows heavily, the bottleneck may be compositing, browser tabs, video decode, or a driver path.
For a lightweight check, run htop during the same workflow that feels bad. If the machine is calm at 1080p but strained at 4K with multiple browser windows, the resolution is working; the workload is simply heavier. For performance-driven display setups, the right answer may be native resolution plus better scaling, a stronger cable path, updated graphics drivers, or fewer effects, not a lower-quality panel mode.

Practical Decision Path
Use the desktop Display settings first when the desired resolution appears and you only need to select it. Use xrandr when you are on X11 and the monitor’s valid mode is missing. Install the needed driver when the problem follows a dock, USB adapter, or USB display path. Consider a desktop environment with stronger per-display scaling if the resolution is available but text and app sizing still feel wrong.
The best Linux display setup is not the one with the most commands. It is the one that gives your monitor its native pixels, keeps refresh rate honest, preserves sharp text, and survives the next login. Once those pieces line up, your display stops being a troubleshooting surface and becomes the workspace or gaming canvas you paid for.


