


Match your monitor brightness to the light around it: dimmer in dark rooms, brighter in bright rooms, and never so intense that the screen feels like the main light source.
Does your monitor feel like a flashlight at night, or do you find yourself squinting at spreadsheets when the sun hits the room? A practical brightness match can make text easier to read, reduce glare-driven fatigue, and keep gaming or productivity visuals consistent throughout the day. This guide explains how to set brightness by room type, tune contrast without crushing detail, and decide when auto-brightness is worth using.
Why Room Lighting Changes How Bright Your Monitor Should Be
Monitor brightness is screen luminance, usually measured in nits, while room light is illuminance, measured in lux. That distinction matters because your eyes are constantly adapting between the light coming from the display and the light bouncing around the room. If the gap is too large, your visual system has to work harder than it should.
The core ergonomic rule is simple: the screen should be readable without looking dramatically brighter than nearby walls, paper, or desk surfaces. OSHA’s workstation environment guidance emphasizes controlling glare and reflections, which is often more important than chasing a single “perfect” brightness number.
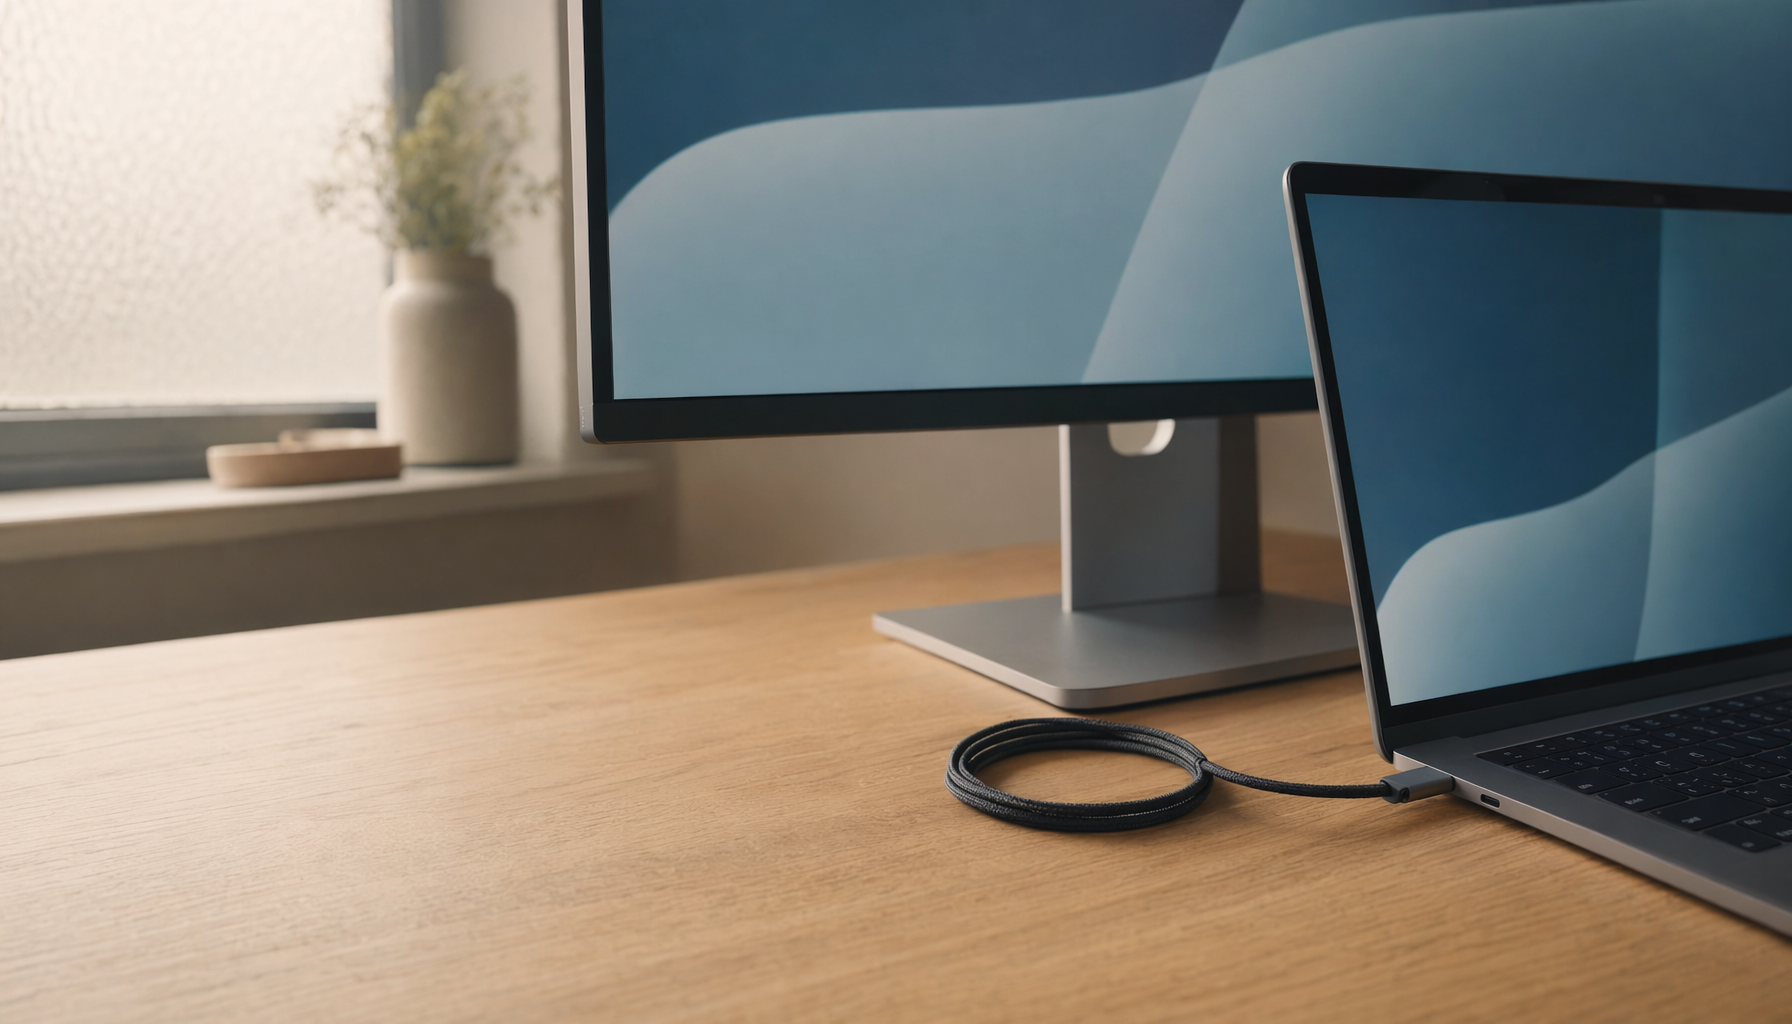
In hands-on display tuning, the biggest comfort improvements usually come from reducing contrast extremes. A 32-inch monitor at full brightness in a dim office can feel impressive for five minutes, then punishing after an hour. The same monitor may feel dull at 25% brightness in a sunny room, even if the panel itself is technically good.
Practical Brightness Targets
For most desktop monitors, a comfortable indoor range lands far below the maximum brightness printed on the spec sheet. Many productivity and gaming displays can reach 250 to 400 nits, but that does not mean they should run there all day.

A dim evening room often feels best around 120 to 180 nits. A well-lit home office usually works better around 250 to 350 nits. Bright daylight near windows may need 400 to 700 nits, especially on glossy screens or portable displays. Direct sunlight is a different category entirely, where specialized sunlight-readable displays often need 1,000 nits or more; daylight visibility also depends on reflections, contrast, and glass treatment, not brightness alone.
Room condition |
Practical monitor target |
What it should feel like |
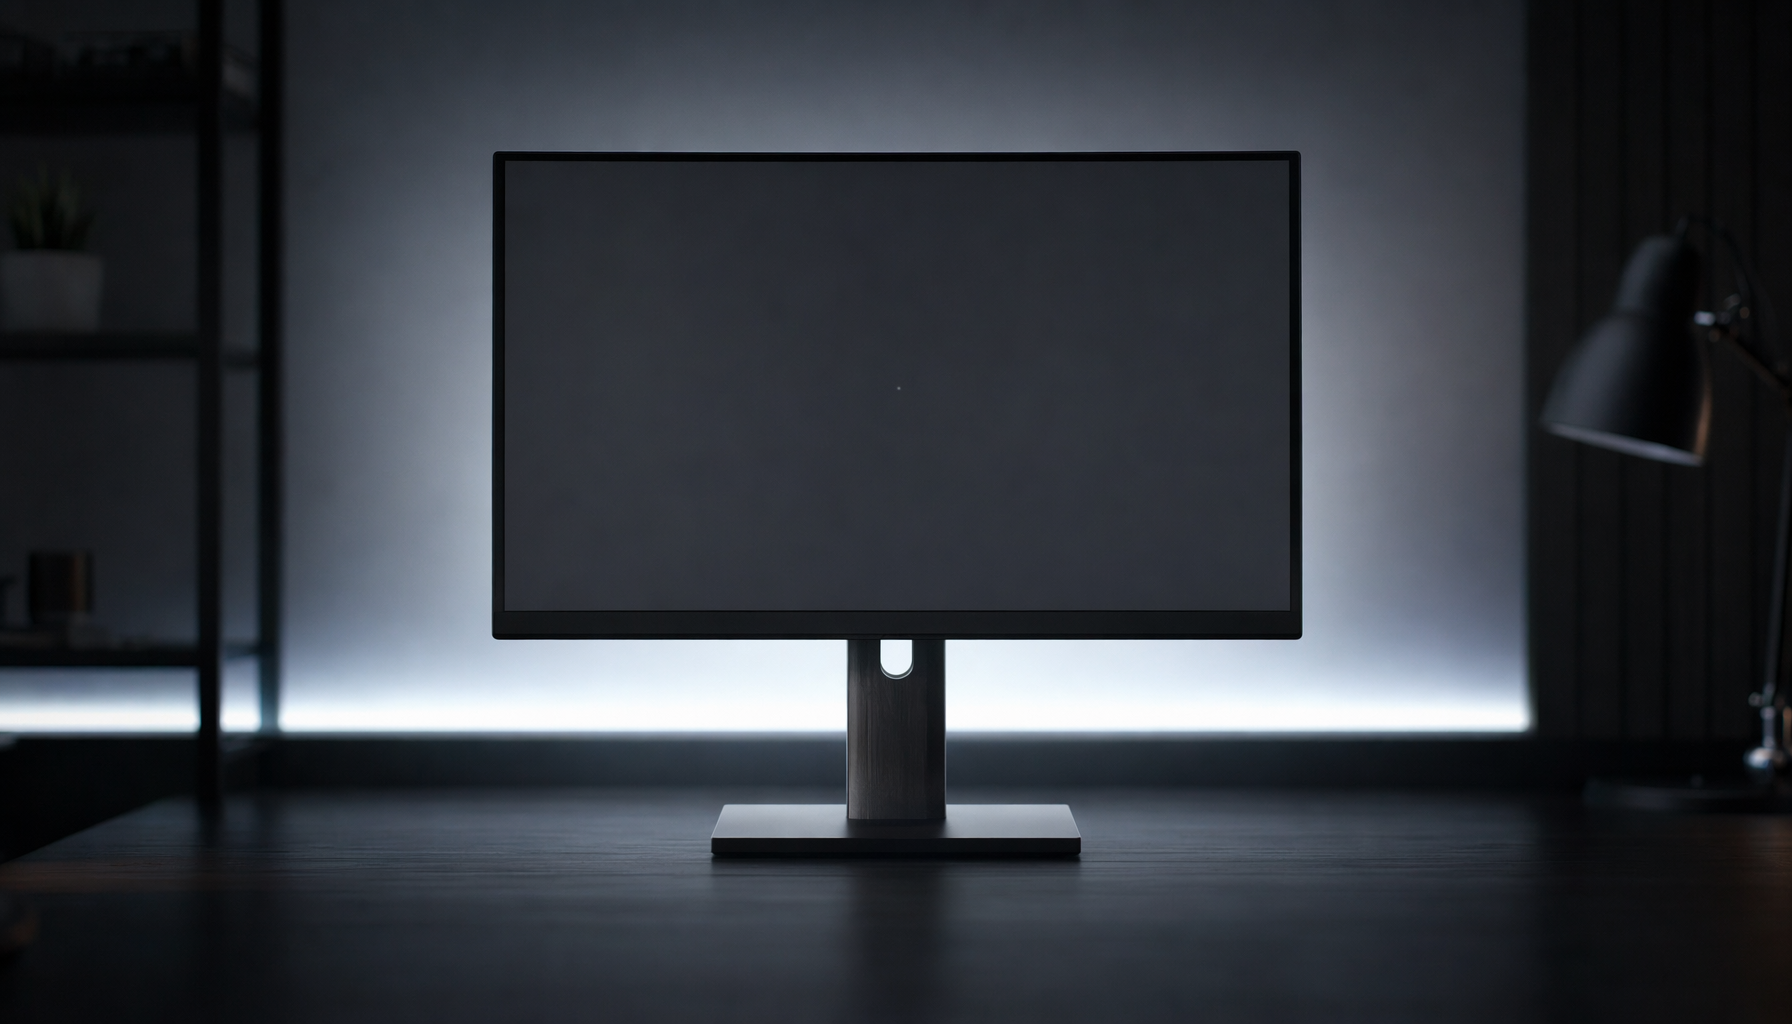
Dark room or late-night desk |
120–180 nits |
Clear text without a glowing “lamp” effect |
Normal home office |
200–300 nits |
Similar visual weight to paper on the desk |
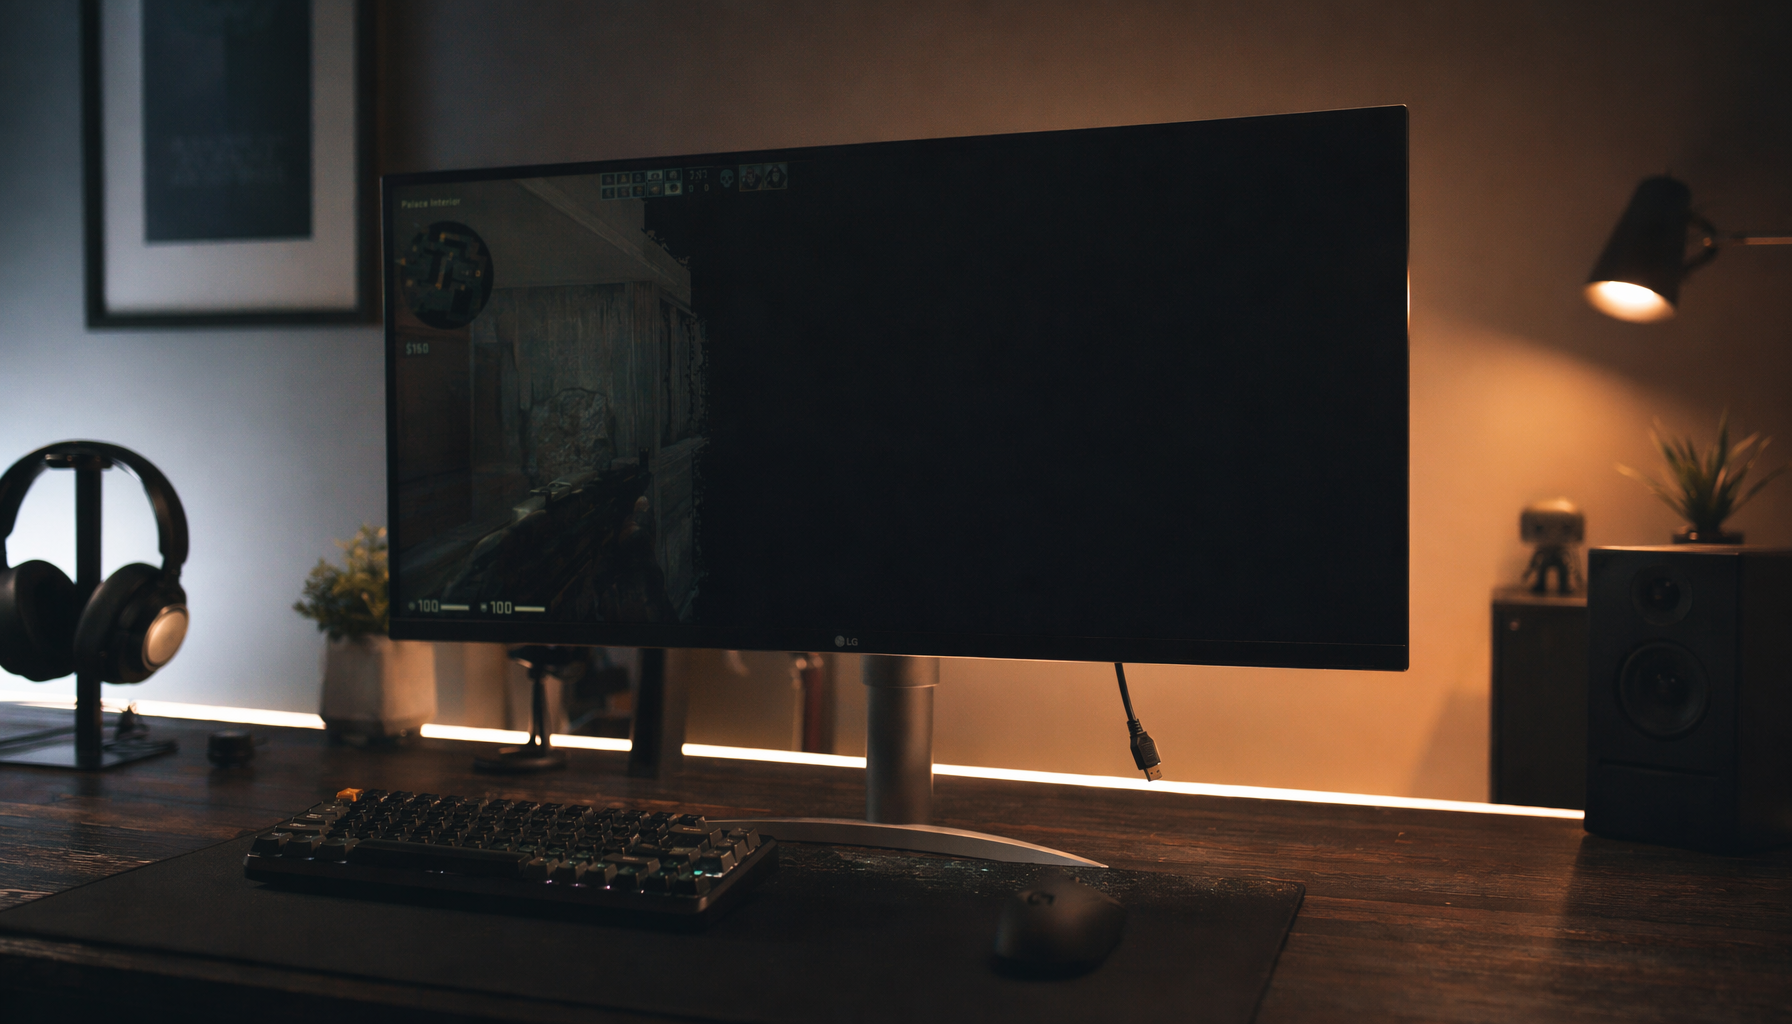
Bright office or window-lit room |
300–500 nits |
Readable without squinting |
Daylight-facing portable screen |
400–700 nits |
Usable, though reflections still matter |
Direct sun or outdoor work |
1,000+ nits |
Requires a purpose-built high-brightness display |
For example, if your office lighting feels like a normal corporate workspace, start at about 250 nits, or roughly 50% to 70% on many monitors, then adjust by eye. If the white background of a document looks brighter than a sheet of paper beside it, lower the backlight. If gray text looks weak or you lean forward to read, raise brightness or improve room lighting.
How to Match Brightness Without a Light Meter
You do not need calibration hardware to get most of the benefit. Open a white document, a dark webpage, and a mixed-content page with photos and text. Sit at your normal distance and compare the display against the wall or desk behind it. The screen should look present, not piercing.
Adjust brightness before contrast. Brightness controls how much light the panel emits, while contrast controls the separation between bright and dark tones. If you reduce contrast first, you can make text look muddy, crush shadow detail in games, or flatten photos. Once brightness feels comfortable, use a test image or dark UI panel to confirm that near-black gray is still visible against black.
For productivity, dark text on a light but not pure-white background is usually the most stable setup. Low-contrast gray text on gray backgrounds increases effort, especially on matte office monitors with average contrast. For gaming, preserve shadow visibility: if a dark hallway becomes a black blob after your adjustment, your contrast or black-level setting has gone too far.
Control Glare Before You Increase Brightness
Many users raise brightness to fight glare, but that often treats the symptom instead of the cause. If a window or lamp is reflected on the panel, more nits may make the image brighter while the reflection remains distracting.
The better setup is to place the monitor at a right angle to windows when possible, then use blinds, curtains, or lamp repositioning to keep direct light off the panel. For office and signage displays, the same principle applies: screens need enough luminance to stand out, but direct lighting at screens reduces legibility and can push you into wastefully high settings.

A real-world desk fix is straightforward. If your monitor faces a bright window, rotate the desk or display so the window is to your side. If that is impossible, add a shade and lower overhead glare. You may find that 280 nits becomes more comfortable and readable than 400 nits was before the glare fix.
Day, Night, Gaming, and Office Profiles
Standalone desktop monitors often do not need cell phone-style auto-brightness, but they benefit from saved profiles. Create one daytime profile with higher brightness and neutral color temperature, one evening profile with lower brightness and warmer color tone, and one gaming profile tuned for shadow detail and HDR behavior.
For office work, prioritize stable text clarity. Around 200 to 300 nits is usually enough in a controlled room, with contrast left near the default unless blacks are crushed. For competitive gaming, brightness should reveal detail without bleaching the image; a darker room can make enemies in shadow easier to perceive only if the display is not glaring. For immersive HDR gaming, peak brightness helps highlights, but HDR quality also depends on color gamut, tone mapping, and whether the game implements HDR well. A display can report brightness capability to the system, yet poor HDR software can still look worse than well-tuned SDR.

For portable screens, the rule shifts toward ambient flexibility. A 300-nit portable monitor may be fine in a hotel room but weak near a sunny cafe window. If you work on the move, anti-glare coating and a brighter panel can matter as much as resolution.
Should You Use Auto-Brightness?
Auto-brightness is useful when lighting changes often, but it is not automatically better. An ambient light sensor measures room light and maps that reading to a brightness curve; poorly tuned curves can cause flicker, lag, or distracting jumps. Display makers treat ambient light sensor placement, sensor range, and real-world testing as critical because a blocked or badly positioned sensor can make poor decisions.
On laptops, tablets, and some portable screens, auto-brightness can save power and reduce manual tweaking. On a multi-monitor desktop, it can be annoying if each screen reacts differently. If your displays do not match, use manual profiles or display software instead of relying on inconsistent automatic behavior.
There is also an energy angle. Lowering monitor brightness can reduce power draw, and one business energy source notes that reducing brightness from 100% to 70% can save up to 20% of monitor energy use. That is not the main reason to tune brightness, but it supports the same value-oriented setup: run only as much light as the room and task require.
A Fast Calibration Routine for Any Desk
Start with the room, not the monitor. Turn on the lights you normally use, close or adjust blinds as you would during work, and remove obvious reflections from the screen. Then set the monitor to its standard or custom picture mode rather than vivid, dynamic, showroom, or eco modes that hide what the panel is really doing.
Open a white page and lower brightness until it no longer feels like a light source. Raise it slightly if text begins to feel dull. Then open dark content and make sure shadow detail is still visible. If dark grays disappear into black, reduce contrast a little or adjust black level, but keep brightness stable.

Finally, test for ten minutes with your real workload. A spreadsheet, code editor, esports title, design app, or streaming scene will reveal issues better than a settings menu. If your eyes relax and you stop noticing the screen brightness, the match is close.
FAQ
Is 100% brightness bad for my eyes?
It is not automatically harmful, but it is often uncomfortable indoors. Full brightness in a dim room creates a large light mismatch, which can contribute to tired eyes, headaches, and glare discomfort. Use maximum brightness only when the room is bright enough to justify it.
Is a brighter monitor always better?
No. Higher brightness improves visibility in bright rooms and supports stronger HDR highlights, but it can increase discomfort, power use, and cost. For SDR office work, color accuracy, contrast, coating quality, and ergonomic placement often matter more than peak brightness.
What if my monitor has no nit readout?
Use visual matching. Compare a white document to paper or a light wall near the screen. If the display looks much brighter, lower it. If reading requires effort, raise brightness or improve room lighting.
A well-matched monitor disappears into the room: text stays crisp, games stay immersive, and your eyes stop fighting the setup. Treat brightness as a performance control, not a spec-sheet trophy, and your display will feel better every hour you use it.


