


The best display setup for long gaming sessions is not the dimmest or warmest one. Match brightness to your room, keep contrast high enough for quick target recognition, use your monitor’s native resolution and high refresh rate, and avoid motion settings that add flicker or ghosting.
Ever finish a ranked match with dry eyes, a dull headache, or the feeling that bright areas are burning into your vision? A few monitor changes can make a 2-hour session easier on your eyes while keeping enemies, HUD elements, and motion readable. Here is how to tune a gaming monitor, ultrawide display, or portable monitor for comfort without giving up competitive clarity.
Start With Brightness, Not Blue Light

Brightness is usually the first setting to fix because it controls how hard your eyes work against the room. A company recommends matching monitor brightness to room brightness, then setting contrast to a comfortable level. In practice, a monitor that looks great at 90% brightness in a store can feel harsh in a dim bedroom, especially on a 27-inch or 32-inch gaming display.
For competitive games, do not simply turn brightness down until the screen feels soft. Instead, lower brightness until white menus and bright skyboxes stop feeling piercing, then check whether you can still distinguish dark corners, enemy outlines, and UI markers. On many gaming monitors, this lands somewhere around 25% to 60% brightness depending on panel type, room lighting, and screen size.
Disable Auto-Brightness for Competitive Play
Automatic brightness can be useful for laptops and portable monitors, but it can be distracting during matches. A platform allows brightness changes from Quick Settings or Settings > System > Display, while external monitors often require physical buttons or an on-screen display menu through the monitor itself brightness settings.
For gaming, turn off auto-brightness and content adaptive brightness if the image keeps shifting during dark-to-bright scenes. A brightness dip while entering a shadowed hallway can cost visibility, and a sudden boost during a white flash or snow map can add fatigue.
Keep Contrast High Enough for Fast Recognition
Contrast affects how quickly you separate targets from the background. A company notes that higher contrast is usually better for readability, as long as it remains comfortable higher contrast. For gaming monitors, that means preserving clear edges around crosshairs, health bars, minimaps, and silhouettes.
Avoid crushing blacks to make the image look dramatic. If black equalizer, shadow boost, or gamma controls are available, use them lightly. Raising shadow detail can help in tactical shooters, but pushing it too far makes the whole image gray and reduces depth cues.
Use Native Resolution and Moderate Sharpness
Run the monitor at its native resolution: 1,920 x 1,080 for many portable monitors, 2,560 x 1,440 for common 27-inch gaming monitors, or 3,440 x 1,440 for many ultrawides. Native resolution keeps text, HUD icons, and distant geometry cleaner. Gaming monitor advice commonly recommends native resolution and the highest advertised refresh rate for clearer motion and reduced strain native resolution.
Sharpness should usually stay near the monitor’s neutral range. Many displays look natural around 50, while some need 60 to 70 for crisp HUD elements. Too much sharpness creates halos around text and edges, which can make menus and minimaps tiring to read.
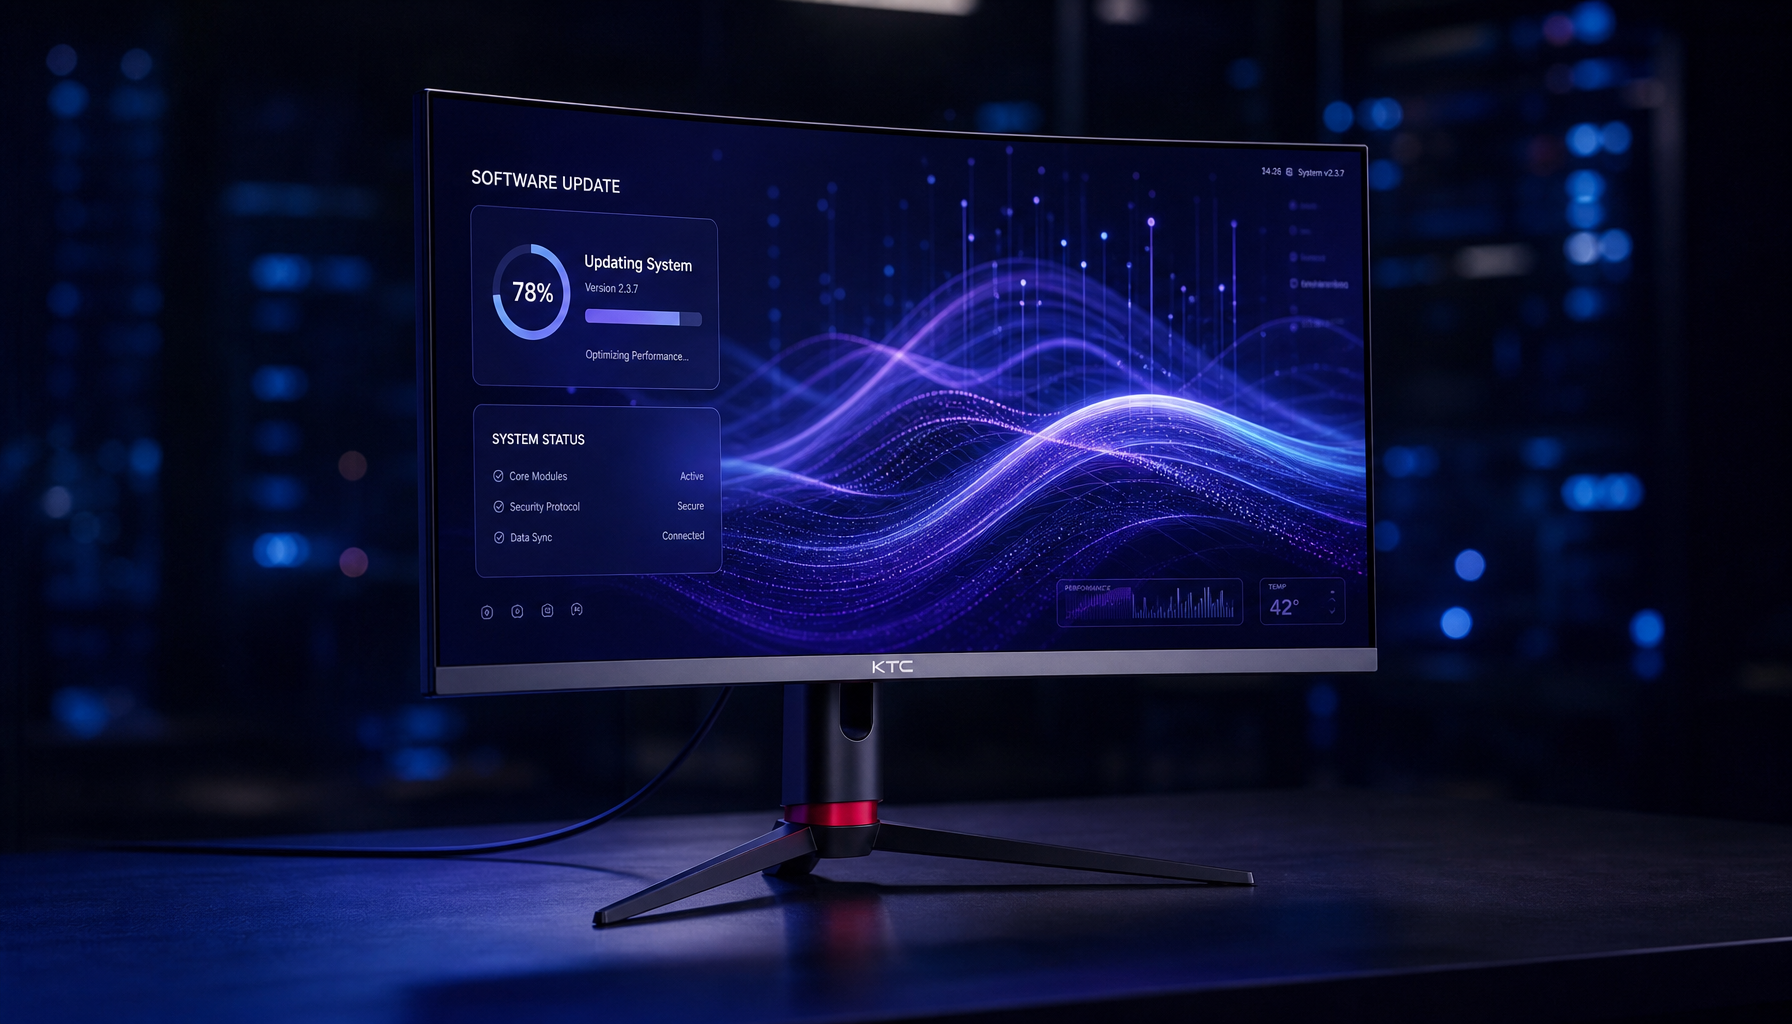
Use High Refresh Rate for Comfort and Clarity
Refresh rate matters for both performance and eye comfort. A company explains that higher refresh rates can reduce motion blur and screen tearing, improve responsiveness, and may reduce eye strain by minimizing flicker and ghosting higher refresh rates. For competitive gaming, use 120Hz, 144Hz, 165Hz, 240Hz, or higher if your monitor and graphics card can sustain it.
Check this setting manually after buying a new monitor. Many high-refresh-rate displays still default to 60Hz until changed in a platform under Settings > System > Display > Advanced display. A 165Hz monitor running at 60Hz gives you the eye fatigue of blur without the visibility advantage you paid for. On a 27-inch 2K 180Hz display such as the curved gaming monitor, that means setting 2,560 x 1,440 as the native resolution, selecting 180Hz, and starting with moderate overdrive before testing motion.

Tune Overdrive Instead of Maxing It Out

Pixel response settings usually appear as Overdrive, Response Time, Trace Free, or similar names. The fastest option is not always best. Strong overdrive can create inverse ghosting, where bright or dark trails appear around moving objects, making fast motion harder to track.
Start with the middle or second-fastest overdrive setting. Test it in a fast pan across high-contrast objects, such as white walls, dark doorframes, or moving character models. If you see colored halos or bright trails, step the setting down.
Be Careful With Warm Color and Blue Light Filters
Warmer color temperature can reduce harshness during late-night sessions, and a platform’s night light feature can shift the display toward warmer colors on a schedule Night light. This can be helpful for browsing, strategy games, or casual play after dark.
For competitive shooters, racing games, and MOBAs, use warm settings lightly. An aggressive blue light filter can make whites yellow, reduce color separation, and make some enemy highlights or ability effects less distinct. A practical compromise is to use a mild warm setting at night and turn it off or reduce it for ranked play.
HDR Is Not Always Better
HDR can look excellent in HDR games and video, but it can make SDR desktops and non-HDR games look washed out or overly bright. For everyday browsing, spreadsheets, launchers, and many competitive titles, SDR often gives more predictable visibility. Use HDR when the game supports it well, then verify that dark details and bright highlights remain readable rather than simply more intense.
Best Settings by Display Type

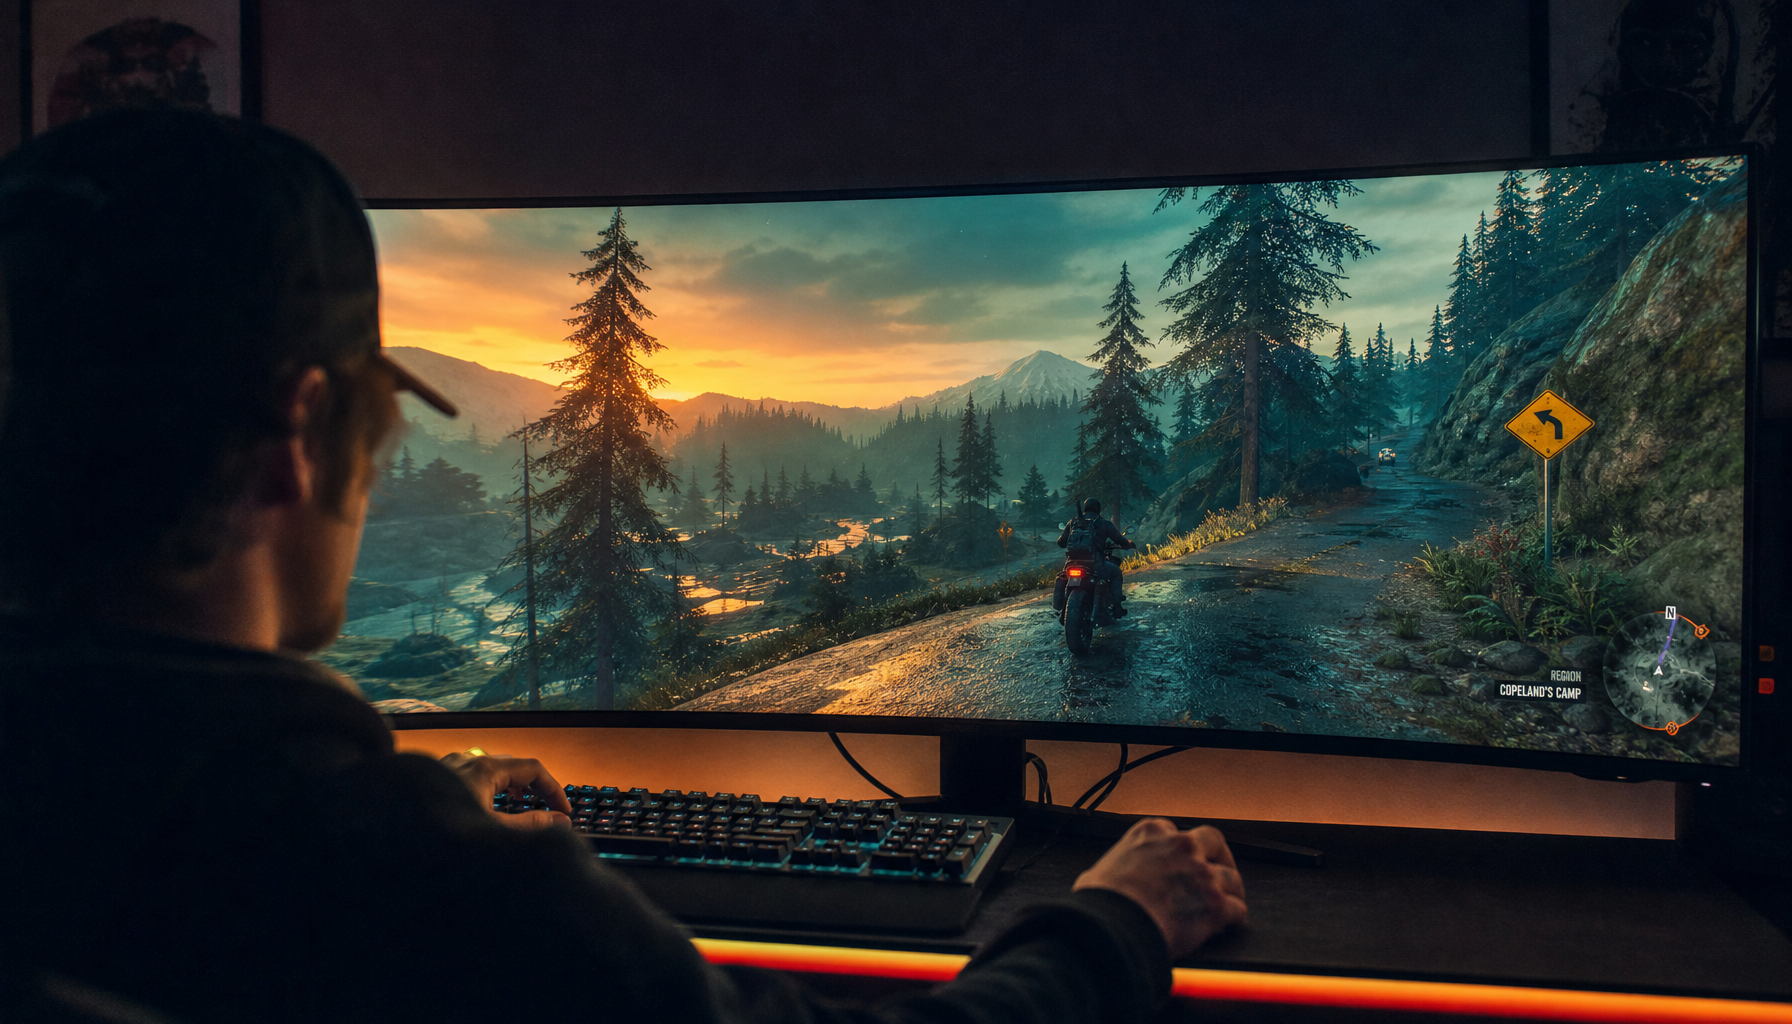
Different monitors need slightly different priorities. A 49-inch ultrawide can fatigue your eyes through sheer field coverage, while a 15.6-inch portable monitor can strain you because text and UI elements are small. The core goal is the same: readable detail, controlled brightness, and stable motion.
Display Type |
Comfort Priority |
Visibility Priority |
Recommended Starting Point |
24-inch to 27-inch gaming monitor |
Match brightness to room |
Native resolution, high refresh rate |
30% to 55% brightness, 144Hz or higher, medium overdrive |
32-inch gaming monitor |
Reduce glare and brightness intensity |
Keep HUD and distant targets sharp |
Lower brightness than smaller screens, neutral sharpness, high contrast |
Ultrawide monitor |
Control edge glare and head movement |
Keep minimap and peripheral UI readable |
Slightly lower brightness, native resolution, careful UI scaling |
Portable monitor |
Improve text size and viewing angle |
Avoid dim battery-saving modes in games |
60Hz to 120Hz if supported, readable scaling, manual brightness |
HDR gaming monitor |
Avoid excessive highlight intensity |
Use HDR only in well-supported games |
HDR on per game, SDR for desktop and unsupported titles |
For ultrawides, screen position matters as much as settings. A company recommends placing the screen center 10 to 20 degrees below straight-ahead gaze and keeping the display as far away as readable, with 20 to 26 inches as a minimum and 30 to 40 inches often preferred screen position. On a deep desk, pushing a large ultrawide a few inches farther back can reduce eye scanning fatigue without changing any software setting.
A Practical Tuning Checklist
Use this sequence after unboxing a new gaming monitor or resetting display settings:
- Set the monitor to its native resolution in a platform and in-game.
- Change refresh rate under Settings > System > Display > Advanced display.
- Set brightness to match the room, then test a bright map and a dark map.
- Raise contrast until text and HUD elements are crisp without glowing.
- Use medium or second-fastest overdrive, then check for ghosting trails.
- Disable auto-brightness and content adaptive brightness for competitive play.
- Use mild night light only when color accuracy and target highlights still look clear.
This process usually takes less than 15 minutes and is more reliable than copying someone else’s exact settings. Panel brightness, room lighting, anti-glare coating, and distance from the screen all change what feels comfortable.
FAQ
Q: Should I lower brightness as much as possible to reduce eye strain?
A: No. Brightness should match the room, not be set as low as possible. If the screen is too dim, you may squint or miss shadow detail; if it is too bright, white areas and flashes can feel harsh.
Q: Is 240Hz better for eye comfort than 144Hz?
A: It can be, especially in fast games, but only if your system can deliver high frame rates consistently. A stable 144Hz experience with good overdrive can feel clearer than an unstable 240Hz setup with ghosting or frame drops.
Q: Should I use night light while gaming?
A: Use it lightly for casual or late-night play. For competitive games, strong warm filters can reduce color separation and make enemy outlines, ability effects, or UI colors harder to read.
Key Takeaways
The best eye-fatigue settings preserve information instead of hiding it. Match brightness to your room, keep contrast and native resolution sharp, run your monitor at its proper refresh rate, and avoid extreme overdrive or blue light filtering. For competitive visibility, the winning setup is controlled, stable, and readable rather than simply dim or warm.


