


Your photos look different because every screen has its own color range, brightness behavior, calibration state, panel technology, and viewing environment. A phone may make an image look punchy and bright while your monitor shows a flatter, more adjustable file.
Does your portrait look perfect on your laptop, then suddenly too warm, too dark, or too saturated on your phone? With a calibrated display, a controlled room, and a quick cross-device check, you can catch the most common color shifts before clients, followers, or collaborators see them. Here is how to understand the mismatch and build a practical workflow that keeps your images closer to your intent.
The Core Reason: Screens Do Not Show Color the Same Way
Digital screens create color by mixing red, green, and blue light, and that RGB color model is the foundation for phones, tablets, laptops, monitors, TVs, websites, apps, and online photos. But RGB does not mean every device emits the same red, green, and blue with the same strength, tone curve, brightness, or color profile.
That is why the same sunset can look rich orange on an OLED phone, muted on an older office monitor, and slightly blue on a tablet in a bright kitchen. The file may be identical, but each display is interpreting and emitting the image through different hardware and software choices.
A useful way to think about it is this: the image file is the score, while the display is the instrument. A photo monitor, a gaming monitor in vivid mode, and a cell phone with adaptive brightness can all play the same image differently.
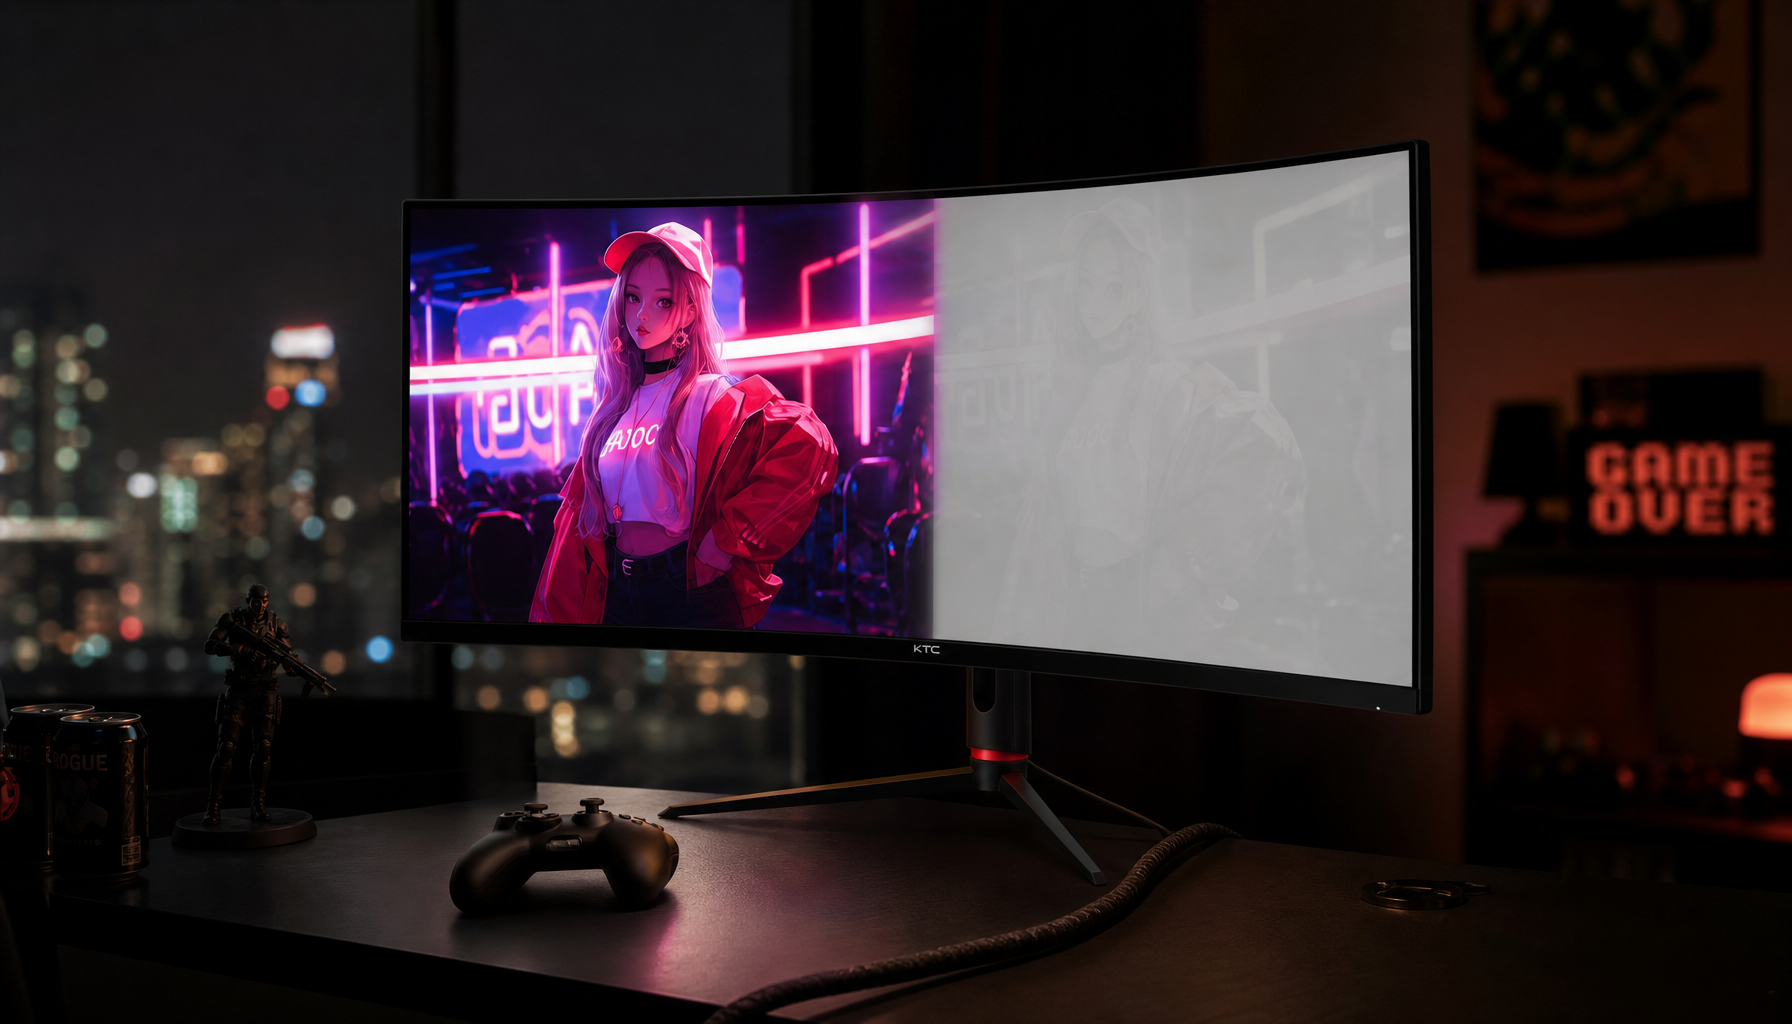
Color Gamut: Your Phone May Show Colors Your Monitor Cannot
Color gamut means the range of colors a display can reproduce. A monitor with weak gamut coverage may not show the full intensity of greens, reds, cyans, or skin-tone transitions, while a newer phone may use a wider color space and aggressive image enhancement to make the same photo look more vibrant.

For web and social delivery, sRGB remains the practical baseline because it is widely supported across browsers and devices. Photo-editing references commonly recommend a display close to full sRGB coverage, including at least a 99% sRGB display for editing.
Adobe RGB and DCI-P3 can matter if you print, edit wide-gamut images, or deliver to modern high-end screens. The upside is richer color potential and smoother transitions. The downside is that wide-gamut work can look oversaturated in environments that do not handle color profiles correctly.
Color Standard |
Best Use |
Practical Risk |
sRGB |
Web, social media, general sharing |
Limited compared with wider gamuts |
Adobe RGB |
Print-oriented photography |
Can look wrong without proper color management |
DCI-P3 |
Modern phones, tablets, video, premium displays |
Not always the safest default for broad delivery |
Brightness Is Often the Biggest Hidden Problem
Many photos look different across devices because the screens are not equally bright. Phones and tablets often run very bright, especially outdoors. Monitors used for office productivity may be dimmer, while gaming monitors are often shipped in vivid, high-brightness modes that look impressive in a store but are unreliable for editing.
For photo editing, several calibration references converge around a moderate luminance target. One calibration reference recommends luminance typically between 100-150 cd/m², and other photography guidance gives a similar range. In real use, that means your editing monitor should not be blasting at maximum brightness unless your room is unusually bright.
Here is a simple example. If you edit a wedding photo on a monitor set too bright, you may darken the exposure until it looks balanced. When that same file appears on a normally tuned phone or in print, faces may look underexposed and shadows may block up. The screen tricked you into making the file darker than it needed to be.
Calibration: The Difference Between Guessing and Controlling
Monitor calibration means adjusting a display so color, brightness, contrast, gamma, and white point behave closer to a known target. Profiling then records how that calibrated display behaves so color-managed software can translate image data more accurately.
A hardware calibrator is the reliable route. Hardware calibration uses a sensor and software: the software displays known colors, the device measures what the monitor actually shows, and corrections are applied through the graphics system or monitor controls. Software-only visual calibration can help, but it is less precise because your eyes adapt quickly to color casts and room light.

Common photo-editing targets include gamma 2.2, a white point near 6500K, and moderate brightness. Many workflows use about 120 cd/m² brightness and 6500K, while some print editors prefer a slightly warmer 5500-6000K white point to avoid an overly blue screen. That difference is a workflow choice, not a contradiction: screen-only sharing usually works well near D65/6500K, while some print workflows may benefit from matching the display to the viewing light.
The benefit is consistency. A calibrated monitor reduces the chance that you overcorrect white balance, saturation, or contrast. The tradeoff is maintenance: monitors drift over time, and recurring calibration takes time and sometimes paid hardware. Calibration also cannot turn a poor panel into a reference display.
Panel Type and Screen Finish Change What You See
Panel technology affects viewing angles, contrast, and color stability. IPS panels are usually preferred for photo editing because they maintain color and brightness better when viewed from off-center positions. VA panels often deliver deeper blacks and strong contrast, which can be excellent for movies and immersive gaming, but they are usually less consistent for color-critical editing.

That matters in everyday work. If you edit on a VA monitor slightly off-axis, the top and bottom of the image may not appear equally bright. You may dodge, burn, or adjust contrast based on a panel shift rather than the actual image. On an IPS monitor, the same file is more likely to remain visually stable as you move your head.
Screen coating matters too. Matte displays reduce reflections and are usually better for long editing sessions in mixed lighting. Glossy displays can look more vivid, especially on phones and tablets, but reflections and perceived contrast can make images seem punchier than they really are.
Room Light Can Bias Your Edits
Ambient light changes how your eyes judge color. Warm sunlight can make a neutral image look cooler by comparison, while cool office lighting can push you toward warmer edits. Calibration is affected by the editing environment, including room light and the angle of light hitting the workspace.

A practical setup is simple: edit in consistent lighting, avoid direct sunlight on the screen, keep bright colored walls or desktop backgrounds out of your main field of view, and let the monitor warm up before judging color. Calibration guidance commonly recommends warming a monitor for at least 10-15 minutes, and longer warm-up periods can help before a more formal calibration session.
If your room changes dramatically from morning to night, your edits will drift with it. A photo balanced at 10:00 AM beside a window may look too warm when reviewed at 9:00 PM under an LED desk lamp.
Phones and Tablets Add Their Own Processing
Phones and tablets are optimized for pleasing everyday viewing, not necessarily neutral editing. Many use adaptive brightness, night shift modes, HDR tone mapping, wide-gamut color, contrast enhancement, and manufacturer-specific display tuning. Those features make videos, games, and social feeds feel more immersive, but they can disguise whether your photo is technically accurate.
This is why spot-checking matters. Photo-editing guidance recommends checking images on multiple devices such as phones and tablets because that approximates how most viewers will experience the final image. The goal is not to make every screen match perfectly. The goal is to make sure your photo does not fail badly on the devices your audience actually uses.
For example, if you post product photos to an Amazon-like marketplace, your priority is not only color purity on a calibrated monitor. You also need the image to look credible on a phone in a bright room, a tablet on auto-brightness, and a basic office monitor.
Print Adds a Different Color System
Screens emit light. Prints reflect light. That alone explains many disappointments when a photo that glowed on your monitor comes back from the lab looking flatter. Screen work uses RGB, while print production commonly uses CMYK inks, and printed materials create color by layering physical ink or toner instead of emitting light.
RGB can produce luminous colors that paper cannot reproduce with the same brightness. Saturated blues, neon greens, and glowing reds are common trouble spots. Print also depends on paper type, ink, printer profile, and viewing light.
The practical move is to keep RGB for screen delivery and use print-aware workflows when the final output is physical. CMYK print deliverables viewed in RGB-based browser environments can render inconsistently, so convert a copy of CMYK files to RGB for browser review when needed, while keeping proper print files for production.
A Reliable Workflow for Better Cross-Device Consistency
Start with the best file you can. RAW capture gives you more latitude for white balance, exposure, and color correction than JPEG because JPEGs are already processed and compressed in-camera. That extra flexibility matters when you later discover that your monitor made shadows look cleaner or skin tones warmer than they appear elsewhere.
Edit on a color-accurate display, ideally an IPS monitor with strong sRGB coverage, stable viewing angles, and hardware calibration support if your work is paid or color-sensitive. For most photographers, a 27-inch to 32-inch display gives enough workspace for image detail, tool panels, and side-by-side comparison without forcing constant zooming.
Calibrate your monitor under the lighting you normally use. Keep brightness moderate, use gamma 2.2, set a sensible white point, and recheck periodically. Some workflows benefit from recalibration every few weeks, while others can stretch the interval depending on workload. For serious client work, monthly is a practical rhythm; for casual editing, seasonal checks are better than never checking.
Export for the destination. Use sRGB JPEGs for broad web and social sharing unless a specific platform or client asks for something else. Keep wide-gamut masters when needed, but do not assume every app or viewer will honor them correctly.
Finally, do a controlled reality check. Open the exported file on your phone and tablet with night modes disabled, brightness set to a reasonable middle-to-high level, and adaptive color features turned off where possible. If the image looks slightly different, that is normal. If skin turns orange, shadows disappear, or whites shift blue, go back to the calibrated monitor and make a measured correction.

FAQ
Why does my phone make photos look better than my monitor?
Your phone may be brighter, glossier, wider-gamut, and tuned for punchier contrast. That can make photos look more exciting, but not always more accurate.
Should I edit photos on my phone instead of my monitor?
For quick social posts, phone editing can be fine. For paid work, printing, product photography, portraits, or any color-sensitive workflow, a calibrated monitor gives you more control and a more stable reference.
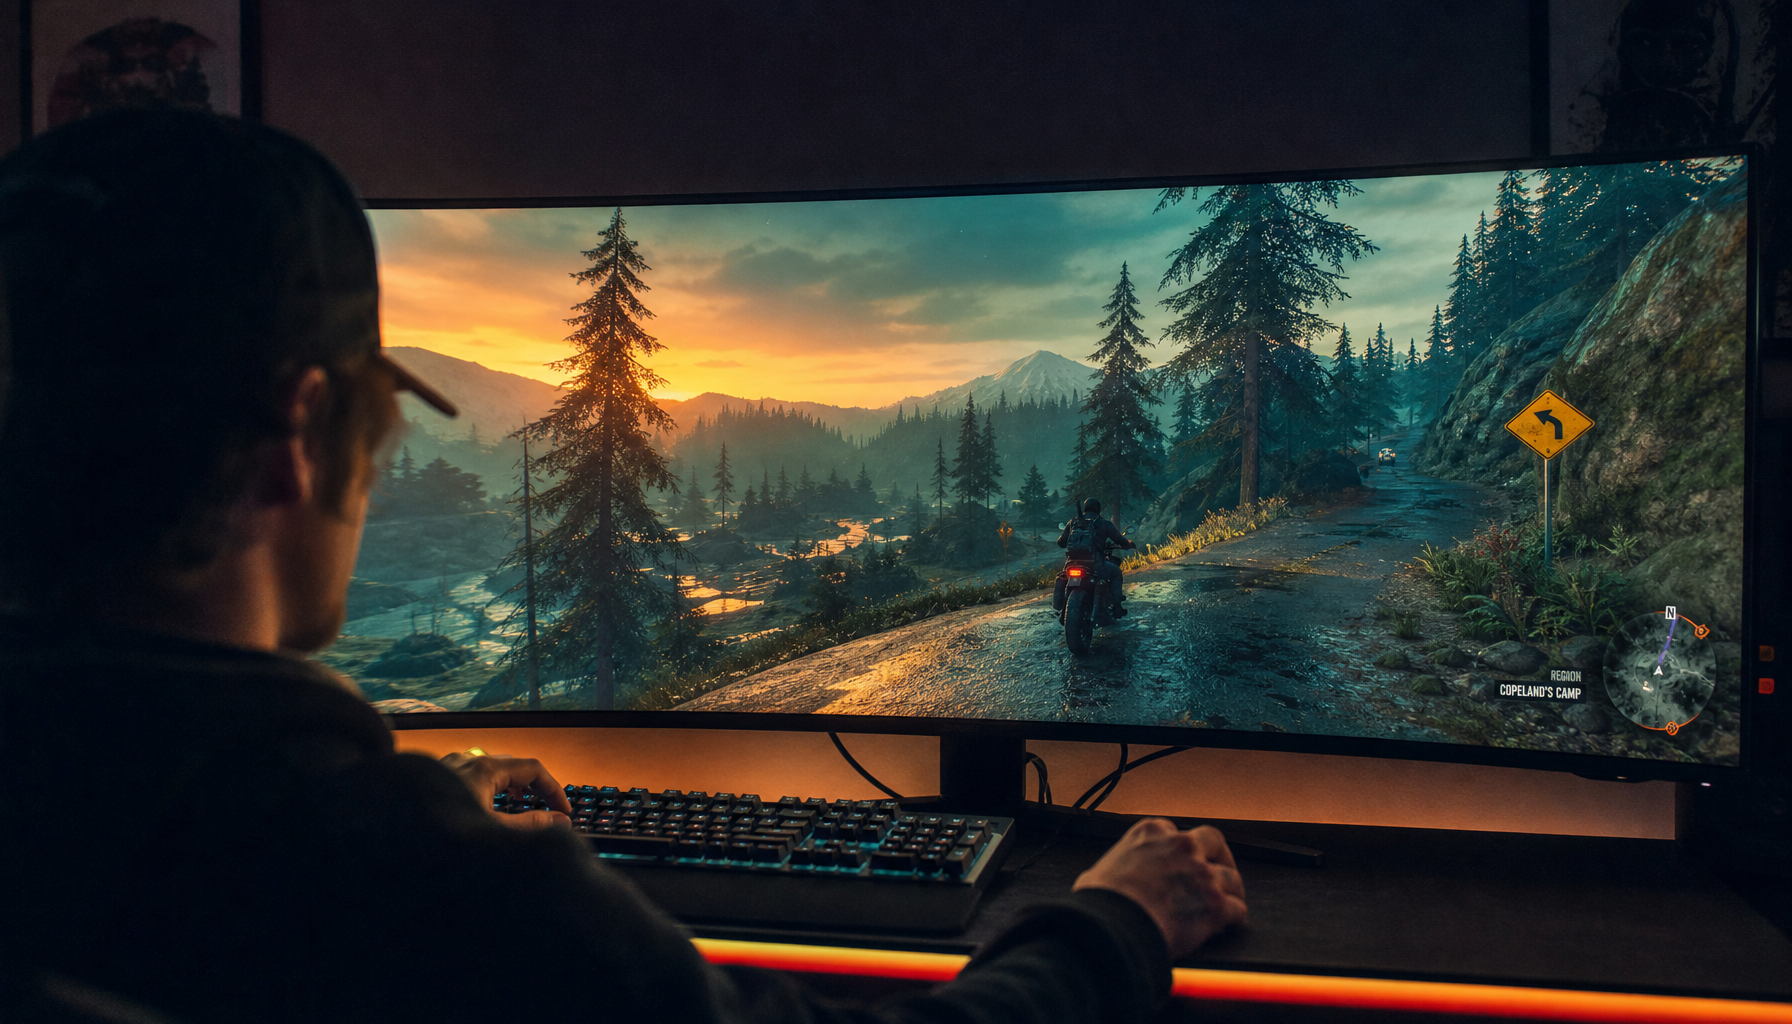
Is a gaming monitor good for photo editing?
It can be, especially if it has an accurate sRGB mode, IPS panel, good uniformity, and calibration support. A fast refresh rate is excellent for games, but color accuracy, gamut coverage, brightness control, and viewing-angle stability matter more for photos.
Can calibration make all my devices match?
No. Calibration improves your reference display, but it cannot control another person’s phone, tablet, browser, brightness setting, or room light. It gives you a dependable starting point so your edits travel better.
Final Takeaway
Your monitor, phone, and tablet are not disagreeing because your photo file is broken. They are different display systems making different choices about color, brightness, and contrast. Build your workflow around a calibrated reference monitor, export for the destination, and verify on the screens your audience actually uses; that is how your images stay intentional instead of accidental.


