


Black screen flashing during a refresh-rate change is usually the display chain renegotiating the video signal, but repeated flashes mean something in the GPU, cable, port, driver, dock, monitor timing, HDR mode, or power path is unstable.
Does your monitor go black for a second when you switch from 60 Hz to 144 Hz, enable HDR, launch a game, or plug in a portable screen? In practical troubleshooting, one quick test often separates a normal mode switch from a real fault: lower the refresh rate one step and bypass adapters, then see whether the blackout disappears. You’ll get a clear way to tell what is normal, what is risky, and what to change first.
What Actually Happens During a Refresh Rate Mode Switch?
A refresh rate is how many times per second your display updates the image. At 60 Hz, the panel refreshes 60 times per second; at 144 Hz or 240 Hz, it refreshes far more often, which can make motion feel smoother and reduce perceived input delay when your GPU can keep up.
The black flash appears because the operating system, GPU, cable, and monitor briefly stop the current signal and agree on a new one. A brief black flicker after changing resolution, refresh rate, scaling, HDR, rotation, or display layout is usually normal signal renegotiation. The monitor may blank the panel while it locks onto the new timing, color format, bit depth, and scan pattern.

In real use, this can look like a one-second dropout when you change advanced display settings, launch an exclusive full-screen game, enable adaptive sync, switch HDR on, wake a laptop dock, or move a game between monitors. If the image returns quickly and stays stable, the display is probably doing exactly what it was designed to do.
When a Black Flash Is Normal and When It Is a Warning
A single brief blackout during a mode change is normal. A recurring blackout every few seconds, a multi-second delay, or a flash that keeps happening after the mode is already set is not normal. That pattern points to instability somewhere in the chain.
Operating-system troubleshooting guidance treats persistent flickering as a driver and display-adapter communication problem first, recommending rollback, update, or uninstall-reinstall paths for the display driver. That advice is strong because drivers decide which display modes are exposed, how timing is sent, and how the GPU behaves after an operating-system update or game-driver install.
A practical field example is simple: a 165 Hz gaming monitor that flashes black at 165 Hz but runs cleanly at 144 Hz is often not “broken” in the dramatic sense. It may be exposing a mode that is too demanding for the current cable, dock, GPU port, color format, or firmware state. For competitive play, stable 144 Hz is better than 165 Hz with random blanking during a ranked match.
Why Higher Refresh Rates Stress the Signal Path
Higher refresh rates push more data through the same physical path. A 4K signal carries four times the pixel count of 1080p, so 4K at 144 Hz is far more demanding than 1080p at 60 Hz. That is why premium gaming monitors, ultrawides, and portable USB-C displays can behave perfectly at conservative settings but flash black at their advertised maximum.
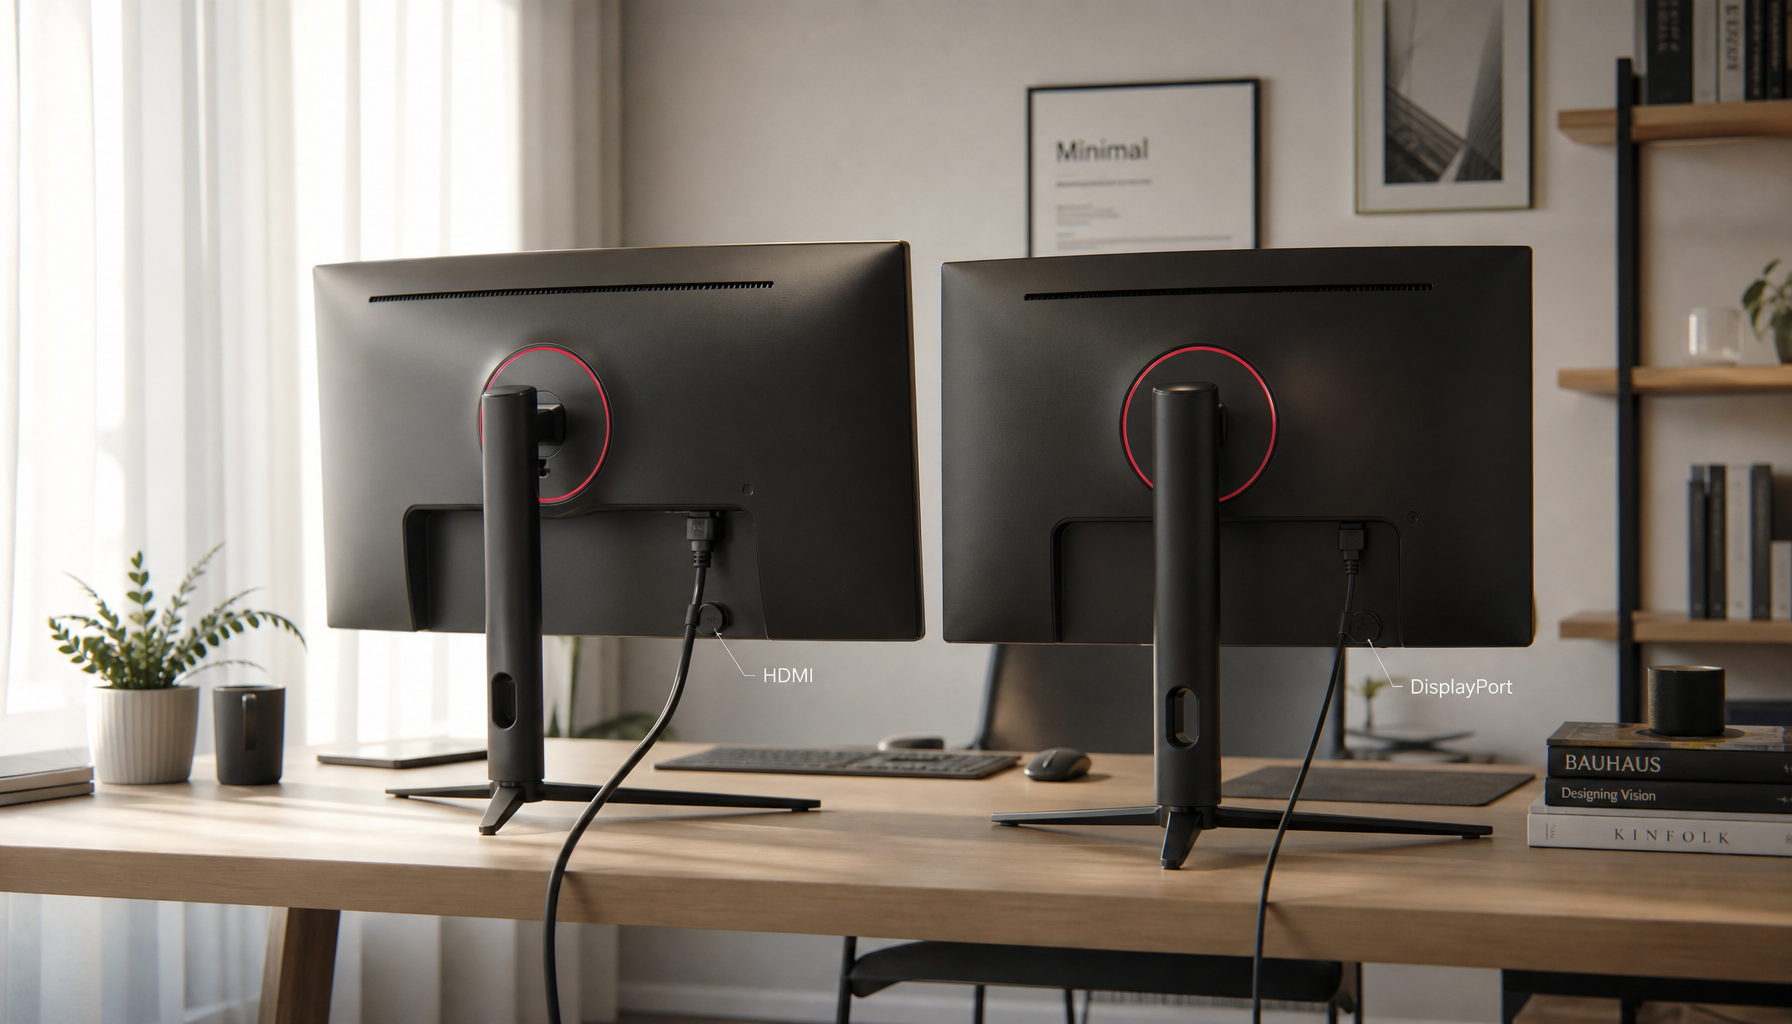
Cable quality matters more than many buyers expect. Flicker and sudden blackouts are commonly tied to signal degradation, loose connections, poor cables, faulty ports, unstable power delivery, driver conflicts, or refresh-rate mismatches. A DisplayPort cable that works for 1440p at 60 Hz may still fail at 1440p at 240 Hz. An HDMI cable that is fine for office use may not reliably hold a high-refresh HDR signal.
The best real-world test is practical. Reseat both cable ends, remove adapters, connect directly to the GPU or laptop video port, and try a certified cable with the required HDMI or DisplayPort rating. If the black flashing vanishes, the monitor was likely reacting to a weak signal rather than failing internally.
Timing Mismatches Can Cause Mode-Switch Instability
Refresh rate is only the headline number. The monitor also receives detailed timing information, including total pixels, blanking intervals, and horizontal frequency. Two modes can both say “240 Hz” while using slightly different timing parameters.
One Linux case is useful because it shows how precise this can get: the user saw more random black flashing at high refresh rates, while the monitor’s on-screen display reported horizontal frequency differences between systems before later matching at 358.1–358.2 kHz for 1440p at 240 Hz. The discussion around high refresh rates focused on converting known-good timing behavior from one operating system into Linux modelines, which is exactly the kind of detail that matters when a panel is sensitive to timing.
Another user report reached a similar conclusion from a different angle. The display blanked like it was resynchronizing after a mode change, and the observed difference between roughly 71.98 Hz and exactly 72 Hz suggested that tiny timing differences can matter on some hardware. The monitor resynchronizing explanation fits the symptom: the screen goes black, returns, and repeats because the display keeps losing confidence in the signal lock.
For most users, manual timing edits are not the first move. They can produce out-of-range modes and should be treated as advanced tuning. The safer version is to test standard refresh steps: 240 Hz, then 200 Hz or 180 Hz if available, then 144 Hz, then 120 Hz. If one step below maximum is stable, you have a strong clue that bandwidth or timing margin is the issue.
HDR, Brightness, and Monitor-Side Flashing
Not every black flash comes from the GPU. Some flashing is monitor-side, especially when it appears even with no active input signal.
One 4K gaming monitor user report is a clean example: black screen flashing persisted on the monitor’s No Signal screen, appeared in HDR and high-brightness presets, and stopped in Eco Mode until brightness was raised again. That HDR and high brightness pattern points away from the operating system alone and toward the monitor’s backlight, internal power handling, HDR brightness behavior, or electronics.
This matters for gaming and productivity buyers because HDR mode changes are often treated like simple color settings. They are not. HDR can change brightness behavior, tone mapping, bit depth, and sometimes local dimming or backlight demand. If the display flashes only in HDR, Action, Racing, or high-brightness modes, but stays stable in Eco or SDR at moderate brightness, warranty support becomes more relevant than driver tweaking.
For a portable monitor, the same logic applies with power. A USB-C smart screen may draw video and power through one cable. If the laptop port, dock, or power source cannot maintain the required output, the panel may blink, reset, or renegotiate. In that setup, test direct USB-C video from a port that supports display output, use supplemental power if supported, and avoid a hub until the signal is stable.
Common Causes and Practical Tradeoffs
Likely Cause |
Typical Symptom |
Best First Move |
Tradeoff |
Normal handshake |
One brief black flash after changing mode |
Wait for the mode to lock |
No fix needed |
Weak cable or adapter |
Flashing at high Hz, stable at low Hz |
Use a certified direct cable |
May require buying a better cable |
Driver issue |
Flicker after update or restart |
Roll back or clean-install GPU driver |
Takes time and may reset profiles |
Timing mismatch |
One OS stable, another unstable |
Test standard refresh steps or custom timing carefully |
Advanced tuning can be risky |
HDR or brightness fault |
Flashing tied to HDR or high brightness |
Lower brightness, disable HDR, test monitor menu |
May reduce visual impact |
Monitor hardware fault |
Flashing across PCs or on No Signal screen |
Factory reset, then service support |
Repair or replacement may be needed |
A Reliable Troubleshooting Sequence
Start with the least invasive test: set the monitor to its native resolution and choose one refresh step below maximum. If a 240 Hz panel becomes stable at 144 Hz or 120 Hz, the signal path is under suspicion. If a 75 Hz office display flickers above 60 Hz, keep it at the manufacturer’s stable mode until the cable and driver path are confirmed.
Then isolate the connection. One hardware forum case described a monitor going black for a few seconds after a motherboard and CPU upgrade, with HDMI in use and the symptom resembling a temporary signal loss. The practical lesson from that temporary signal loss pattern is to test another cable, another monitor, and another port before assuming the panel has failed.
Next, check the driver path. If flickering started after a GPU driver update, roll back. If it started after hardware changes, install the latest GPU and chipset drivers from the PC, motherboard, or GPU vendor. If the image is too unstable to work normally, Safe Mode can help you remove or reinstall the display driver without the high-refresh mode loading.
Finally, determine whether the issue follows the monitor or the computer. A No Signal or blank screen often comes from signal transfer problems such as loose cables, damaged cables, dirty ports, or the wrong input source, but persistent flashing across multiple PCs and cables points toward the monitor itself. If the monitor flashes on its own menu or No Signal screen, the GPU is no longer the prime suspect.

Settings That Usually Improve Stability
For gaming monitors, use DisplayPort for high refresh when the monitor and GPU support it, especially at 1440p and above. For HDMI, confirm the exact port generation on both the monitor and GPU. A monitor with one high-bandwidth HDMI port and one lower-bandwidth HDMI port can behave very differently depending on where the cable is plugged in.
For office productivity displays, stability and text clarity matter more than chasing maximum Hz. Use native resolution, recommended scaling, and 60 Hz or 75 Hz if that is the display’s intended range. If text is too small, adjust operating-system scaling instead of lowering resolution; portable monitor adjustment guidance makes the same point for native resolution because non-native modes can reduce clarity.
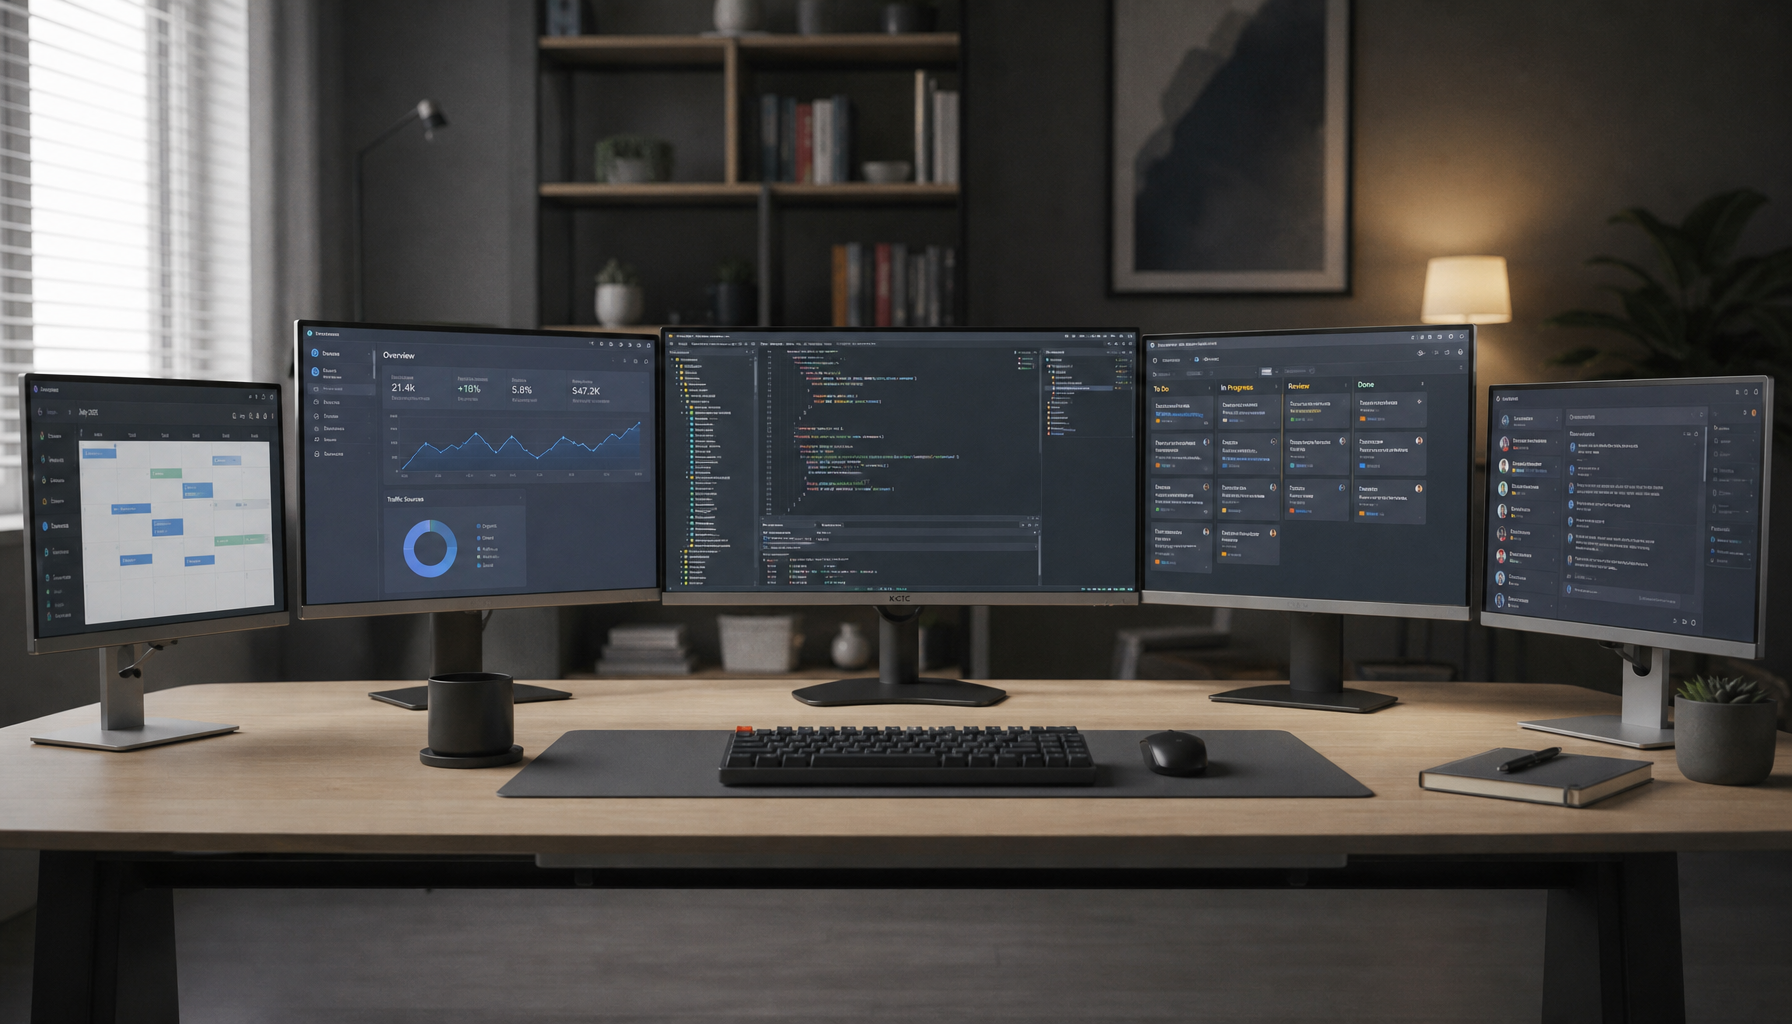
For multi-monitor desks, match refresh rates where practical, or at least avoid awkward combinations when troubleshooting. Mixed 60 Hz, 144 Hz, and 240 Hz displays can work, but they add scan timing, scaling, color format, and power-state complexity. Test the problem display by itself before diagnosing the whole workstation.
Pros and Cons of Lowering Refresh Rate
Lowering refresh rate is not a defeat; it is a diagnostic and sometimes the most value-oriented setting. The upside is immediate stability, lower bandwidth demand, reduced heat, and fewer signal renegotiation failures. It can also make USB-C portable screens and docks behave more predictably.
The downside is motion clarity and latency. A competitive player who can genuinely feel the difference between 144 Hz and 240 Hz may not want to settle permanently. Still, a stable 144 Hz signal is more performance-driven than a 240 Hz mode that blanks during a clutch moment. For office work, the productivity gain from avoiding black flashes usually outweighs the smoothness gain above 75 Hz.

When to Replace or Service the Monitor
Service becomes the right path when the flashing happens across multiple devices, multiple certified cables, default monitor settings, and conservative refresh rates. It is also the right path when the monitor flashes with no input connected, when brightness level strongly controls the flashing, or when the issue worsens over time.
LCD troubleshooting guidance often starts with power stability, cable contact, backlight behavior, and internal board connections because screen flickering can come from both signal and panel-side faults. That distinction is important: driver fixes can solve a handshake problem, but they will not repair a failing backlight board or unstable internal power circuit.
The performance-minded answer is simple: treat one black flash during a mode switch as normal, but treat repeated flashing as a stability failure. Start with native resolution, one-step-lower refresh, direct certified cabling, and a clean driver path. If the display still blanks on multiple systems or in its own menu, stop tuning and move to warranty or repair.


