


Visible banding usually means your display chain is running out of smooth tonal steps, especially near black; the cause may be the content, GPU output, cable bandwidth, monitor processing, or the panel itself.
Do dark game corridors, smoky cutscenes, gray app backgrounds, or sunset skies suddenly look like stacked stripes instead of smooth shading? A quick 10-minute check across SDR, HDR, refresh rate, and a known gradient file can often separate a bad setting from a real panel limitation. You’ll get a practical way to diagnose the source, reduce the artifact, and decide whether the monitor still fits your gaming, office, or creative workload.
What Banding Looks Like on a Monitor
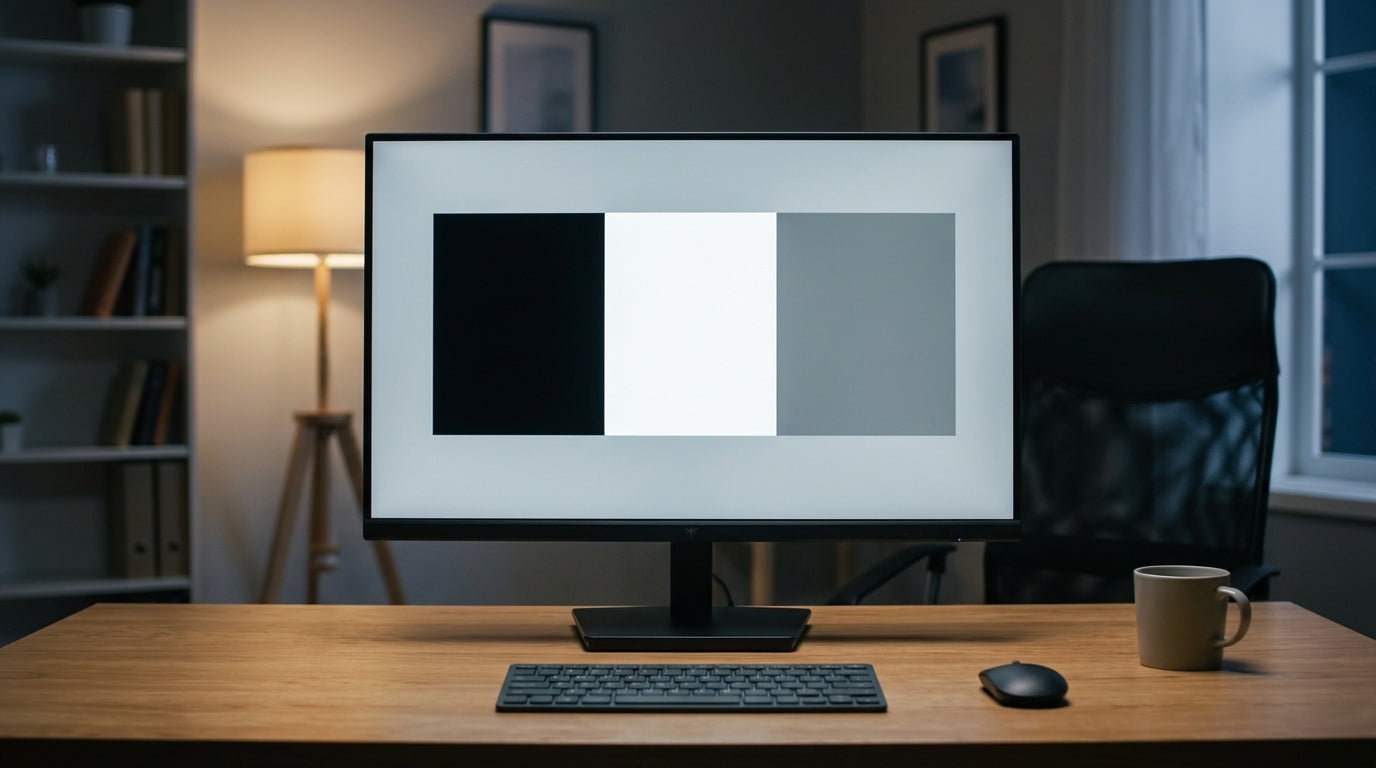
Color banding, often called posterization in video work, appears when a smooth transition breaks into visible bars, blocks, or abrupt steps instead of continuous shading. It is easiest to spot in dark gray loading screens, fog, smoke, night skies, gradients behind app windows, and cinematic game scenes where the image changes slowly from one tone to another.

The key idea is simple: a display can only show the tone values it receives and can reproduce. When those values are too few, the gradient becomes chunky. Color banding is strongly tied to bit depth, compression, and display capability, which is why the same wallpaper may look clean on one screen and rough on another.
For a real-world example, imagine a wide 1,920-pixel shadow gradient that has only 256 available tone levels. Several pixels may share the same shade before the next step appears, so your eye sees a stripe. Dark scenes make this worse because near-black values are packed into a narrow range where small errors become obvious.
Why Dark Scenes Reveal the Problem First
Dark content is unforgiving. Bright desktop windows, spreadsheets, and web pages often hide small tone jumps because contrast and detail distract the eye. A near-black game tunnel or OLED gray slide gives the display nowhere to hide.

Video editors deal with the same issue: skies, sunsets, dark backgrounds, and gradual tonal transitions show banding most clearly because there is little texture to break up the steps. Heavy compression, aggressive grading, repeated exports, and noise reduction can all expose the artifact. In practice, this means a streamed movie can show ugly bands even when your monitor is capable of smoother output.
HDR can also raise the stakes. HDR asks the screen to handle wider brightness and color ranges, so weak tone mapping, limited signal bandwidth, or an 8-bit output path can become obvious. A monitor may look fine in SDR at 144 Hz, then show banding in HDR at the same refresh rate if the GPU or cable silently switches to a lower-quality signal format.
The Main Causes: Source, Signal, Settings, or Panel
Source Compression and Low Bit Depth
Not every banding issue is the monitor’s fault. A low-bitrate video, compressed game asset, 8-bit JPEG, or heavily edited image may already contain visible steps before it reaches the screen. Photography workflows show the same pattern: RAW files retain more color information than JPEG, while JPEG is limited to 8-bit depth and can make tonal edits less forgiving.
For office productivity, this explains why a web background or compressed presentation slide may show bands on multiple displays. For gaming, it explains why a streamed gameplay clip can look worse than the actual local game. For creative work, it means the export format matters as much as the monitor.
GPU Output and Cable Bandwidth
Your monitor can only display what the GPU sends. If the operating system or GPU driver is outputting 8-bit color, Limited RGB, or chroma subsampling, gradients may break apart even on a premium panel. High refresh rates increase bandwidth demand, especially at 1440p, ultrawide, or 4K resolution.

A practical test is to lower the refresh rate temporarily. If a 4K HDR monitor bands badly at 144 Hz but smooths out at 120 Hz, the issue may be signal bandwidth or processing rather than a defective screen. This is especially relevant for competitive gaming monitors, where users often prioritize refresh rate first and only notice later that the color path changed.
Monitor Processing and Image Enhancers
Many monitors ship with vivid modes, dynamic contrast, black equalizers, sharpness boosts, eco brightness, blue-light modes, and aggressive HDR presets. These can be useful in specific scenarios, but they can also crush near-black detail or exaggerate tonal steps.
For a clean test, switch to Standard, sRGB, Creator, or a calibrated user mode. Disable dynamic contrast and black-boost features. Let an LCD warm up for about 30 minutes before judging subtle gradients. Then test again using a full-screen dark gradient and a familiar game scene.
Panel Uniformity and Near-Black Behavior
Sometimes the issue is not classic color banding but panel uniformity: vertical or horizontal gray streaks in dark uniform scenes. One investigation into recent Tandem WOLED monitors found that gray banding can be most visible in dim rooms, dark-mode desktop use, night scenes, and near-black test patterns.
This matters because the fix is different. If the source and signal are clean but a dark gray full-screen test shows fixed vertical bands that stay in the same place, you may be seeing panel behavior rather than compression. Online photos can exaggerate the issue because exposure, brightness, gamma, and room lighting vary, so judge real content and controlled tests together.
Quick Diagnostic Workflow
Start with one known high-quality local gradient, one familiar dark game or movie scene, and one normal desktop use case. Keep the room lighting consistent and avoid judging from a cell phone photo, because cameras often overstate gray uniformity problems.
First, compare SDR and HDR. If SDR is smooth and HDR bands, focus on HDR settings, tone mapping, firmware, refresh rate, and cable bandwidth. Next, check the GPU control panel for RGB Full, bit depth, and color format. If 10-bit is available, enable it and retest. If 10-bit disappears at your preferred refresh rate, lower the refresh rate briefly and compare.
Then test the same content on another display. If a screenshot looks smooth on a different screen but banded on your monitor, the output path or monitor processing is more likely. If the screenshot itself contains bands everywhere, the source file or export is likely responsible.
The enthusiast community often warns against over-testing without context, because once you start hunting bands, your eye may lock onto them during normal viewing. Visible banding should be judged by real viewing impact, not only by torture slides.
Fixes That Actually Help
Use the Cleanest Signal Your Setup Supports
Set the monitor to native resolution. Use a certified cable suited to the resolution, refresh rate, and HDR mode you want. Prefer RGB Full for PC monitor use when supported, and avoid unnecessary chroma subsampling. If you are running 4K, HDR, and very high refresh rate, test whether 120 Hz produces cleaner gradients than 144 Hz or 165 Hz.

For productivity displays, this may be the entire fix: a clean cable, proper RGB range, neutral preset, and disabled image enhancers. For gaming monitors, the best balance may be a high-refresh competitive preset for esports and a separate calibrated or HDR preset for cinematic games.
Prefer Higher Bit Depth, But Don’t Expect Magic
True 10-bit output gives more tonal steps than 8-bit and can reduce visible banding, especially in HDR and creative work. However, it cannot rebuild detail that was already destroyed by compression, poor grading, or an 8-bit source. A 10-bit monitor showing a badly compressed stream can still show bands.
In content creation, work at higher bit depths where possible. Video guidance commonly recommends higher-bit-depth timelines and exports because insufficient bit depth is a common cause of banding. The tradeoff is larger files, longer exports, and higher hardware demand.
Add Subtle Noise, Grain, or Dithering When Creating Content
For editors, designers, and streamers, the most reliable visual trick is controlled texture. Noise, grain, or dithering breaks up large areas of identical tone so the eye no longer sees hard bands. Dithering works by using available pixel values in a distributed pattern to make missing intermediate tones look smoother.
The downside is obvious: too much grain looks dirty, increases file size, or clashes with clean UI design. Start subtle and judge at normal viewing distance. A tiny amount can save a dark gradient background; a heavy layer can make a premium display look like a noisy encode.
Avoid Over-Processing
Heavy curves, extreme contrast, strong saturation, black crush, and aggressive noise reduction can all create or reveal banding. Noise reduction is especially tricky because natural sensor noise can hide mild steps; removing it may make the gradient look cleaner in one sense but more banded in another.
For photos, local edits are safer than global ones. Apply smoothing, grain, or blur only to the banded background while protecting faces, product edges, UI text, and fine detail. For video, check the result after export, not only inside the editing timeline.
When It’s a Buying or Return Decision
If you are shopping for a gaming or productivity monitor, bit depth is only part of the story. A well-tuned 8-bit plus FRC display may look smoother than a poorly processed panel with a better spec sheet. For HDR gaming, prioritize real gradient performance, mature firmware, sufficient bandwidth at your target refresh rate, and owner reports that mention dark-scene handling.
For OLED and mini-LED displays, also judge near-black uniformity, not just peak brightness. Some Tandem WOLED behavior is tied to very low-luminance driving, where tiny current variations become more visible near black. That does not automatically make every unit defective, but it does mean real dark-room use matters.
Here is the practical split:
Symptom |
Likely Cause |
Best Next Move |
Bands appear only in streamed video |
Compression or source grading |
Test a high-quality local file |
Bands appear only in HDR |
HDR tone mapping, bandwidth, or bit depth |
Toggle HDR, lower refresh rate, check cable and GPU format |
Bands stay fixed in the same screen area |
Panel uniformity or near-black behavior |
Test neutral gray slides and real dark scenes |
Screenshot itself shows bands |
Source file or rendering path |
Re-export, use higher bit depth, add subtle dithering |
Screenshot is smooth but monitor looks banded |
Output chain or monitor processing |
Check RGB range, bit depth, preset, firmware, and cable |
FAQ
Is banding the same as a defective monitor?
Not always. Banding can come from the file, app, GPU settings, cable, HDR mode, monitor processing, or panel. A defect is more likely when fixed stripes remain visible across multiple clean sources, inputs, and settings.
Does 10-bit color eliminate banding?
No. It helps when the whole chain supports it, but compressed content, poor HDR tone mapping, destructive edits, or panel uniformity issues can still create visible steps.
Should I use HDR all the time?
Only if it looks stable and your monitor handles SDR content well inside HDR mode. If desktop gradients look washed out or banded, use HDR mainly for games and video that benefit from it.
Final Word
A performance display should make shadows feel deep, not segmented. Start with the signal chain, remove processing tricks, test real content, and reserve panel judgment for repeatable behavior. The best fix is not one setting; it is a clean path from source to screen, matched to how you actually play, work, and create.


