


Dimming curve profiles shape how quickly a display darkens shadows as an image moves from gray toward black. A steeper curve can make blacks look deeper, while a gentler curve preserves more shadow detail.
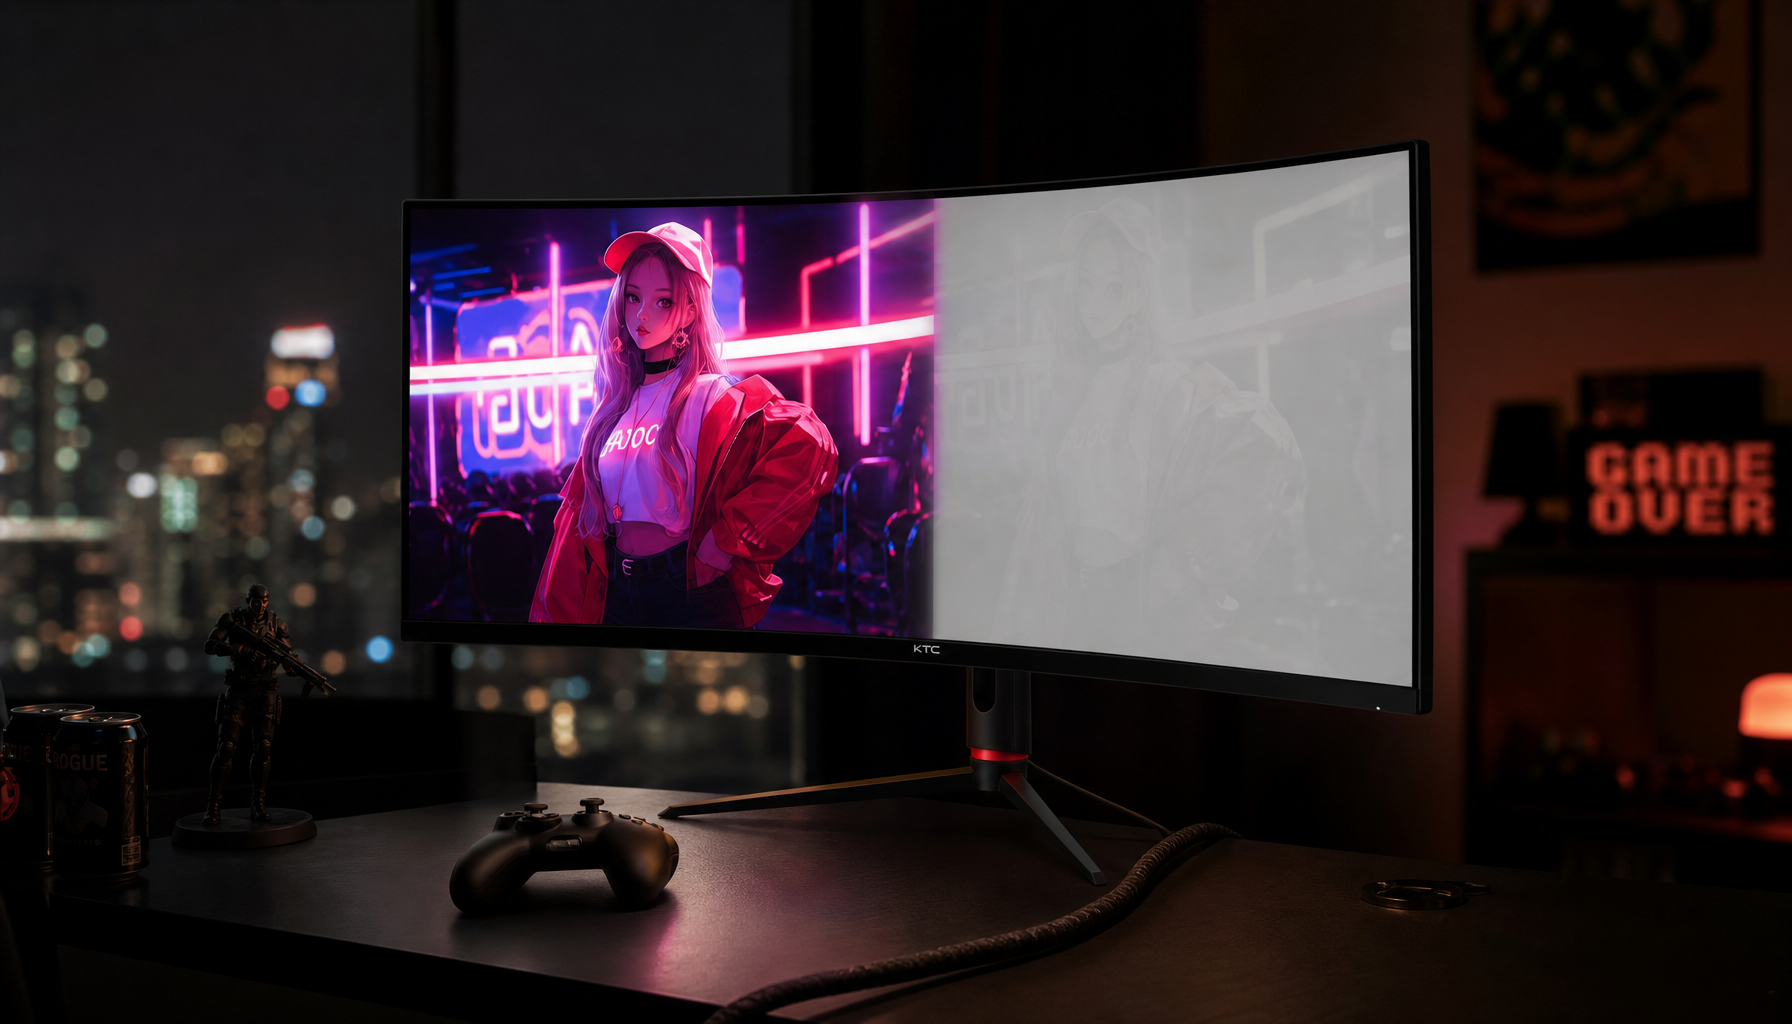
Ever load into a night map, dark office dashboard, or cinematic scene and wonder why black looks gray on one monitor but inky on another? With the right brightness, contrast, gamma, and dark-scene tuning, you can make shadow areas look deeper without burying enemies, UI text, or near-black detail. Here is how to read dimming behavior in plain language and choose the profile that fits gaming, productivity, and portable screen use.
What a Dimming Curve Profile Actually Changes
A dimming curve profile controls how the display maps darker signal values into visible brightness. In practical terms, it decides whether the last few steps above black remain visible, fade gently, or collapse into a single dark mass. This matters because perceived black depth is not only about the panel’s hardware; it is also about brightness, contrast, gamma, local dimming behavior, and the viewing room.
Contrast ratio is the foundation. A monitor with stronger native contrast can separate dark gray from black more convincingly, and VA panels are often chosen for deeper blacks while IPS panels usually prioritize color consistency and viewing angles. Gaming buyers are commonly advised to weigh contrast, brightness, black depth, and panel type together instead of chasing one headline spec, because VA provides strong contrast, OLED provides pixel-level black, and Mini-LED depends heavily on dimming-zone behavior.
A simple way to think about it: if your monitor has a shadow boost, black equalizer, night vision, dark boost, HDR, sRGB, FPS, or movie mode, it is probably changing the curve, not just turning the screen brighter or darker. The image may look more readable, more cinematic, or more washed out depending on how aggressively that curve handles near-black tones.

The Main Curve Styles and How They Feel
Most monitor menus do not label these profiles as dimming curves, but their behavior falls into recognizable patterns. A neutral curve tries to keep the image faithful. A lifted-shadow curve raises dark grays so hidden detail is easier to see. A deep-black curve darkens the low end for stronger contrast. An HDR or local-dimming curve may shift dynamically based on scene brightness.
Profile Behavior |
Perceived Black Depth |
Shadow Detail |
Best Fit |
Main Risk |
Neutral gamma |
Balanced |
Balanced |
Office, web, SDR games |
May look flat in a dark room |
Lifted shadows |
Shallower |
Higher |
Competitive FPS, dark UI readability |
Blacks can look gray |
Steeper dark curve |
Deeper |
Lower |
Movies, RPGs, horror, dim rooms |
Crushed shadow detail |
Dynamic HDR/local dimming |
Scene-dependent |
Variable |
HDR games, cinematic content |
Blooming or unstable brightness |
OLED-style pixel dimming |
Very deep |
Strong when tuned well |
Immersive gaming, media |
Burn-in risk with static content |
Gamma: The Quiet Control Behind Black Depth
Gamma changes how midtones and shadows are distributed without simply raising or lowering the backlight. A lower gamma makes the image brighter through the middle and near-black range, which helps visibility but reduces the feeling of black depth. A higher gamma makes shadows denser and contrastier, which can look more premium in a dark room but can also hide details.
For mixed use, a gamma around 2.2 is the most practical starting point because it keeps desktop work, web content, and SDR games predictable. If you play cinematic games at night, a slightly darker-looking profile may feel richer. If you play competitive shooters, that same profile can become a liability because a dark corner can hide motion or texture that you need to read quickly.
The test is simple: open a near-black gradient or black-level test image and look for the darkest visible steps. The best profile makes the first few steps barely visible, not glowing gray and not fused into one black block. If your monitor has an FPS preset, compare it against Custom or sRGB; many gaming presets raise dark detail for visibility, while accuracy-focused modes tend to look calmer and less exaggerated.

Lifted Shadow Profiles: Better Visibility, Weaker Blacks
Lifted-shadow profiles are popular for competitive gaming because they brighten dark areas without necessarily increasing the whole screen brightness. Display setup advice often treats dark boost tools as a way to improve shadow visibility while also stressing room-aware brightness, because dark-room comfort and perceived blacks can improve when brightness is not set too high.
The upside is obvious in FPS games. A hallway, cave, or warehouse corner becomes easier to scan, and motion that would disappear into dark gray becomes readable. This is especially useful on IPS monitors with modest native contrast, where the black floor already looks elevated in a dark room.
The downside is that the screen may lose dimensionality. Night scenes can look like they have a gray veil over them, and black UI panels may stop feeling anchored. For office productivity, a mild lift can help dark mode readability on spreadsheets, code editors, and dashboards, but pushing it too far makes text panels look hazy rather than crisp.
Steeper Curves: Richer Blacks With a Real Tradeoff
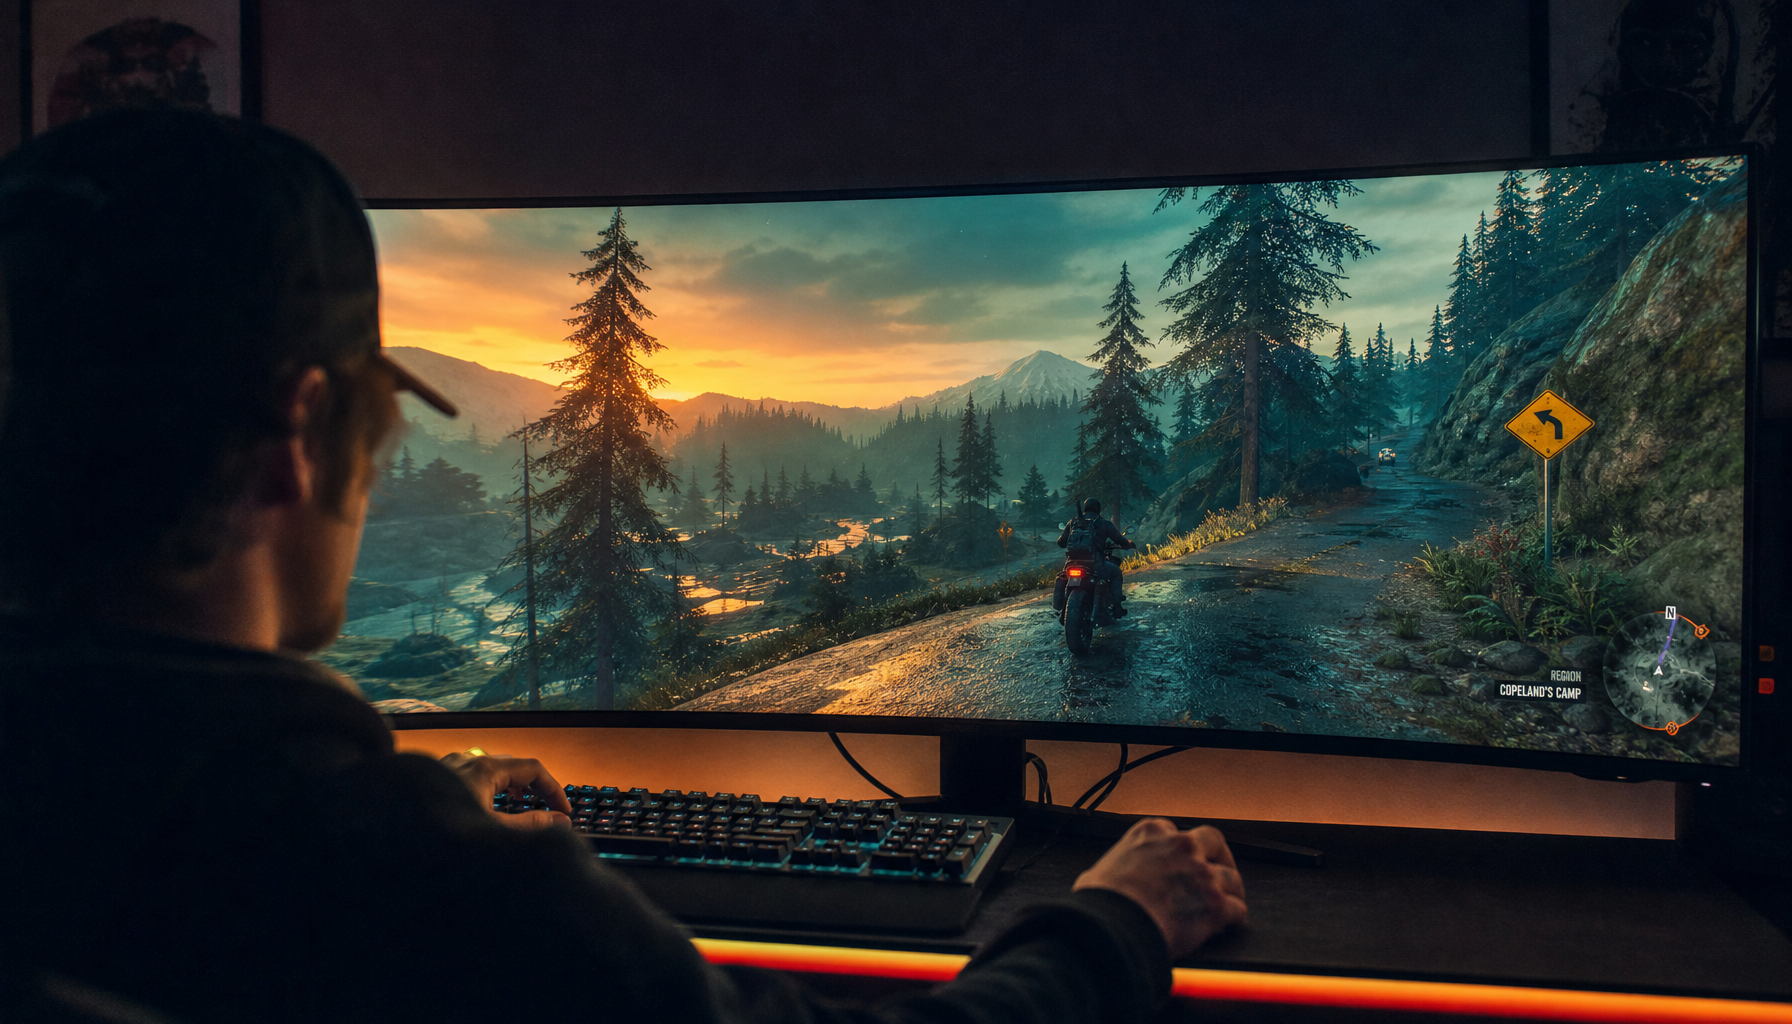
A steeper dimming curve darkens the bottom of the image faster. This makes black bars, dark menus, and cinematic scenes look deeper, especially in a dim room. On VA, OLED, or Mini-LED monitors, this can create a stronger sense of depth because the hardware has more contrast headroom to support the curve.
The tradeoff is shadow crush. If the profile darkens near-black tones too aggressively, fabric texture, enemy silhouettes, window borders, and subtle UI separation can disappear. That looks dramatic in a trailer but can be frustrating in a real game or during long work sessions.

Gaming setup advice often recommends medium-high contrast settings rather than maxing everything out, because contrast ratio should help separate light and dark areas without making the image unusable. In practice, if a monitor’s movie or RPG mode looks impressive but hides detail in a dark staircase, move back toward Custom and reduce the black-enhancement setting one step.
Dynamic Dimming, Mini-LED, and OLED
Dynamic dimming adds another layer because the monitor changes brightness based on the image. Mini-LED monitors use many backlight zones, so the curve is not just tonal; it also depends on how the local dimming algorithm decides to brighten or darken zones. This can produce powerful HDR contrast, but it may also create blooming around bright HUD elements or subtitles.
OLED behaves differently because each pixel can dim independently. That is why OLED monitors are often praised for black levels and contrast. OLED has become a major gaming-monitor trend because it delivers superior responsiveness, contrast, and black levels, with newer models becoming more practical as prices fall.
For real use, OLED’s deep-black curve can be stunning in space games, horror titles, and HDR films, but static productivity layouts require care. If your day includes eight hours of spreadsheets, taskbars, and fixed app panels, the best profile is not always the darkest one. A balanced SDR brightness level, pixel-care features, and sensible screen sleep settings matter more than chasing maximum black depth all day.
Panel Type Changes How the Same Curve Looks
The same dimming curve can feel completely different across IPS, VA, Mini-LED, and OLED. IPS often looks consistent from wide angles, which helps office work and shared screens, but blacks may look lighter in a dark room. VA usually gives deeper native blacks, which suits cinematic games and media, but some VA panels can show dark-transition smearing. OLED gives the strongest perceived black depth, while Mini-LED can be excellent when its local dimming system is well tuned.
This is why buying by preset names is risky. Gaming-monitor recommendations often separate competitive FPS needs from cinematic AAA and simulation needs because monitor selection changes with speed, contrast, HDR, and immersion priorities. A profile that is perfect for a competitive shooter may be the wrong choice for a 4K RPG or a spreadsheet-heavy workday.
For portable smart screens, the same logic applies with fewer controls. Use the native resolution, avoid excessive brightness in dark rooms, and choose the least aggressive picture preset unless you specifically need more shadow visibility. Smaller portable panels often sit closer to your eyes, so a lifted black floor can become more noticeable during night use.
Practical Setup for Gaming, Work, and Mixed Use
Start with the room, not the monitor menu. In a bright office, deeper blacks are limited by reflections and ambient light, so higher brightness and good glare control matter more. In a dark room, too much brightness raises the perceived black floor and makes blacks look smoky.
For competitive play, choose a fast preset, enable variable refresh rate if available, and raise shadow visibility only until dark corners become readable. Set the refresh rate correctly in both the monitor menu and your operating system, then enable sync features where supported to reduce tearing during variable frame-rate gameplay. Once motion is stable, tune the curve; visibility settings should support performance, not mask poor calibration.
For productivity, use Custom, User, Office, or sRGB-style modes when they look clean and comfortable. Productivity-focused advice frames monitor choice around daily work needs, including long screen sessions and multitasking, and recommends matching the display type to workload because daily work needs affect comfort and efficiency. A neutral curve is usually better for documents, design reviews, browser work, and dark-mode apps because it keeps text and panels predictable.
For cinematic gaming, use HDR only when the game and monitor handle it well. KTC’s gaming-monitor advice notes that immersive single-player players should prioritize visual fidelity, strong color, and HDR, while competitive players should focus more on speed and motion clarity. If HDR makes blacks look gray, the issue may be weak contrast, poor local dimming, or a bad game implementation rather than a single wrong setting.
The Best Curve Is the One That Preserves Intent
Deep blacks are valuable only when they keep useful detail intact. If the curve is too lifted, the image looks flat. If it is too steep, the image looks dramatic but less informative. The target is a black floor that feels solid while the first meaningful shadow steps remain visible.
For most users, keep one balanced Custom profile for office and browsing, one visibility-focused profile for competitive games, and one deeper cinematic profile for HDR or single-player sessions. That gives you control over black level depth without letting one preset dictate every task on your screen.


