


Monitor brightness changes how your eyes judge contrast, saturation, shadows, highlights, and skin tone. For accurate color, brightness should be stable, measured, and matched to your room instead of pushed to whatever looks most vivid.
Does your edit look punchy at night, then flat, too dark, or strangely warm the next morning? A repeatable SDR setup around a controlled brightness target can make photo edits, video grades, office visuals, and gaming content look more consistent across devices. Here is how brightness changes perceived color accuracy, and how to set it for reliable work without giving up immersion.
Brightness Is Not Color Accuracy, but It Strongly Influences It

Brightness, more precisely luminance, is the light output from your screen. Color accuracy is how closely the display reproduces intended colors, grayscale, and tonal values. They are different, but they interact constantly because your eyes judge color through brightness and contrast.
A monitor can have excellent gamut coverage and still mislead you if it is too bright for the room. In SDR workflows, a stable reference matters because monitor luminance affects perceived contrast, saturation, skin tone, and shadow detail. When the display is too bright, dark areas look more open than they really are, so you may crush shadows or make the final image too dark. When it is too dim, you may lift blacks, overexpose midtones, or oversaturate colors to compensate.
For a practical example, imagine editing a product photo of a matte black headset on a bright 400-nit office setup. The earcups may show plenty of texture on your screen, so you darken them for a premium look. On a calibrated display or a customer’s average laptop, those same earcups may turn into black shapes with no useful detail.

Why Too Much Brightness Makes Color Feel More Accurate Than It Is
High brightness creates impact. Whites look cleaner, colors feel more energetic, and HDR-capable displays can look spectacular when the content and monitor are built for it. That is useful for gaming, entertainment, and bright offices, but it can become a trap for color decisions.
For SDR editing, extreme brightness is usually unnecessary; normal prolonged editing environments often need only about 150 nits. Many color-grading and photography workflows sit even lower, often around 100 to 120 nits for a controlled LCD setup. The point is not to make the monitor dull. The point is to stop the screen from flattering the file.
The advantage of a brighter display is visibility. It helps in sunlit rooms, shared workspaces, presentations, and HDR previewing. The drawback is judgment drift. A very bright monitor can make colors appear cleaner and more saturated than they will in print, in a dim client review room, or on a properly calibrated display.
Brightness Setup |
Perceived Benefit |
Color Accuracy Risk |
Best Use |
Very bright SDR |
Vivid, crisp, easy to see |
Edits may become too dark or undersaturated elsewhere |
Bright offices, general productivity |
Controlled 100–120 nits |
Stable tonal judgment |
May look less exciting at first |
Photo editing, SDR video, web content |
Dim room 80–100 nits |
Better comfort in low light |
Can hide shadow separation if unmanaged |
Dark grading rooms, nighttime work |
HDR high brightness |
Strong highlight realism |
SDR decisions can be misleading |
HDR games, HDR video mastering checks |
Low Brightness Can Also Damage Perceived Color
Turning brightness down is not automatically more accurate. At low settings, some monitors struggle to hold stable gamma, white point, and RGB balance. Dark grays can merge into black, whites can shift warmer or greener, and the entire image can feel heavier than intended.
This is especially noticeable on budget portable screens, older office monitors, and displays using aggressive power-saving modes. If you lower brightness until the screen feels comfortable but lose the difference between near-black test patches, you have not improved accuracy. You have simply moved the error into the shadows.
A useful real-world check comes from photography editing practice: match screen brightness to ambient light rather than chasing one universal percentage. A simple paper comparison can help because screen white should look roughly similar to, or only slightly brighter than, a white sheet under the same room light. If the screen looks like a lightbox beside the paper, it is probably too bright for print-minded editing.
Room Lighting Is Part of the Display System

Your monitor does not exist in isolation. A perfectly calibrated screen in a changing room is not a stable reference. Window light, colored walls, desk lamps, and glare all change how your eyes interpret color.
For color work, use neutral, consistent lighting and avoid direct light hitting the panel. If you edit in an apartment with daylight pouring in during the afternoon and warm lamps at night, one brightness setting will not feel identical across both conditions. In that case, create separate measured presets for daytime productivity and evening color work, then use the calibrated one for final decisions.
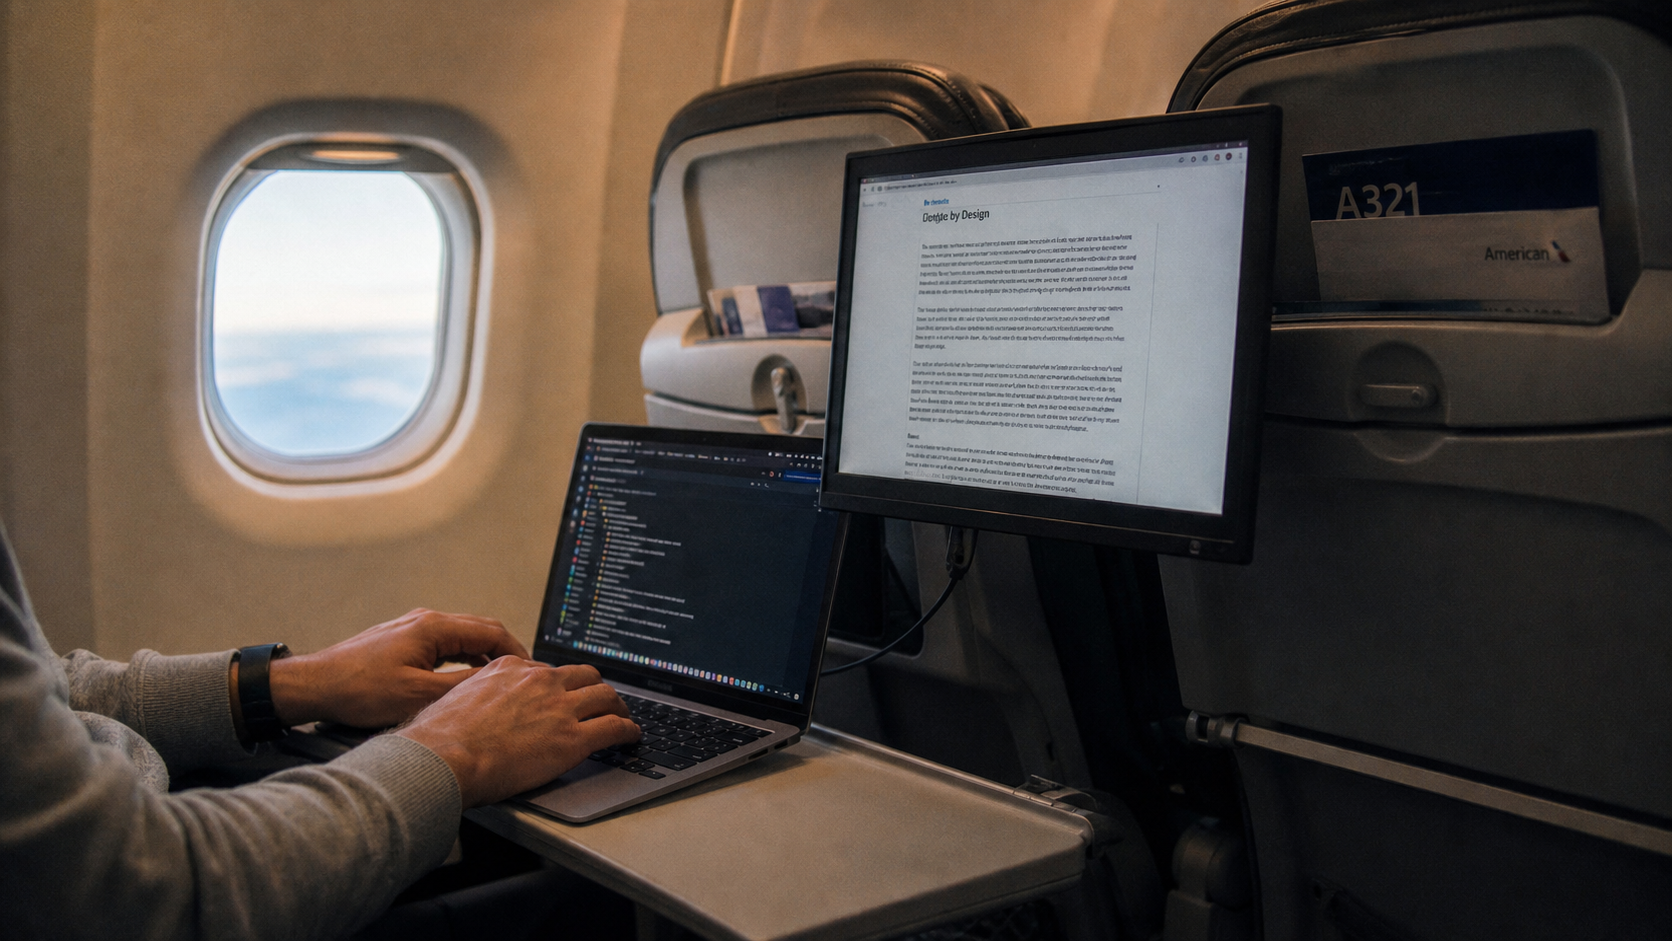
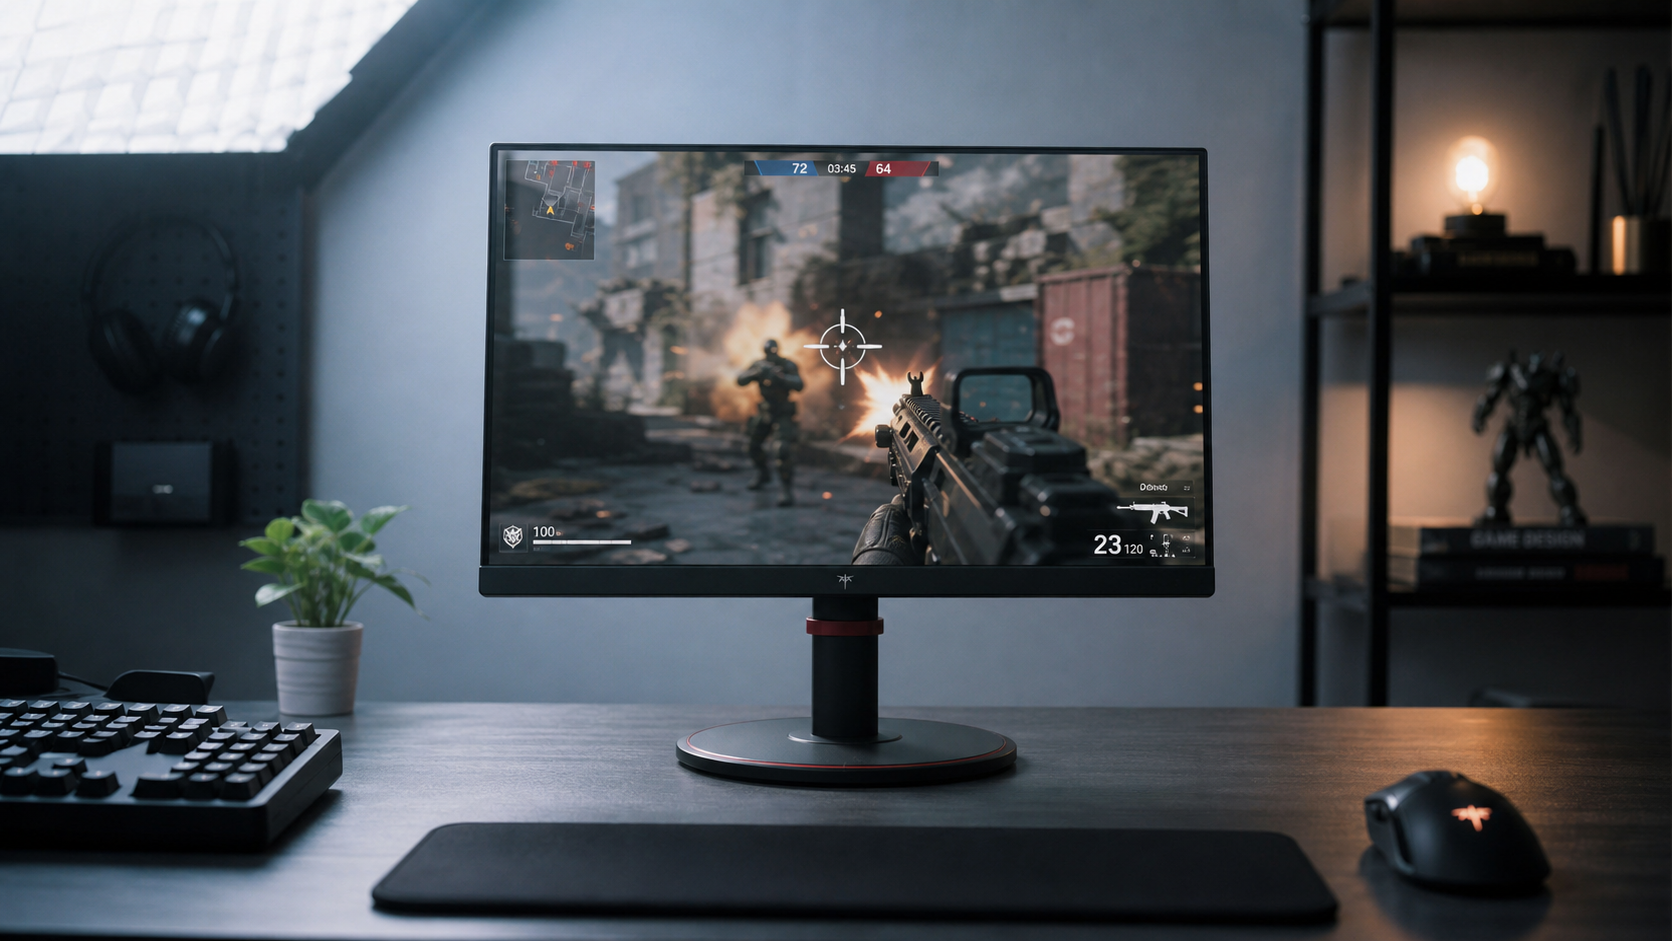
This matters for gaming monitors too. IPS panels tend to hold color more consistently at wide angles, while VA panels often deliver deeper blacks and stronger contrast. In mixed gaming, work, and content creation setups, IPS panels are often the safer all-around choice because color and viewing-angle stability matter when brightness and seating position change.
Disable Modes That Move the Target
Dynamic Contrast, Vivid, Movie, Eco, Eye Care, Night Light, HDR simulation, black enhancers, and auto brightness can all change the image while you are trying to judge it. These features can be enjoyable for watching movies or gaming, but they are unreliable for color-critical work because the display response is no longer fixed.
A common editing problem appears when users try to match what “normal TVs” might do. In one community example, turning off Dynamic Contrast made the image darker and less pleasing, which is exactly why the feature is risky for grading. It may look more exciting, but it prevents the monitor from acting as a stable reference.
For practical use, keep one calibrated mode for editing and another mode for entertainment. A gaming profile can use higher brightness, adaptive sync, and more punch. A grading or photo profile should use fixed brightness, fixed white point, stable gamma, and no automatic enhancement.
Calibration Makes Brightness Actionable
Manual brightness percentages are not portable. Fifty percent on one monitor may be 90 nits, while another display at the same slider position may be 180 nits. That is why hardware calibration matters when the work has financial, brand, client, or print consequences.
Calibration adjusts the monitor toward a target; profiling records how the display behaves so the operating system and color-managed apps can interpret color properly. If you change brightness after profiling, the profile no longer describes the exact display state you are using. For serious work, calibrate at the brightness level you actually use.
A practical SDR baseline is D65 white point, gamma 2.2, sRGB or Rec. 709, and roughly 100 to 120 nits in a controlled room. For darker reference environments, gamma 2.4 or 80 to 100 nits may make more sense. For print-adjacent work, some photographers still compare against paper and controlled viewing light; a detailed calibration workflow often aims for luminance around the room rather than a universal maximum.
Color Management and Multi-Monitor Reality
Modern operating systems help, but they do not replace a measured display. Some systems include auto color management for supported displays, and auto color management can improve consistency across apps, gradients, shadows, darker scenes, and photos. That is valuable, especially when moving between color-managed and non-color-managed apps.
Still, multi-monitor setups need discipline. If your main 27-inch 4K monitor is calibrated at 120 nits and your side portable smart screen is running in a bright Movie mode, the same image may look like two different files. Use the best calibrated display for final color decisions, and treat the second screen as a timeline, browser, chat, or reference panel unless it has been measured and matched.
Practical Brightness Targets by Use Case

The right brightness depends on the room, panel, and task. A competitive gamer in a bright room needs visibility and fast recognition. A photographer soft-proofing prints needs tonal restraint. A portable screen user in a hotel room needs enough brightness to fight glare without pretending the panel is a studio reference.
Use Case |
Sensible Starting Point |
What to Watch |
SDR photo editing |
100–120 nits |
Print matching, skin tone, shadow steps |
SDR video editing |
100–120 nits |
Rec. 709 consistency, waveform checks |
Bright office productivity |
140–200 nits |
Eye comfort, readable whites, glare |
Dark-room grading |
80–100 nits |
Gamma, black separation, fatigue |
Gaming and media |
Room-dependent |
Visibility, contrast, personal preference |
HDR review |
Much higher peak brightness |
Do not use HDR behavior to judge SDR |
The fastest sanity test is simple. Warm up the monitor for about 30 minutes, choose a neutral mode such as Standard, Custom, User, sRGB, or Rec. 709, turn off automatic image enhancements, set brightness for the room, then check black and white test patterns. You should see near-black steps without milky blacks, and bright highlights should retain separation instead of becoming a glowing block.
FAQ
Should I Set My Monitor to Maximum Brightness for the Best Color?
No. Maximum brightness may make colors look more vivid, but vivid is not the same as accurate. For SDR color work, controlled brightness usually produces more reliable decisions than maximum output.
Is 50% Brightness a Good Setting?
Not by itself. Percentage sliders are not standardized across monitors. Use a measured nit target when possible, or at least match brightness to stable room lighting and verify with test patterns.
Does HDR Brightness Improve SDR Color Accuracy?
Not directly. HDR capability can improve highlight impact in HDR content, but SDR accuracy still depends on the correct color mode, gamma, white point, brightness, calibration, and profile behavior.
Final Word
Monitor brightness is a control surface for perception. Lock it down, match it to your room, calibrate at the level you actually use, and separate your editing profile from your entertainment profile. The reward is a screen that empowers better decisions instead of merely making every image look impressive for the moment.


