


For portable monitor setups that get packed daily, the best cable management is usually a short full-feature cable, a few reusable hook-and-loop ties, and a slim organizer that keeps each part in a fixed place.

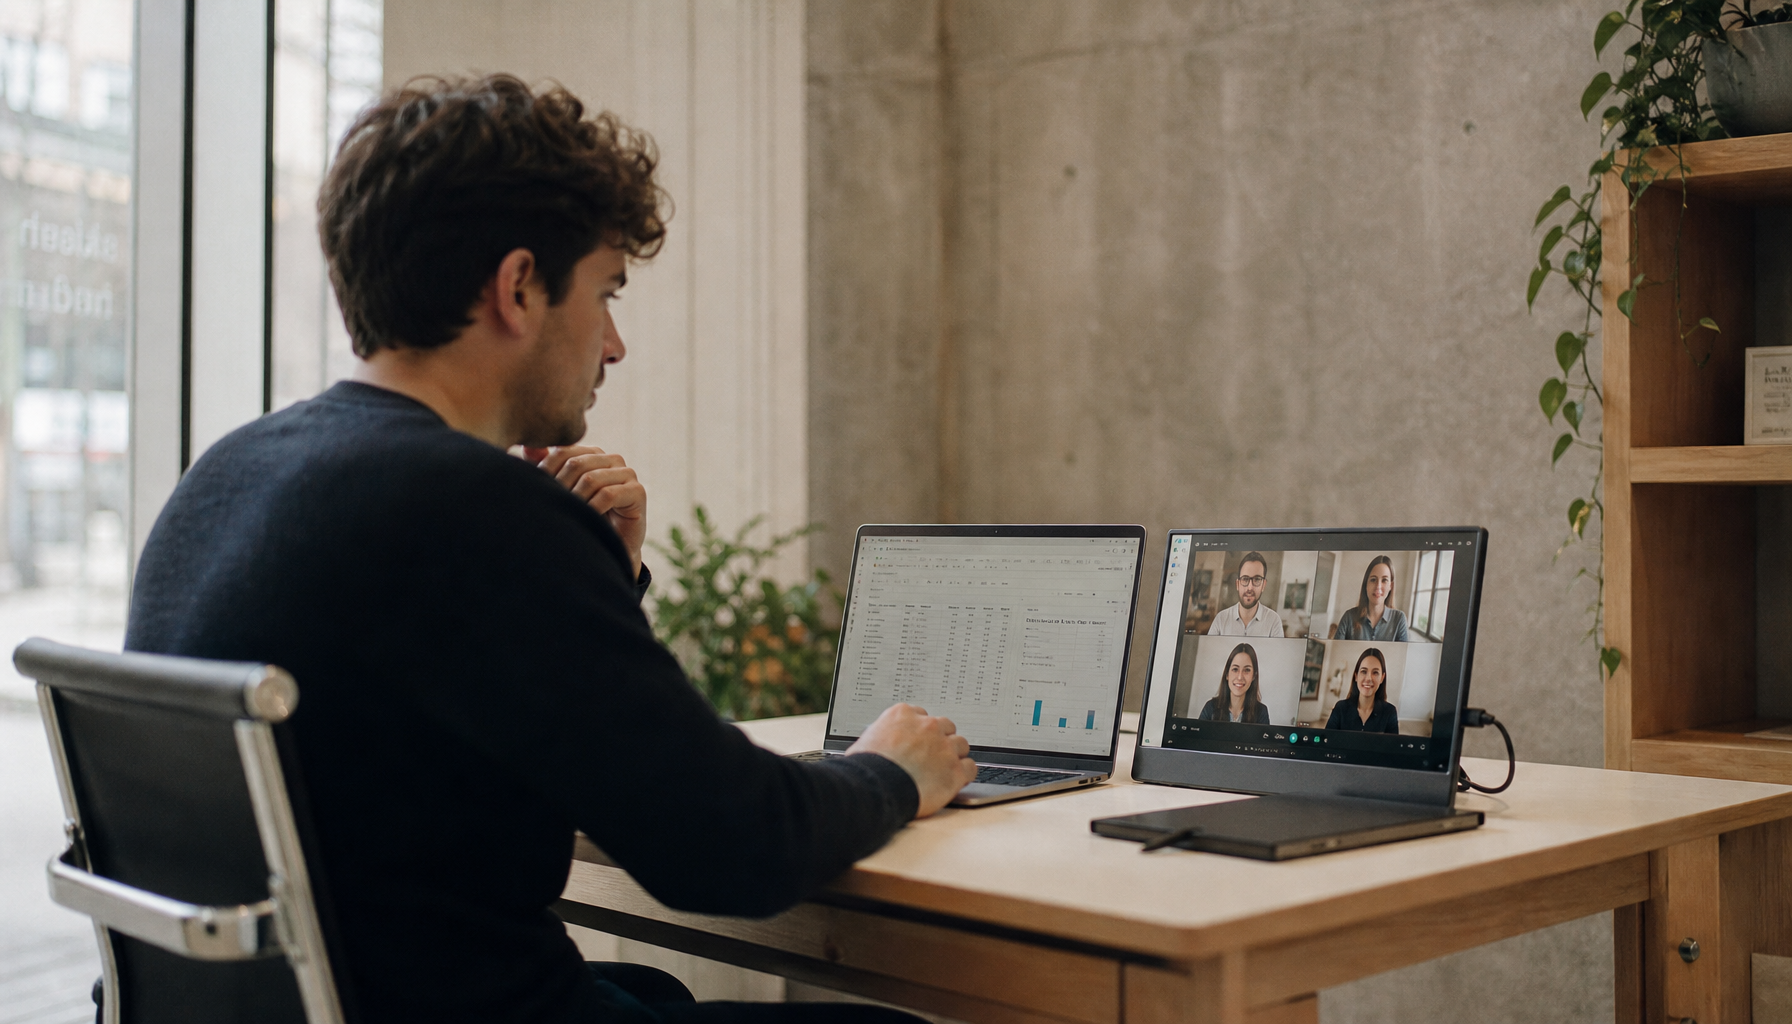
If you have ever pulled a portable monitor out of a backpack and found one cable wrapped around the stand, another bent at the connector, and your laptop charger wedged underneath, the problem is not just clutter. The strongest setups in the research cut friction by reducing cable count, using shorter and more flexible leads, and storing everything in a repeatable layout, so you get faster pack-ups and less port strain. What follows is a practical way to choose the right cable method, the right organizer, and a packing routine that actually holds up to daily use.

Choose the Simplest Connection Your Portable Monitor Can Support
One cable is the easiest daily setup
A one-cable connection is the cleanest option for a portable monitor because it can carry video, power, and sometimes touch through a single lead, but it only works when the laptop port supports a full-feature connection standard. That matters more than the connector shape itself. Two devices can both have the same port shape and still fail to create a true one-cable display setup.
For a daily-packed rig, that difference is huge. One cable means less time routing cords around a laptop stand, fewer loose items in the pouch, and fewer chances to forget a power lead in a hotel room or shared desk. It also keeps the setup more realistic for portable monitor users who move between a laptop-only work session and a dual-screen session several times a day.
A separate video cable plus power is manageable, but only if you pack it deliberately
A portable monitor can power on but show no image when the laptop sends power but not video over the same port type, which is why many users end up falling back to a separate video cable plus separate power. That is workable, but it doubles the cable paths and creates more desk sprawl unless each cable has a dedicated place in the kit.
This is where portable setups often go wrong. Users try to force a one-cable workflow with hubs or adapters that do not pass the right power or video signals, then carry extra parts anyway. If your laptop cannot do video over that port type, it is usually better to accept a two-cable layout and optimize around fast deployment rather than chase a fragile workaround.
Pick Cables for Daily Packing, Not Just Peak Specs
Shorter and more flexible is usually better
Shorter cables are neater in portable monitor setups, while longer 6 ft cables are more useful when you need to reach a wall outlet. For a backpack kit, that usually means keeping one short display cable for desk use and one longer charging cable for outlet flexibility, instead of trying to make one oversized cable do both jobs.
In practice, a short cable is easier to route behind a 14-inch laptop and a 15- to 16-inch portable monitor without leaving a loop hanging off the side of the desk. It also packs flatter in a pouch and is less likely to snag on a keyboard, mouse, or monitor sleeve when you tear down quickly. If you use a gaming laptop with a portable display as a second screen, this becomes even more important because bulkier power bricks already take up most of the bag space.

The cable must match the monitor job
A portable monitor cable can claim high charging support, fast data, and high-resolution output, but the real lesson is that display cables are not interchangeable with basic charge-only leads. That matches what travel users report when a monitor works with one cable but not another that looks identical.
If you want a cleaner packed setup, avoid carrying random spare cables with unknown capabilities. Use one clearly designated monitor cable, keep it tied separately from your charging cable, and replace it only with another cable rated for video output and the power you need. That prevents the common failure where the monitor works fine at home, then refuses to connect on the road because the wrong backup cable was thrown into the bag.
Right-angle ends can reduce daily wear
Right-angle cables and adapters are widely sold in short lengths and with power ratings ranging from basic charging to high-wattage fast charging. For portable monitors, the main benefit is not style. It is strain control. A connector that exits sideways instead of straight out is less likely to get bumped when the monitor is sitting on a small cafe table or packed against the edge of a sleeve.
That matters most on thin portable displays, where side ports can take repeated stress from bending cables. A right-angle end also helps when the monitor is stacked close to a laptop stand, game controller, or compact keyboard. Just keep the setup simple: use right-angle parts where they reduce bending, not everywhere.
Use Portable-Friendly Organizers, Not Desk-Only Storage
Reusable ties beat disposable fixes
Reusable hook-and-loop ties are a better fit for portable monitor kits than disposable zip ties because they can be opened and rewrapped every day without cutting and replacing anything. For people who pack daily, that is the difference between a system and a temporary patch.
A good rule is one tie per cable, plus one spare. Wrap each cable in the same direction every time, and do not cinch the loop so tightly that it kinks near the connector. Color-coding also helps if your bag carries a monitor cable, a laptop charger, and a fallback lead for older power sources.
Slim pouches work better than loose bag pockets
A publication tested more than 70 organizers and found that the best options kept items from shifting when shaken, while slimmer roll or pouch designs stayed easy to pack. For a portable monitor setup, that is more useful than a large desktop cable box because the gear has to move as a kit.
The most practical travel organizers are usually zip pouches or fold-out systems with fixed compartments: one slot for the display cable, one for the charger, one for small adapters, and one for extras like a microfiber cloth or dongle. Forum users looking for travel systems also tend to prefer organizers that lie open in a drawer but fold quickly into a backpack, which matches the reality of hybrid work and daily commuting.

Separate bulky from delicate items
Portable monitor cables do not fail only because they tangle. They also get crushed by power bricks, laptop chargers, and adapters packed in the same compartment. Keep the monitor cable and any mini accessories in a flat section, while heavier chargers go in a padded or deeper pocket. That prevents the cable ends from taking the full load every time the bag is dropped onto a floor or car seat.
If your setup includes a controller, mouse, or compact mechanical keyboard for gaming or creator work, resist the temptation to dump everything into one large tech pouch. Fast packing feels efficient in the moment, but it usually creates slower setup times and more cable wear later.
Keep the Daily Desk Setup Easy to Break Down
Route cables out of the sightline
Routing cables behind displays or under monitor edges reduces visual clutter and makes the workspace easier to use. That advice applies just as well to a temporary portable monitor station as it does to a full desk. Even a simple path behind the laptop stand keeps the monitor cable from crossing your keyboard area.
This matters for portable monitor users because the setup is often built on small desks, kitchen counters, or shared office benches where every inch counts. A cleaner cable line leaves more usable mouse space and makes the screen arrangement feel intentional instead of improvised. If you use a portable monitor next to a primary gaming monitor at home, the same routing habit also makes it easier to swap between your permanent and travel configurations.
Portable does not mean ignoring power layout
Travel monitor setups that rely on one shared port type across devices reduce the number of chargers and adapters you need to carry. That is one of the simplest forms of cable management: fewer power standards, fewer loose accessories, and fewer branching decisions when you pack up.
A practical setup is to place the laptop nearest the power source, run the charger to that side, and keep the portable monitor on the opposite side with its shortest possible display lead. If the monitor needs separate power, route that cable alongside the display cable and bind them only for transport, not while in use. Bundling live cables together on a tiny desk often creates extra drag at the ports.
Build a Repeatable Packing Workflow
Pack in the same order every time
Daily-packed setups last longer when the teardown sequence stays consistent. Unplug the monitor first, coil the display cable loosely, secure it with a reusable tie, and place it in the same pocket every time. Then pack the charger, then any adapters, then the monitor itself in its sleeve. This sounds basic, but it removes the small decisions that lead to rushed packing and bent connectors.
A repeatable workflow is especially useful if your portable monitor switches between work, gaming, and travel use. The more often the gear moves, the more valuable that consistency becomes. It also makes troubleshooting faster because you immediately know whether the missing piece is the cable, the adapter, or the power source.
Match the storage method to the setup type
A one-cable portable monitor kit can live in a very slim organizer: monitor cable, charger, and one spare tie. A separate-video-plus-power kit needs more structure because it has more failure points and more parts that can get mixed up. Dual-screen or creator kits usually benefit from a pouch with separate internal sleeves so the monitor lead, power brick, and adapters do not collide.
The simplest test is this: if you can set up your portable monitor in under two minutes and pack it without rewrapping or untangling anything, the storage system is doing its job. If not, the answer is rarely a bigger bag. It is usually fewer cables, shorter cables, or better separation inside the organizer.
Practical Next Steps
Start by identifying which portable monitor setup you actually have: true one-cable support, separate video plus separate power, or a mixed travel kit. Then build around that reality instead of around wishful compatibility.
Use this checklist: - Choose a full-feature monitor cable that is clearly designated for display use. - Keep that cable as short and flexible as your setup allows. - Add reusable hook-and-loop ties for every cable you pack daily. - Use a slim organizer with fixed pockets so parts do not shift. - Consider a right-angle cable or adapter where port strain is obvious. - Pack in the same order every time so setup and teardown stay automatic.
For most portable monitor users, the best cable management solution is not a big accessory system. It is a small, disciplined kit that protects the ports, cuts cable count, and makes the second screen as easy to carry as the laptop it travels with.


