


Use repeatable cable paths, reusable ties, clear labels, and one central docking point so every reconnect feels controlled. The goal is to make each cable easy to grab, protect ports from strain, and keep your desk ready for gaming, work, and travel gear.
Ever unplugged a laptop, console, portable monitor, or capture card and then spent five minutes guessing which black cable goes where? A well-labeled dock-and-route setup gives you a testable benefit right away: you can reconnect by matching cable, port, and device without tracing every cord through a tangle. Here is a practical way to organize monitor cables for fast swaps, cleaner airflow, and fewer accidental disconnects.
Why Frequent Reconnecting Changes Cable Management
A static desk can tolerate tighter bundles and hidden runs. A dynamic display setup cannot. If you regularly switch between a gaming PC, work laptop, console, tablet, camera, USB-C monitor, or portable smart screen, your cable system needs access points, slack, and repeatable routing.
Cable management is the practice of organizing, routing, securing, and labeling cables so a workspace stays functional, safe, and visually clean. Reduced clutter also makes device access and troubleshooting easier. For monitor-heavy desks, the real performance win is reliability. HDMI, DisplayPort, USB-C, power, Ethernet, and audio cables should not be pulled sideways every time you undock a laptop or rotate a display arm.
The mistake I see most often in high-use setups is making cables look perfect for one photo, then making them frustrating to use the next day. If you reconnect often, choose a serviceable layout over a sealed-away layout. You should be able to reach the monitor inputs, identify each cable end, and replace one cord without dismantling the whole desk.
Start With a Connection Map Before Buying Organizers
Before adding trays, sleeves, or clips, map the devices that actually move. A gaming monitor may keep power and DisplayPort fixed, while a work laptop may connect through USB-C, HDMI, Ethernet, and a charger. A portable screen may travel daily, so its USB-C cable should be easy to detach from the desk side, not buried inside a sleeve with six permanent cables.
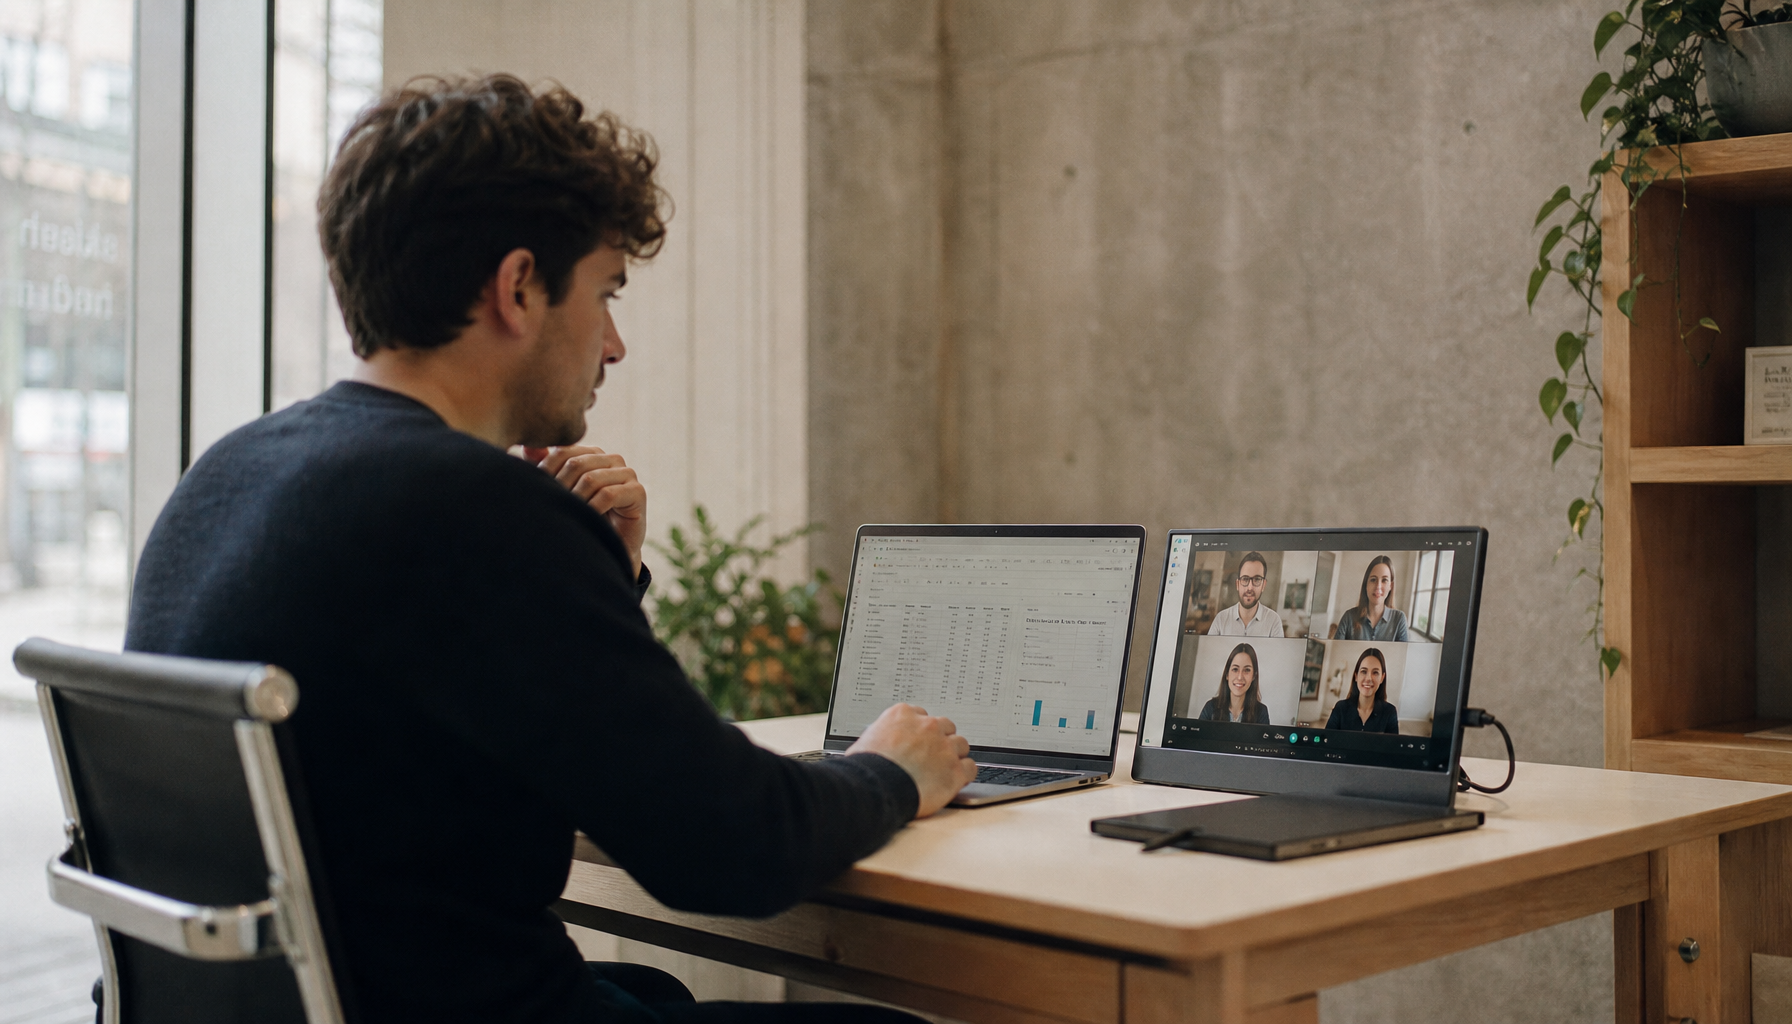
A docking station is often the cleanest anchor for frequent reconnecting because it lets monitors, keyboards, mice, network cables, audio devices, and power connect through one central device. A docking station can reduce the number of cables you touch when switching laptops. In practice, that means the monitor cables stay plugged into the dock, and the laptop connects with one USB-C or dock cable.
For a simple calculation, measure the real route from monitor to dock or PC, including the path down the monitor arm, across the underside of the desk, and into the port. Add about 20% extra length for movement and service access. A 5 ft route usually works better with a 6 ft cable than a 10 ft cable, because the shorter cable avoids floor loops while still leaving enough slack near the connector.
Build a Fixed Zone and a Flex Zone
The most reliable setup separates cables that rarely move from cables you touch every day. The fixed zone lives behind the monitor, under the desk, or inside a tray. It includes monitor power cords, permanent DisplayPort or HDMI runs, speaker power, Ethernet to a dock, and the power strip. The flex zone sits at the edge of the desk or near the laptop parking spot. It includes the USB-C dock cable, portable monitor cable, removable HDMI cable, SD reader, headset cable, and any device that leaves the desk.

Under-desk cable trays and organizers keep power strips and cables elevated instead of pooling on the floor. They are especially useful when several monitor and peripheral cables converge in one place. For a dual-monitor productivity desk, mount the power strip and dock under the rear edge of the desktop, then route both display cables into the tray. Leave the laptop-facing USB-C cable clipped near the front or side edge so it can be grabbed with one hand.
This structure matters for gaming displays too. A 240 Hz monitor, a console HDMI input, and a streaming capture device can create a dense cable cluster. If the HDMI from the console is a flex cable but the DisplayPort from the PC is fixed, they should not be zip-tied together into one rigid bundle.
Label Both Ends Like a Technician
Labels are not cosmetic. They are what make frequent reconnecting fast. Equipment-moving guidance often recommends labeling cables before moving or reconnecting devices, including marking both ends with tape flags and writing the cable type and destination. That habit matters for anyone who changes devices often.
Use short labels that match your real decisions: “M1 USB-C,” “PC DP,” “Console HDMI,” “Dock Power,” “Capture Card,” or “Portable Screen.” Put the label within 2 in of the connector so you can read it while holding the cable. If two cables are identical, add color coding with tape or cable tags. For example, blue can mean work laptop, red can mean gaming PC, and yellow can mean portable monitor.

Do not label only the power strip end. When you are reconnecting a monitor in a low-light gaming room or under a standing desk, the useful label is the one at the connector you are touching.
Choose Reusable Tools for Moving Cables
For frequently changed setups, hook-and-loop straps beat single-use zip ties. Zip ties are tidy, cheap, and strong, but they are annoying to cut off and can damage cables if over-tightened. Cable-cleanup guidance notes that zip ties can bundle cables quickly, while reusable hook-and-loop wraps suit home electronics and portable cords. Cords should not be kinked or tied too tightly because internal wiring can be damaged.
Cable sleeves are excellent for fixed runs, especially when several cables travel from a monitor arm into the same under-desk tray. They are less ideal for cables you remove daily, unless the sleeve opens easily. Adhesive clips are better for flex cables because they create a parking spot. A USB-C monitor cable clipped to the rear-left edge of the desk will not fall behind the setup every time you unplug your laptop.

Tool |
Best Use |
Pros |
Cons |
Hook-and-loop straps |
Adjustable bundles and excess length |
Reusable, gentle, fast to reopen |
Less invisible than sleeves |
Cable sleeves |
Fixed monitor-arm runs |
Clean look, protects groups of cables |
Slower to change if not easy-open |
Adhesive clips |
Dock cables and portable monitor leads |
Keeps loose ends reachable |
Adhesive may weaken on dusty surfaces |
Under-desk tray |
Power strip, adapters, long runs |
Clears the floor and hides bulk |
Requires mounting space |
Labels |
Every detachable cable |
Speeds reconnecting and troubleshooting |
Needs updating when gear changes |
Protect Ports With Slack, Not Loose Loops
Slack is the difference between a reliable cable and a stressed connector. The trick is to place slack near movement points, not on the floor. Give display cables a small relaxed curve near monitor ports, dock ports, and laptop ports. This prevents connector strain when a monitor arm moves, a laptop shifts, or a standing desk rises.

Guidance for electric sit-stand teaching stations specifically notes that USB-C, HDMI, USB-A, and Ethernet cables should have enough slack to avoid pulling or strain during height changes. Enough slack is just as important on a home standing desk. If your desk rises 1.5 ft, the cable path must rise with it or have a controlled service loop that cannot snag your chair or feet.
A good test is simple. Connect everything, move the monitor through its normal tilt and height range, raise and lower the desk if applicable, then watch the connector ends. If any plug shifts, twists, or pulls tight, reroute before daily use.
Keep Power and Data Organized Separately
Monitor desks often mix power bricks, USB hubs, display cables, Ethernet, speakers, chargers, and LED lighting. Routing power on one side of an under-desk tray and data or video on the other makes future troubleshooting easier and reduces visual chaos. It also keeps bulky AC adapters from crushing slimmer USB-C or HDMI cables.
Office safety guidance is blunt about loose electrical cords: wiring should be organized, kept out of walkways, and never placed under carpets where damage can be hidden. Loose electrical cords can create trip and fire hazards. For a display setup, that means the power strip should be mounted under the desk or placed in a ventilated cable box, not lying in the footwell.
Avoid daisy-chaining power strips. If your monitor setup has grown from one display to three screens, speakers, a dock, chargers, and lighting, treat power capacity as part of the upgrade, not an afterthought.
Make Reconnection a Repeatable Workflow
The best cable system has a home position. When the laptop leaves, the USB-C cable clips back into its holder. When the portable monitor is packed, its short cable goes into the same pouch or desk drawer. When the console HDMI is unplugged, it parks in a labeled clip near the monitor input zone.
Cable management improves both appearance and function by reducing clutter, protecting hardware from pulls and pinches, and making troubleshooting faster. A gaming desk benefits cable trays and grommets when multiple displays and peripherals increase cable complexity. For a real-world example, a dual-monitor desk can use one rear tray for power, two labeled DisplayPort cables fixed to the PC, one HDMI flex cable for a console, and one clipped USB-C cable for a work laptop. Nothing is mysterious, and nothing has to be pulled from a knot.
Re-audit every three to six months or whenever you add a new device. Remove dead cables, replace damaged ones, update labels, clean dust from the tray, and retest slack. A performance display setup should feel ready, not fragile.
FAQ
Should I use a dock or plug monitors directly into my laptop?
Use a dock if you connect and disconnect the same laptop often and your monitors, keyboard, mouse, Ethernet, and power can stay fixed to the desk. Direct monitor connections can be better for a gaming laptop when you need maximum display bandwidth or a specific HDMI or DisplayPort path, but they create more daily cable handling.
Are zip ties bad for monitor cables?
Zip ties are not automatically bad, but they are best for permanent routes. For cables you move often, reusable hook-and-loop ties are safer and faster because they do not need to be cut off and are less likely to clamp the cable jacket too tightly.
How much slack should monitor cables have?
Leave enough slack for the monitor arm, laptop, or standing desk to move through its normal range without tugging the connector. The cable should curve naturally near the port, not hang in a floor loop or pull straight under tension.
A Cleaner Setup That Still Moves Fast
Organized monitor cables should support performance, not slow you down. Keep fixed cables routed and protected, keep flex cables labeled and reachable, and give every connector enough slack to survive daily swaps. The result is a desk that reconnects quickly, looks controlled, and treats your displays like precision tools instead of disposable accessories.


