


Console HDR often looks better on a TV because real HDR quality depends more on contrast, tone mapping, local dimming, color volume, and console-friendly display-connection handling than on resolution, refresh rate, or a high peak-brightness number.
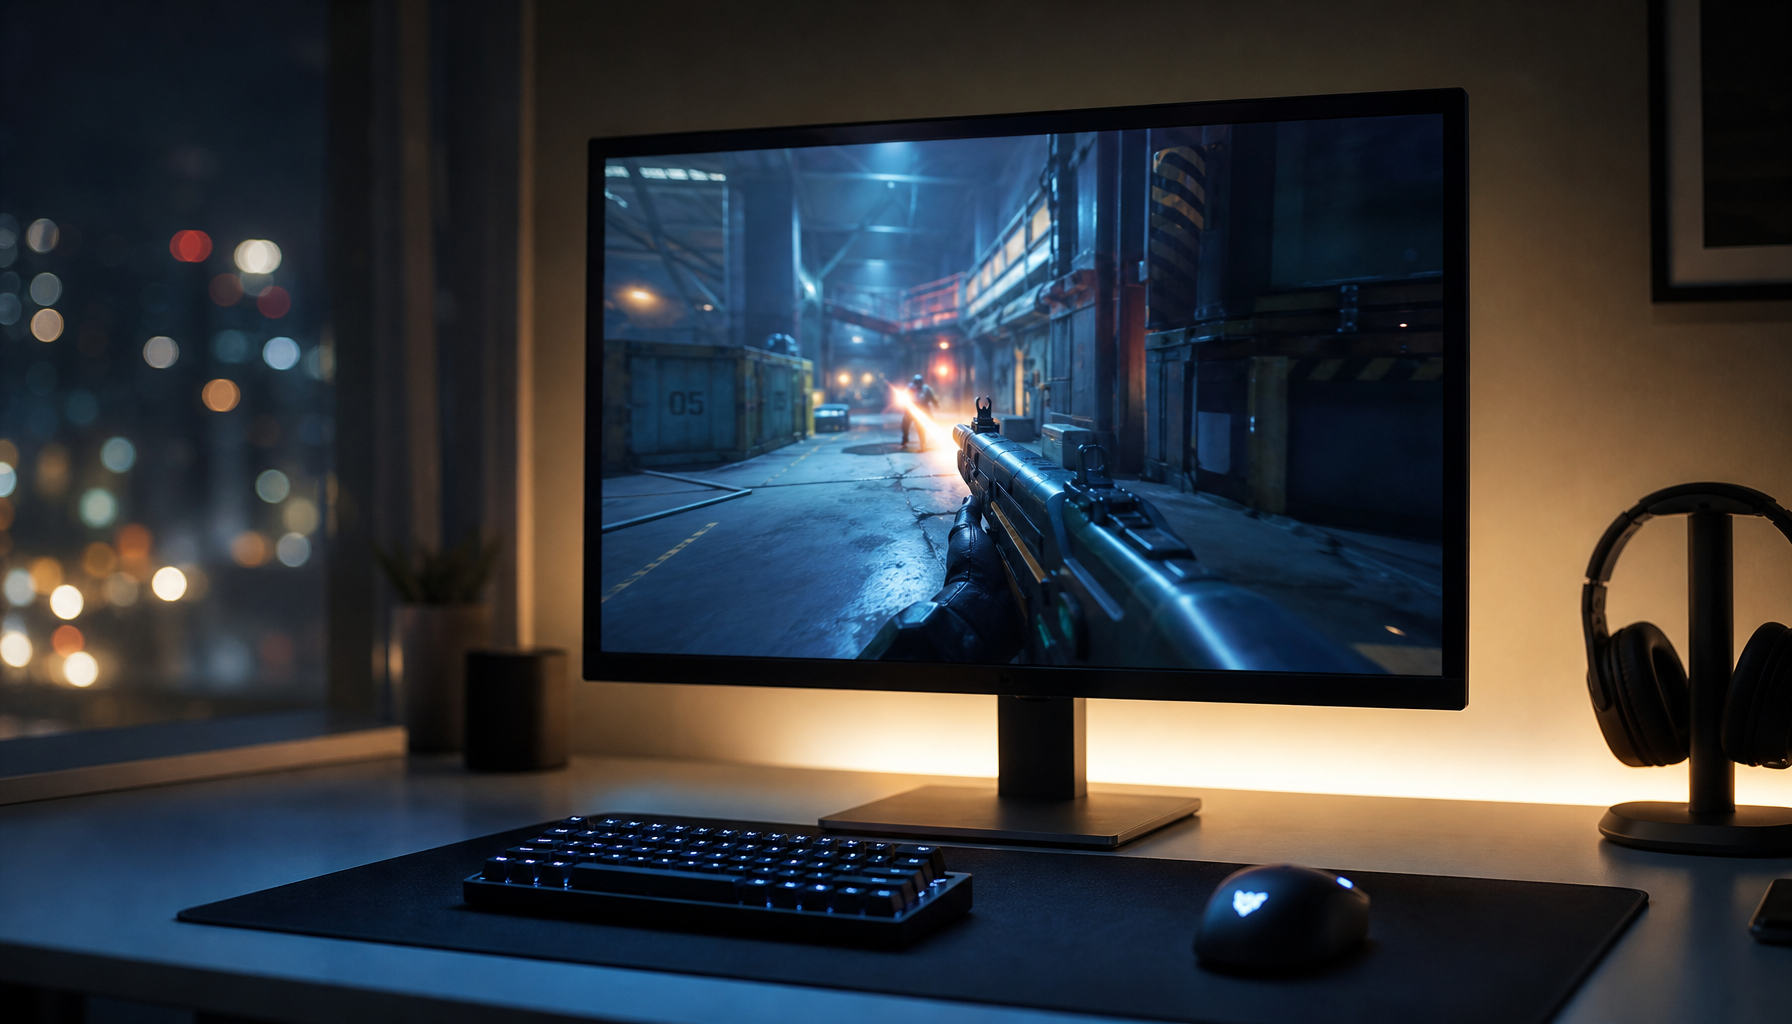
You plug the same console into a shiny gaming monitor and a living-room TV, then wonder why the TV looks deeper, brighter, and more cinematic even though the monitor’s spec sheet looks stronger. In practical side-by-side setups, the difference often comes down to how each display handles 1,000-nit or 4,000-nit HDR game data, not whether the panel says 144Hz, 165Hz, 240Hz, or 4K on the box. This guide explains what is actually happening and how to decide whether your monitor can be fixed with settings or needs better HDR hardware.
The Spec Sheet Is Not the HDR Experience
A gaming monitor can have excellent specs for competitive play and still deliver weak HDR. Resolution, pixel density, and refresh rate matter a lot for sharpness and responsiveness, but they do not automatically create convincing HDR. A 27-inch 1440p monitor at 165Hz can feel crisp and fast, while a TV with a lower refresh rate may still look better in HDR because it produces deeper blacks, stronger highlight separation, and more controlled brightness.
The most common trap is assuming “HDR supported” means “good HDR.” Many monitors can accept an HDR signal, but accepting the signal is only the starting point. A desktop operating system, consoles, games, and displays all need compatible HDR handling; a company notes that HDR requires an HDR-capable display and compatible hardware, and that SDR and HDR can look inconsistent across different display models because each one interprets the signal differently HDR settings.

Why “Higher Specs” Can Mislead
Gaming monitors are often marketed around refresh rate, response time, resolution, and adaptive sync. Those are important for motion and control, but HDR leans on different strengths: peak brightness, sustained brightness, black level, local dimming, contrast ratio, color volume, and tone mapping. A monitor with 240Hz and a basic edge-lit panel may be excellent for esports but unimpressive for a dark HDR game with bright torches, neon signs, or sunlit clouds.
An entry-level 400-nit HDR certification is a good example. A 400-nit HDR label may confirm basic HDR compatibility, but it does not guarantee the contrast or dimming control needed for a dramatic HDR image. A tech publication notes that brightness and contrast are critical for HDR, and that a high peak-brightness figure may apply only to a small screen area entry-level HDR certification.
What Your Console Is Actually Sending
Modern consoles usually send HDR for games, which means the image uses a wider brightness range and color space than SDR. The challenge is that the console and game may be targeting brightness levels your monitor cannot physically reproduce. One game may be tuned around 1,000 nits, while another may carry 4,000-nit metadata, and the display has to squeeze that image into its real brightness and contrast limits.
That squeezing process is tone mapping. If the display handles tone mapping well, you keep highlight detail in clouds, lamps, explosions, and reflections without crushing dark areas. If it handles tone mapping poorly, the image may look washed out, too dim, too bright, gray in the shadows, or clipped in bright scenes. HDR content varies by peak brightness, minimum black level, color volume, metadata quality, HDR format, and delivery path, so two games can behave very differently on the same display HDR content.

Static Metadata vs. Real Scenes
HDR commonly uses static metadata such as mastering display color volume, maximum content light level, and maximum frame-average light level. That information describes the overall content, not every single scene. A bright desert level, a dark cave, and a neon city street may all be interpreted through the same broad metadata, which leaves the display’s own processing to make judgment calls.
Some TVs are built around this problem. Their video processors are often tuned to make movies, streaming apps, and console games look appealing from a couch, even when metadata is imperfect. Many gaming monitors, especially budget and midrange LCD models, focus more on speed and pixel response than scene-aware HDR presentation.
Why TVs Often Win With Console HDR
TVs usually have a few built-in advantages for console HDR: stronger tone mapping, better black-level management, larger screen brightness behavior, and picture modes designed for living-room content. A good TV may not have the same refresh rate as a gaming monitor, but it may do a better job making HDR highlights pop without turning the whole image gray.
Local dimming is a major reason. Full-array local dimming and pixel-level dimming can make bright objects stand out against dark backgrounds. A basic IPS or VA gaming monitor without meaningful local dimming has to raise or lower larger portions of the backlight, which can flatten the image. That is why a “brighter” monitor on paper can still look less dynamic than a TV with better contrast control.

Brightness Windows Matter
Peak brightness specs are often measured in small windows, such as a small white square on a dark screen. That does not always predict how a display behaves when a game shows a snowy mountain, a bright sky, or a large explosion. Some monitors briefly hit a high number in a tiny area but dim aggressively when more of the screen gets bright.
This matters in console games because HDR is not only about tiny specular highlights. A racing game at sunset, a space game with bright HUD elements, or an open-world game with sunlit streets needs both highlight punch and stable overall brightness. If the monitor cannot sustain enough brightness across useful screen areas, HDR can look dull even when the advertised peak number seems respectable.
The Monitor Features That Actually Matter for Console HDR
For console HDR, prioritize the display traits that affect image range and signal handling before chasing the highest refresh rate. A 4K 144Hz monitor with weak HDR hardware may be worse for cinematic console games than a 4K TV with better dimming and tone mapping. For competitive games, the answer may be different, because input lag, motion clarity, and refresh rate may matter more than HDR depth.
A good console HDR monitor should have strong contrast, meaningful local dimming or pixel-level dimming, wide color gamut, display-connection bandwidth that matches your console settings, and an HDR mode that does not crush blacks or over-brighten the whole picture. The best target depends on the console and the games you play, but the table below gives a practical way to read the spec sheet.
Feature |
Why It Matters for Console HDR |
What to Look For |
Warning Sign |
Peak brightness |
Determines how much highlight impact the display can create |
Higher real HDR brightness, especially beyond entry-level 400-nit claims |
Peak brightness only listed for a tiny window |
Local dimming or pixel-level dimming |
Controls contrast between bright and dark areas |
Full-array local dimming, mini-LED, or pixel-level dimming |
“HDR compatible” with no dimming detail |
Contrast ratio |
Helps shadows stay deep instead of gray |
Strong native contrast or pixel-level dimming |
IPS glow or raised blacks in dark rooms |
Color volume |
Keeps bright colors rich instead of faded |
Wide color gamut and good HDR color handling |
Wide color claim without useful brightness |
Display-connection support |
Affects console resolution, refresh, and HDR signal quality |
Display-input features that support your target mode, such as 4K at high refresh |
Console forces reduced settings or unstable HDR |
HDR calibration |
Helps the console match the display’s real limits |
Console HDR calibration plus per-game HDR sliders |
One global preset used for every game |
Picture mode |
Changes tone mapping, latency, and processing |
Accurate HDR Game mode |
Vivid mode with blown highlights or high lag |
Resolution and Refresh Rate Still Matter
None of this means gaming monitor specs are useless. Resolution and screen size determine sharpness, and refresh rate affects motion smoothness and input feel. A tech publication describes 27-inch 1440p as a common gaming sweet spot because it balances clarity and GPU demand, while 144Hz to 180Hz is now common even in budget gaming monitors gaming sweet spot.
For console HDR, though, those specs need to be weighed against HDR quality. A 32-inch 4K monitor may look sharp at a desk, but if it has poor dimming and limited HDR brightness, it may not create the same depth as a TV across the room. If your main use is cinematic single-player games, HDR hardware should be a buying priority. If your main use is competitive shooters, refresh rate and latency may deserve more weight.
How to Fix Weak HDR Before Replacing the Monitor
Before you blame the panel, check the settings chain. HDR can look wrong if the console, monitor, game, or operating system is calibrated in the wrong order. A good process is to choose the display’s most accurate HDR mode first, turn off unnecessary image processing, run console HDR calibration afterward, and then tune HDR inside each game instead of changing global settings for one difficult title.

On a desktop operating system, HDR must be enabled per display under Settings > System > Display, and a company notes that an external HDR display may show as unsupported when duplicating a laptop screen instead of extending it external HDR display. Console setups are simpler than PC setups, but the same idea applies: make sure the display is receiving the right HDR signal and that the picture mode is designed for low-latency HDR gaming.
Practical Calibration Checklist
- Set the monitor or TV to its HDR Game mode, not a generic Vivid or Dynamic mode.
- Disable extra processing that can add lag or distort tone mapping, such as excessive contrast enhancers or black stretch modes.
- Run the console’s HDR calibration after choosing the display mode.
- In each game, adjust HDR peak brightness and paper-white settings using that game’s built-in test screens.
- Check a dark scene and a bright outdoor scene, not just a menu screen.
- If HDR still looks gray, dim, or clipped, compare the same game in SDR; weak HDR hardware may be the limiting factor.
- Save separate presets if your display allows different settings for console, PC, and streaming devices.
A useful real-world test is a game with both bright highlights and dark interiors. Look for lamps, sky detail, clouds, fire, metallic reflections, and shadow detail. If bright objects lose texture, your peak brightness or tone mapping may be clipping. If shadows look milky, your black level or local dimming is likely the problem. If colors look intense in menus but flat in gameplay, the monitor may have limited HDR color volume.
When It Is a Hardware Limitation
Settings can improve a bad HDR setup, but they cannot create contrast or brightness the panel does not have. If your gaming monitor has no meaningful local dimming, modest brightness, and a low-contrast panel, HDR may always look more like a slightly different SDR mode than a true upgrade. That is especially noticeable at a desk, where you sit close enough to notice glow, blooming, raised blacks, and banding.
This is why some console players prefer a good TV for story games and a fast monitor for competitive games. The TV handles HDR movies and console tone mapping better, while the monitor delivers lower latency, higher refresh, and sharper close-range desktop use. For hybrid setups, the best compromise is usually a monitor with real HDR hardware: pixel-level dimming, mini-LED, strong local dimming, high practical brightness, and display-input support that matches the console’s 4K HDR output. When comparing candidates such as a 27-inch 4K 160Hz mini-LED HDR gaming monitor, the mini-LED and high-grade HDR parts of the spec sheet matter more for HDR expectations than refresh rate alone.

Buying Guidance for Console Players
If HDR is a priority, do not shop by “HDR supported” alone. Look for independent measurements of brightness, contrast, dimming zones, color gamut, input lag in HDR Game mode, and display-input behavior. Also check whether the monitor handles console-friendly formats and resolutions cleanly, especially if you want 4K, HDR, variable refresh rate, and high refresh together.
Ultrawide and super ultrawide monitors deserve extra caution for console use. Standard 16:9 monitors and TVs align best with console output, while 21:9 and 32:9 displays can be excellent for PC gaming but may require scaling, black bars, or game-specific support. If the console is your main HDR source, a high-quality 16:9 4K display is usually the simpler and safer choice.
FAQ
Q: Why does my TV look brighter than my monitor if the monitor has a higher peak brightness rating?
A: The monitor’s peak brightness may apply only to a small highlight window or a brief moment. A TV with better tone mapping, local dimming, and sustained brightness can look brighter in real scenes because it preserves contrast and highlight detail more effectively.
Q: Is an entry-level 400-nit HDR certification enough for good console HDR?
A: Usually not if you want a dramatic HDR upgrade. An entry-level 400-nit HDR certification can indicate basic HDR capability, but it does not guarantee strong contrast, useful local dimming, or rich highlight color. It may still be fine for SDR gaming and general desktop use.
Q: Should I turn HDR off on my monitor?
A: If HDR looks washed out, gray, or inconsistent after calibration, try SDR and compare the same game scenes. On some entry-level HDR monitors, SDR can look more accurate and pleasing because the panel lacks the brightness and contrast needed for convincing HDR.
Key Takeaways
Console HDR looks better on many TVs because TVs are often better at the parts of HDR that matter most: tone mapping, contrast, local dimming, sustained brightness, and living-room video processing. A gaming monitor can still be the better choice for high-refresh competitive play, but high refresh rate and 4K resolution do not guarantee better HDR.
For buying or troubleshooting, use this order of importance: real contrast first, then local dimming or pixel-level dimming, then practical HDR brightness, then color volume, then display-input compatibility, then calibration tools. If your current monitor has weak HDR hardware, settings can reduce obvious problems, but they cannot make a basic HDR-compatible panel behave like a strong HDR TV.


