


Calibration can make a monitor more consistent, but it can still miss uneven tint, cable-related color casts, panel uniformity flaws, and room-light perception problems. A controlled visual test helps isolate whether the tint comes from software, the signal path, panel hardware, or your workspace.
Does a white document look slightly tea-stained on one side, or does a gray game menu turn pink near the corners after calibration says everything passed? A 15- to 30-minute inspection using solid colors, gray fields, cable swaps, and normal viewing conditions can reveal problems that a single center-screen sensor reading may never catch. This workflow helps separate harmless variation from a defect worth returning, repairing, or correcting.
Why Calibration Tools Can Miss Tint
A colorimeter is excellent at measuring what sits directly under its sensor. That is also its limitation. Most consumer calibration workflows place the device near the center of the screen, measure known color patches, then build an ICC profile that helps color-managed software render more predictably. That process improves white point, gamma, luminance, and color behavior, but it does not fully show whether the left edge is green, the lower-right corner is warmer, or the panel changes color from your normal chair position.

Calibration is about consistency, not perfection. Print-focused calibration guidance emphasizes that monitor results are always influenced by hardware, room lighting, screen technology, and human vision, so calibration should be treated as an approximation rather than a guarantee of perfect color. For practical work, targets such as gamma 2.2, D65 white point, and roughly 100-120 nits are useful baselines for print editing, but they do not prove the entire panel is uniform.
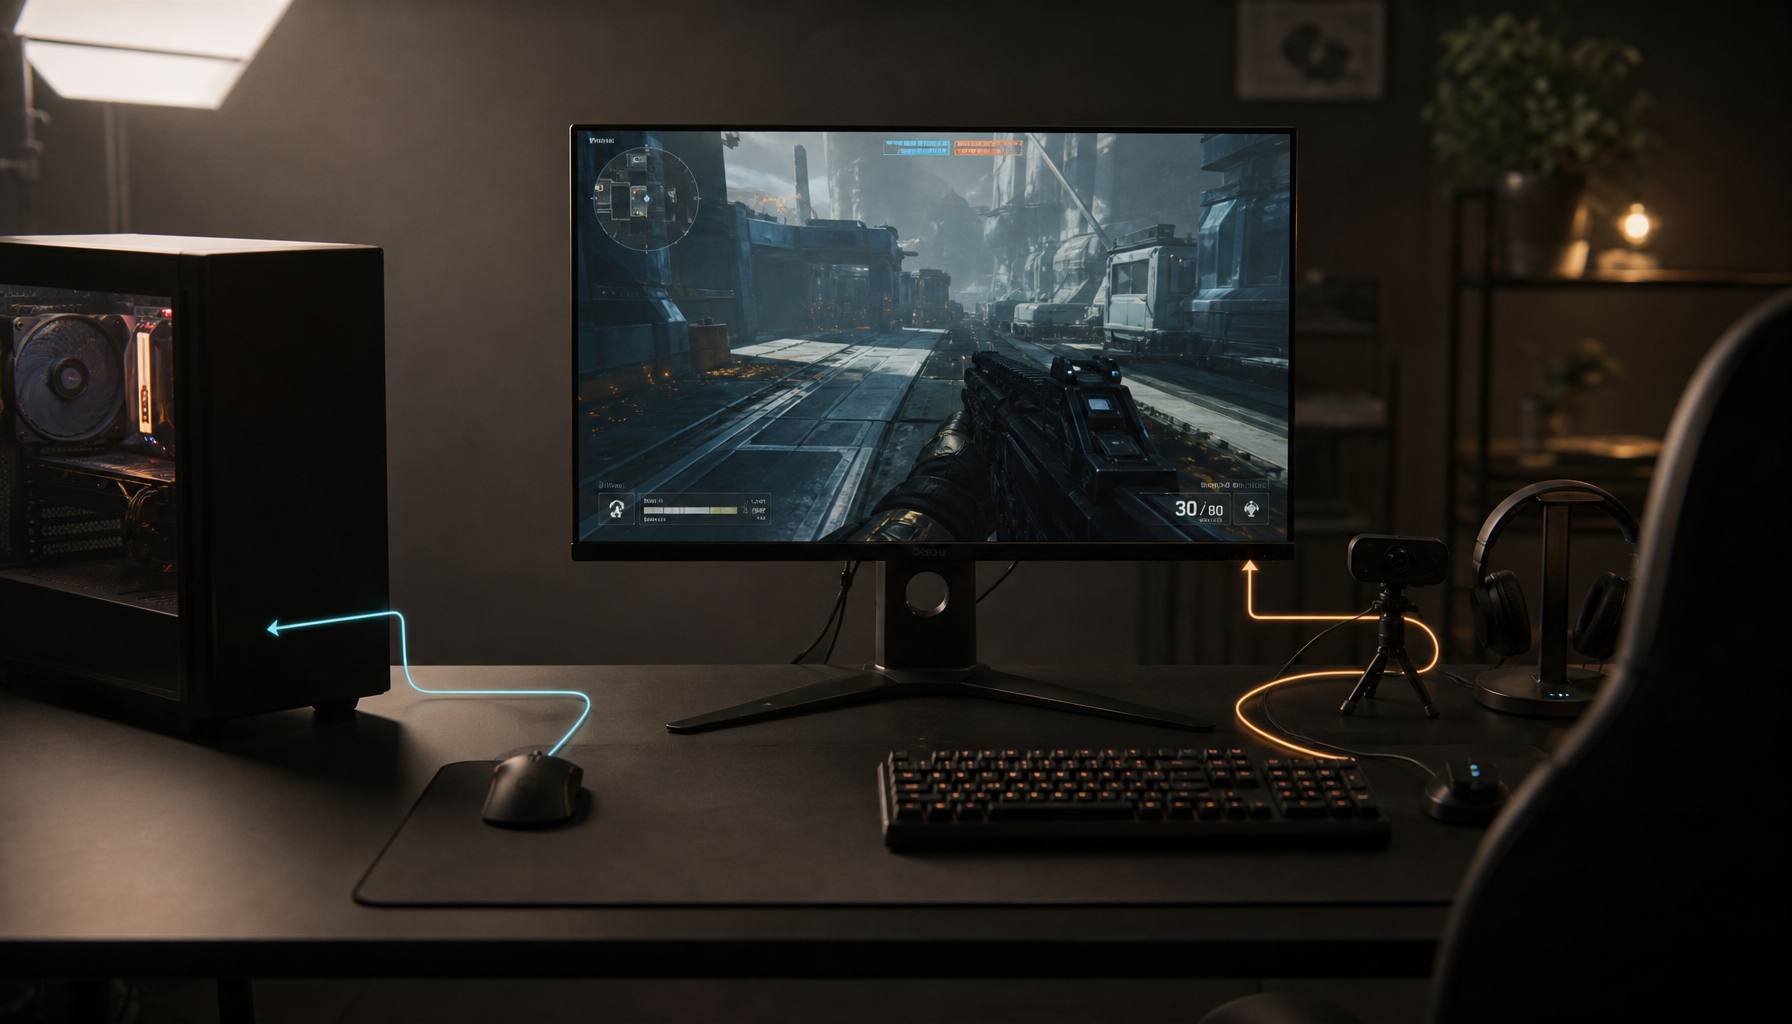
This matters for gaming monitors, office productivity displays, and portable smart screens because each category hides tint differently. A fast IPS gaming panel may pass a center measurement while showing corner glow on dark maps. A productivity ultrawide may look neutral in the middle but warm on the far right where spreadsheets sit all day. A portable OLED or LCD screen may shift color more aggressively because of viewing angle, auto-brightness, or power-saving behavior.
Define the Problem Before You Adjust Anything
Tinting is an unwanted color cast across all or part of the display. It may appear yellow, blue, green, pink, or red, and it may cover the full screen or sit in patches. A full-screen yellow cast often points to a night mode, a warm color-temperature preset, an incorrect ICC profile, or GPU color settings. A localized stain-like tint is more suspicious because color tint issues can also come from panel uniformity problems, pressure damage, backlight behavior, or internal hardware faults.
Start by describing the tint in plain terms. Ask whether it appears on white, gray, black, or all colors. Notice whether it moves when you move your head. Check whether it is stronger after the monitor warms up. A tint that shifts with viewing angle can be normal IPS glow or off-axis color shift, while a tint that stays locked to one area of the panel is more likely to be uniformity variation or a defect.
For example, if a 27-inch office monitor shows warm white only in the lower-left corner, do not fix it by dragging the blue slider until the center looks cold. You may make the measured center worse while hiding the real issue. The better move is to document where the tint appears, then test it across solid white, 50% gray, red, green, and blue fields.

Build a Clean Test Environment
Before judging the panel, remove variables that can fake a tint. Let the display warm up for about 30 minutes, because brightness and color behavior can drift during the first part of a session. Calibration workflows also recommend warming the display and disabling interfering features before profiling, which is sensible for tint testing as well. Turn off system night modes, adaptive color features, blue-light filters, eco modes, dynamic contrast, ambient brightness, HDR, and any eye-comfort mode.
Use the monitor’s native resolution and its normal refresh rate. Reset the monitor’s color mode if you have been experimenting, then choose a neutral preset such as Standard, Custom, or sRGB depending on the display. If the screen is too bright, reduce brightness before deciding that white looks blue or yellow. Brightness is measured in nits, where one nit equals one candela per square meter, and excessive brightness in a dim room can make whites feel harsh or cool even when the panel is technically close.
Room lighting is not a side issue. A D65 monitor viewed under a warm desk lamp can look bluish by comparison, while the same monitor in daylight may look neutral. For print and design work, controlled lighting is part of the display system. For gaming and office use, the goal is simpler: test once in your normal room light, once in a dim room, and once with reflections eliminated.
Use Full-Screen Visual Tests That Expose Uneven Tint
Calibration charts are helpful, but tint problems often appear fastest on plain screens. Use full-screen white to find yellow, pink, or blue casts. Use 50% gray to reveal dirty-screen effect, cloudy patches, and subtle green-magenta imbalance. Use red, green, and blue to expose channel-specific unevenness. Use black to separate tint from backlight bleed, IPS glow, or OLED image retention.

Browser-based test tools are enough for most first-pass inspections. Monitor testing tools can reveal color uniformity issues, dead pixels, backlight bleed, gradients, response behavior, and OLED retention without installing software. The key is not the source of the test page; it is full-screen viewing, clean settings, and slow inspection from the position where you actually use the display.
Do not stare at one spot until your eyes adapt. Scan the panel in a grid from normal seating distance, then step closer for confirmation. On a 32-inch 4K productivity display, check the center, each corner, and the left and right thirds where windows often sit. On an ultrawide gaming monitor, pan a flat gray field across your peripheral view; a green or pink side band can be more obvious in motion than in a still screenshot.
Separate Panel Tint From Signal Problems
If one display in a dual-monitor setup looks yellow or blue, do not assume the panel is bad. A loose HDMI or DisplayPort cable, damaged adapter, incorrect GPU output format, or corrupted driver can create color problems that calibration software cannot solve. Color problems can also come from incorrect brightness, contrast, gamma, color temperature, enabled blue-light modes, outdated drivers, loose cables, or automatic ambient adjustments, which is why isolation matters.
The fastest isolation test is to swap the signal path. Move the suspect monitor to another cable and another GPU port. Then connect it as the only monitor. If the tint stays with the display across cables, ports, and computers, the monitor is the likely source. If the tint moves to another display, the cable, adapter, GPU port, driver, or operating-system color setting deserves attention.
For portable smart screens, include the power source in the test. Some USB-C portable displays change brightness or color mode when running from a lower-power port. If the tint appears only when powered by a laptop but disappears on a stronger USB-C charger or hub, you are not seeing a calibration failure; you are seeing a power or mode behavior.
Read Gray Uniformity Like a Pro
Gray uniformity is where calibration blind spots become obvious. A monitor can show a perfect-looking white point in the center and still have pink-gray edges or a warmer lower half. This is especially visible in office work because spreadsheets, documents, email panes, CAD backgrounds, and dashboards spend hours on light gray or white surfaces.
The practical threshold depends on the use case. A small 5-10% brightness or tone variation may be acceptable for general office work, especially near the extreme edges. For photo editing, UI design, print proofing, and color grading, visible green-magenta shifts across a neutral gray field are more serious because they can make neutral images appear corrected in one area and wrong in another. For gaming, tint is a problem when it pulls attention during normal play rather than only appearing on a test screen.
Symptom |
Likely Cause |
Practical Response |
Whole screen looks yellow |
Night mode, warm preset, ICC profile, color temperature |
Disable warm filters, reset profile, recalibrate |
One side looks pink or green on gray |
Panel uniformity issue |
Test at normal brightness, document, consider return |
Tint changes when you move your head |
Viewing-angle shift or IPS glow |
Adjust height, distance, angle, and expectations |
Tint follows the cable or GPU port |
Signal path issue |
Replace cable, change port, update driver |
Tint appears only in one app |
Color management or profile mismatch |
Check app color settings and ICC behavior |
Use Calibration as a Baseline, Not the Final Judge
Calibration still matters. Even basic brightness, contrast, gamma, and color-balance adjustments can improve SDR image quality without buying new hardware. For color-critical users, a hardware colorimeter and a proper ICC profile remain the best way to create a stable baseline before judging tint.
The limitation is that an ICC profile cannot physically make a non-uniform panel uniform. It can correct the measured tone response and white point, but it cannot make the right edge emit the same color as the left edge if the panel hardware varies. That is why a good workflow pairs calibration with visual uniformity testing, especially before a return window closes.
For print work, compare screen brightness against real output under consistent light. Prints often look too dark because the monitor is too bright, not because the lab made a bad print. For gaming, compare tint at the refresh rate and overdrive mode you actually use. For office monitors, test at the brightness you can tolerate for a full workday, because max-brightness uniformity tests can exaggerate problems you will never see.
When to Fix, Return, or Live With It
Fix the issue in software when the tint covers the whole screen and changes after disabling night mode, changing color temperature, resetting the ICC profile, or updating drivers. This type of problem is common and usually worth solving before considering a return.
Return or exchange the display when the tint is localized, obvious in normal use, visible after cable and device isolation, and present on neutral white or gray screens. The same logic applies when tint appears alongside severe backlight bleed, distracting cloudy patches, dead pixels near the center, or OLED burn-in on a new screen. Testing new or suspect displays within the return window matters because defects become harder to dispute later, and home display testing can catch those issues before the deadline passes.
Live with minor variation only when it is invisible during your real workload. A faint corner warmth visible only on a full-screen white test at 100% brightness may not matter on a budget office panel. The same flaw on a $1,299.00 creator display used for product color review is a different decision.
FAQ
Can a calibration tool remove yellow tint?
It can remove a global yellow cast caused by white point, RGB balance, or profile behavior, but it cannot fix yellow tint caused by uneven backlight, panel aging, physical damage, or a bad signal path. If the tint is localized, treat it as a uniformity or hardware diagnosis first.
Should I use my phone as a reference display?
No. Phones often change brightness, color temperature, and tone mapping automatically, so they are unreliable as a reference. A printed proof, a calibrated second monitor, or neutral test patterns are better comparison points.
Is D65 always the right white point?
D65 is a strong default for general photography, gaming, and office use. Prepress workflows may use D50, while some users prefer a warmer target for comfort, but the important part is consistency across the display, room, and output goal.
A monitor is trustworthy when it holds up beyond the center sensor reading. Calibrate for a stable baseline, then challenge the panel with full-screen white, gray, primary colors, cable swaps, and real working conditions. That is how you catch the tint problems that quietly undermine immersion, productivity, and color confidence.


